
Mount Washington Winter Ascent - Gear Guide
This post contains Amazon Affiliate links, which means we receive a small commission if you make a purchase using these links. This is what funds our website, and we only recommend products that we believe in.
Dale and I had a great time climbing Mount Washington this winter. You can read our trip report here. Below is a list of gear recommendations. I tried to include things that worked well as well as things that could have been better.
My layering system:
I have a pretty good system for staying comfortable in the cold. My base layer is always a tight synthetic layer like the Under Armour Cold Gear long sleeve shirt. Next up I wear a half-zip fleece because they are lightweight, warm, and never seem to take on much water or sweat. Even when I take my fleece out of the wash it feels dry, and I think that's an important quality to have in winter apparel. Outside of my base layer and fleece will be an insulated vest (if it's REALLY cold), then an insulated jacket, and then a Gore Tex hard shell (I prefer hard shells with pit zips in case you need more ventilation).
Jacket: Marmot Dena and Mountain Hardwear Nilas
I brought the Marmot Dena jacket to wear at lower elevations, but it actually kept me warm all the way up to the summit! My favorite part about this jacket is that it’s insulated with recycled materials. It also has an interior chest pocket for me to keep my batteries warm in. During the hike up I was comfortable wearing a fleece and base layer, and I put the Marmot Dena jacket on once we got above treeline and the wind picked up. I also carried my Mountain Hardwear Nilas jacket with me. It is a super warm 800-fill down jacket. The down is water-repellant, so it retains its loft even when wet. It packs down to be just a little bigger than a Nalgene bottle, so it didn’t take up too much space in my backpack. I wore this jacket on my climb up Mount Elbrus, the highest mountain in Europe (18,510 feet), and I was warm even in a snowstorm. I would have had to put this jacket on if I stayed sedentary on the summit any longer than I did. The men’s versions of the above jackets are the Marmot Baffin and Mountain Hardwear Nilas.

Staying warm in my Marmot Dena jacket.
Gloves: Mountain Hardwear Onza Mittens and Outdoor Research Alti Mitts

Outdoor Research Alti Mitt
From what I’ve gathered, the Mountain Hardwear Onza Mittens are no longer in production, so I’ll be brief in my review of these. I brought these mittens for the lower part of the climb, and I expected to switch to my “Everest mittens” (Ourdoor Research Alti Mitts) once we got above treeline. Surprisingly, these mittens kept me warm all the way to the summit! My fingers did start getting numb when I took my gloves off to fiddle with the camera, but a pair of glove liners would have solved that problem. The nice thing about the Onza mitten is that there is no insulation in the palm. Instead it is a layer of leather with a fleece lining, and this makes it very easy to hold onto hiking poles, ice axes, branches, etc. A close alternative to the Onza Mitts are the Outdoor Research Adrenaline Mitts.
I call the Outdoor Research Alti Mitts my “Everest Mittens” because they are actually used by climbers on Mount Everest. They are the warmest mittens I’ve ever owned, and I’ve never gotten cold in them, not even when climbing Mount Elbrus. The mitten has a PrimaLoft insulated liner which is warm on its own, and there is a pocket for hand warmers which I never needed to use. The outer glove is also insulated with PrimaLoft and has a Gore-Tex shell to keep it waterproof and breathable. I’ve had good luck with Outdoor Research products. They tend to be more reasonably priced, and they have a lifetime guarantee on all of their products. The only annoyance I noticed was that it was a little harder to hold onto things while wearing these gloves because of all the insulation. This is not a product issue, but instead me not being used to wearing really warm gloves! These gloves come in men’s and women’s styles. They have won several awards, including Backpacker Magazine’s “Best for Extreme Cold,” and Outside Magazine’s “Best Winter Survival Winter 2014”.
Snow Pants: Eddie Bauer Igniter Pants
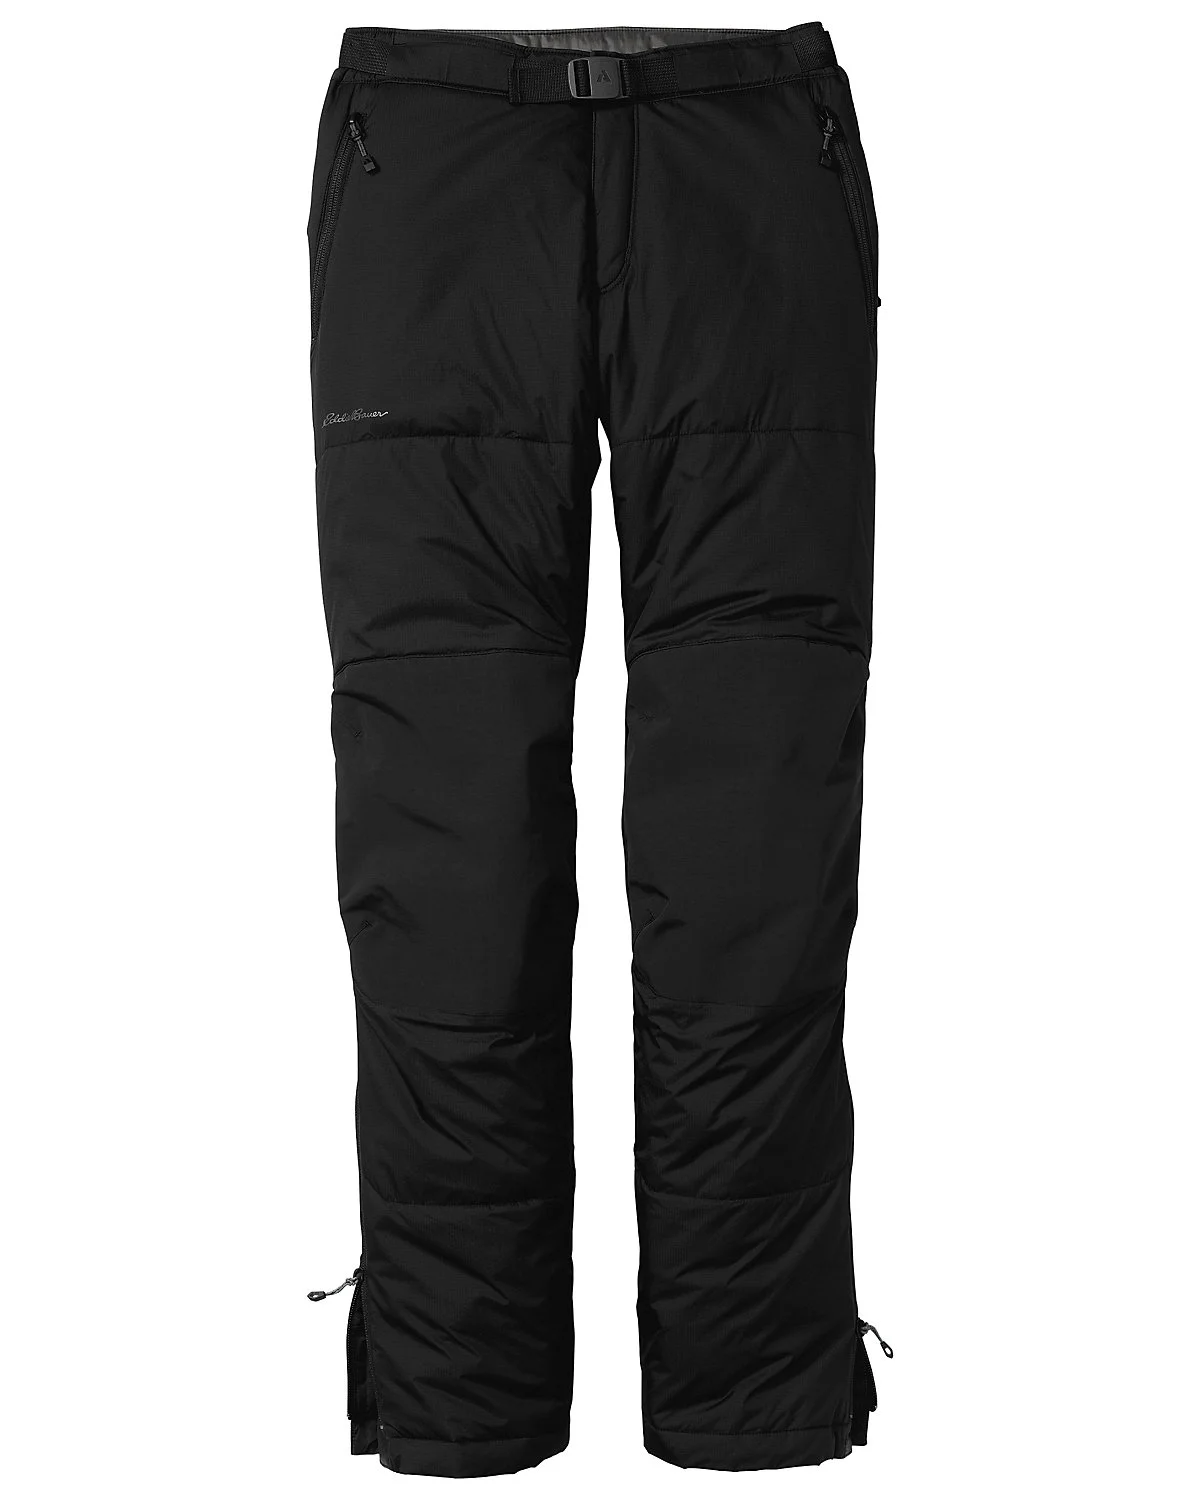
Eddie Bauer Igniter Pants
I wore these pants on Mount Elbrus, and they kept me super warm. They kept me TOO warm on the lower part of Mount Washington because I was also wearing fleece tights and fleece-lined soft shell pants (Mountain Hardwear Yumalina Pants) underneath it! The great thing about these pants though is that they have side zippers that run all the way up the length of the pant. This not only allows you to take your pants off while keeping your boots on, but it also allowed me to vent my legs when they were overheating. Unfortunately, Eddie Bauer doesn’t make this snow pant any more, but their First Ascent line of gear has always impressed me, so I would encourage trying other styles. I combined my snow pants with Outdoor Research Expedition Crocodile Gaiters to prevent my crampons from catching onto and ripping my pants. Dale prefers a different style of pant. Instead of an insulated snow pant, he LOVES his Outdoor Research Furio Pants which are a durable waterproof / windproof hard shell pant that pairs well with a wool baselayer.
Goggles: Airblaster Airpill Goggle
I bought these goggles after a bad goggle-fogging experience on Mount Elbrus. The Airblaster Air Goggles (now called the Airblaster Airpill Goggles) are claimed to be one of the best anti-fog goggles, and they were rated #1 by Snowboarder Magazine. Unfortunately, these goggles fogged up on me too, which is a sign that it might be user error causing the fogging, and not the goggle itself. Until I figure out how to use goggles correctly, I will hold off on any more goggle recommendations!

Airblaster Air Goggles
Balaclava: Polar Buff and Outdoor Research Windstopper Gorilla Balaclava
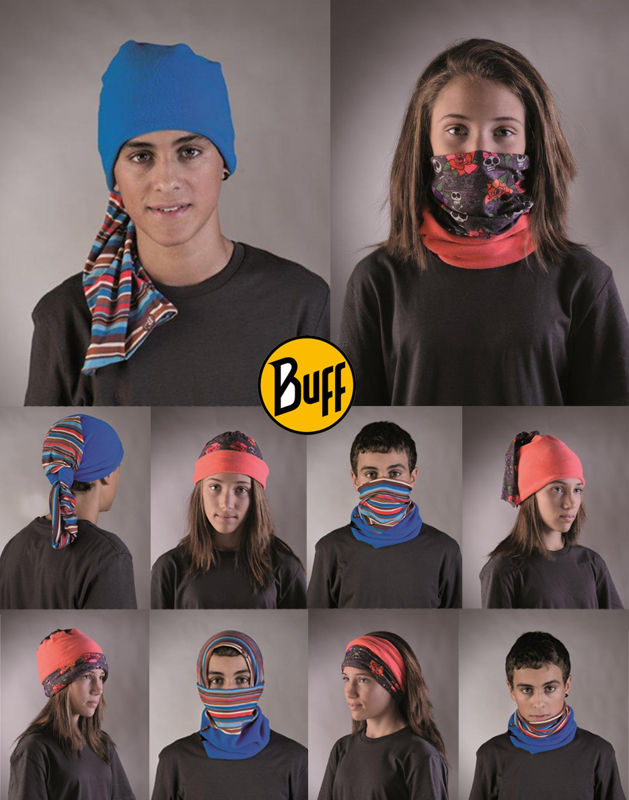
Polar Buff
I love my buff! Dale and I wear them all year long, and the polar buff is great for winter activities. The buff is a tube of fabric, part fleece and part thin fabric, and it can be made into all sorts of protective gear (hat, balaclava, neck warmer, etc). Its versatility is what makes it so great for me. I wore my polar buff as a neck warmer on the bottom part of the climb, and I expected to transition to my heavier-duty balaclava as we got above treeline. Well, surprise surprise, I didn’t need to do that! During some windy spells, I did pull my polar buff up over my face a little, but that was all I needed.
The Outdoor Reserarch Windstopper Gorilla Balaclava is a serious balaclava designed for alpine environments. I wore this on Mount Elbrus, and the Gore Windstopper fabric is a true barrier against the wind. I didn’t need it this time, but it was worth having this in my bag in case the weather made a turn for the worse.
Hat: Dakine Women’s Vine Beanie
It’s warm. It’s comfy. It’s cute. What more is there to say!? But really, this hat is awesome. It’s one of the few cute woven hats I could find that is fleece-lined and is big enough to cover down to the bottom of my ears, and I’m totally in love with it!

Staying warm in my Dakine Vine Beanie on Mount Katahdin.
Ice Axe: Black Diamond Raven Ice Axe

I’ve used this ice axe for a few years, and although it is Black Diamond’s most basic ice axe, it has treated me well on all my adventures. I say this every time I use it, but I would recommend getting a leash for your ice axe in case you drop it! There were only a few spots we needed this, but I would still bring it on future winter climbs.
Crampons: Black Diamond Contact Crampons

I initially bought these crampons for my first ascent up Mount Washington in the winter of 2012. I wanted a reputable brand, but I was also on a budget, so I opted for Black Diamond’s most basic crampon, the Contact Crampon. These crampons have treated me well so far. Although they’re not fancy step-in crampons, they still fasten up easily and quickly. The strap on crampons also have the advantage of being able to be used with multiple types of boots. I have used these crampons with mountaineering boots and smaller snow boots, and they worked great in both situations. I was able to fit both our crampons in my Black Diamond crampon bag to prevent the spikes from ripping our backpacks when they were stowed away.
Backpacks: Osprey Stratos 36 and REI Traverse 65
These were the two best backpacks we owned for climbing Mount Washington, so that’s what we used! The REI Traverse 65 seemed a bit too big for Dale at first, but once he took some layers off he needed that room to hold everything! When picking out a backpack, make sure to get one that has a spot to attach your ice axe. It just makes life easier. One thing I liked about my Osprey pack was their “Stow-On-The-Go” trekking pole attachment, which allows you to stow away your trekking poles without having to take off your pack. They also had just the right size and number of compartments to fit my needs.

Osprey Stratos 36
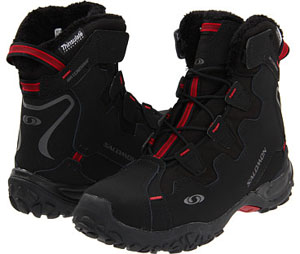
Salomon Snowtrip TS WP
Although the Salomon Snowtrip boots are very warm, I was nervous they wouldn’t be warm enough for Mount Washington. I would have preferred to have worn mountaineering boots in the event that we slowed down and couldn’t keep warm, but I ended up doing just fine in these boots (Men’s version here). The benefit of NOT wearing mountaineering boots is that your feet are lighter and you have more freedom of movement. However, you won’t have as much protection against the cold. My feet were starting to get a little cold towards the summit in my boots, but they never got to the point of being numb. I’m glad I wore these instead of mountaineering boots because it made walking easier, but I would still opt to wear mountaineering boots in the future since the weather can be so unpredictable. Dale wore his mountaineering boots that he found on consignment, and these kept him plenty warm.
GPS: Garmin Fenix
I like wearing a GPS watch to track my mileage, speed, and altitude. The Garmin Fenix won me over for two reasons: 1) It measures altitude, which most GPS watches don’t, and 2) The battery life is up to 50 hours, which is ridiculously long for a GPS watch. The watch is waterproof up to 50 meters and has more features than I know what to do with. The only downside is that it is a bit bulky, but that has never bothered me. I use this watch every time I hike, paddle, run, bike, and climb, and it does an excellent job on the trail and later on the computer as it plots your trail on a map. Garmin has come out with newer versions of the Fenix, but I can’t speak on those since I have not used them. I would recommend wearing this on your wrist or putting it in an inner pocket to keep it warm and preserve the battery life.

Using my Garmin Fenix in Russia
Camera: Canon Powershot
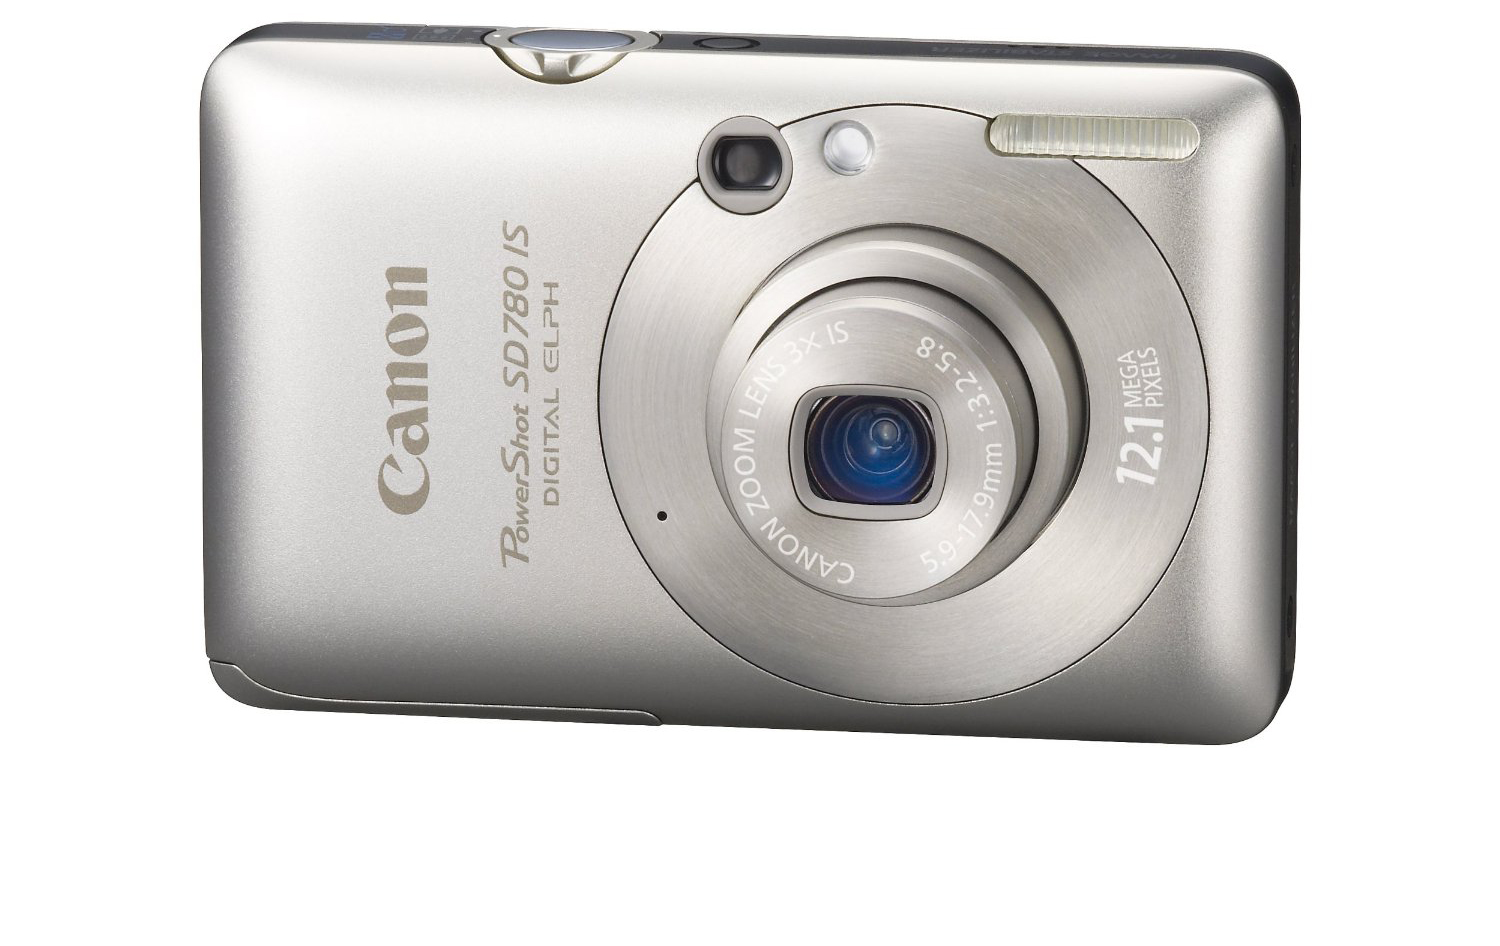
Canon Powershot
Although I love my Canon Rebel DSLR, this was not the place to be lugging it around. My Canon Powershot was a much better option since it is compact and lightweight. Despite keeping the camera and batteries in my internal coat pocket, the first battery still died on the summit due to the cold. Luckily my spare battery still had some juice left in it, and we were able to get some memorable photos.

JOBY GorillaPod
In addition to the camera, I brought up a mini tripod since I knew there was a good chance there wouldn’t be anyone on the summit to take our picture. I used the JOBY GorillaPod Tripod.
Maps: AMC White Mountain Map Set
I have had this set of maps for almost 10 years now, and despite some heavy use they are all still in one piece! I own the whole set because I hike in the White Mountains a lot, but you can purchase just the map for the Presidential Range if you’d like. I like these maps because they’re durable, easy-to-read, and detailed.
Snacks
I think everybody has their go-to hiking snacks, but I wanted to share a few of my favorites. I eat a restricted diet (no white flour and no white sugar), so I no longer eat a lot of my past favorite snacks (for example, GU gels. I loved those things because they gave you a quick shot of sugar/calories and went down easy even if you weren’t hungry. I’m sure there’s healthier options out there, but I haven’t tried seeking them out yet). This is by no means a comprehensive list of all the food we brought, but it’s just some of my favorite snacks.

Go Raw Spirulina Sprouted Bites – These might look and sound like some weirdo hippie food (and maybe they are), but these things are DELICIOUS! They are dehydrated crackers made from bananas, sesame seeds, coconut, dates, and spirulina. They have a nice rich taste to them and just taste heavenly (like a banana coconut smoothie). When I bought them at our natural living store the cashier said, “These are my favorite!” Since they’re dehydrated, they won’t freeze in the cold weather and you won’t break your teeth trying to eat them. The only downside: they’re expensive! If you have a dehydrator, try out this recipe to make them at home!
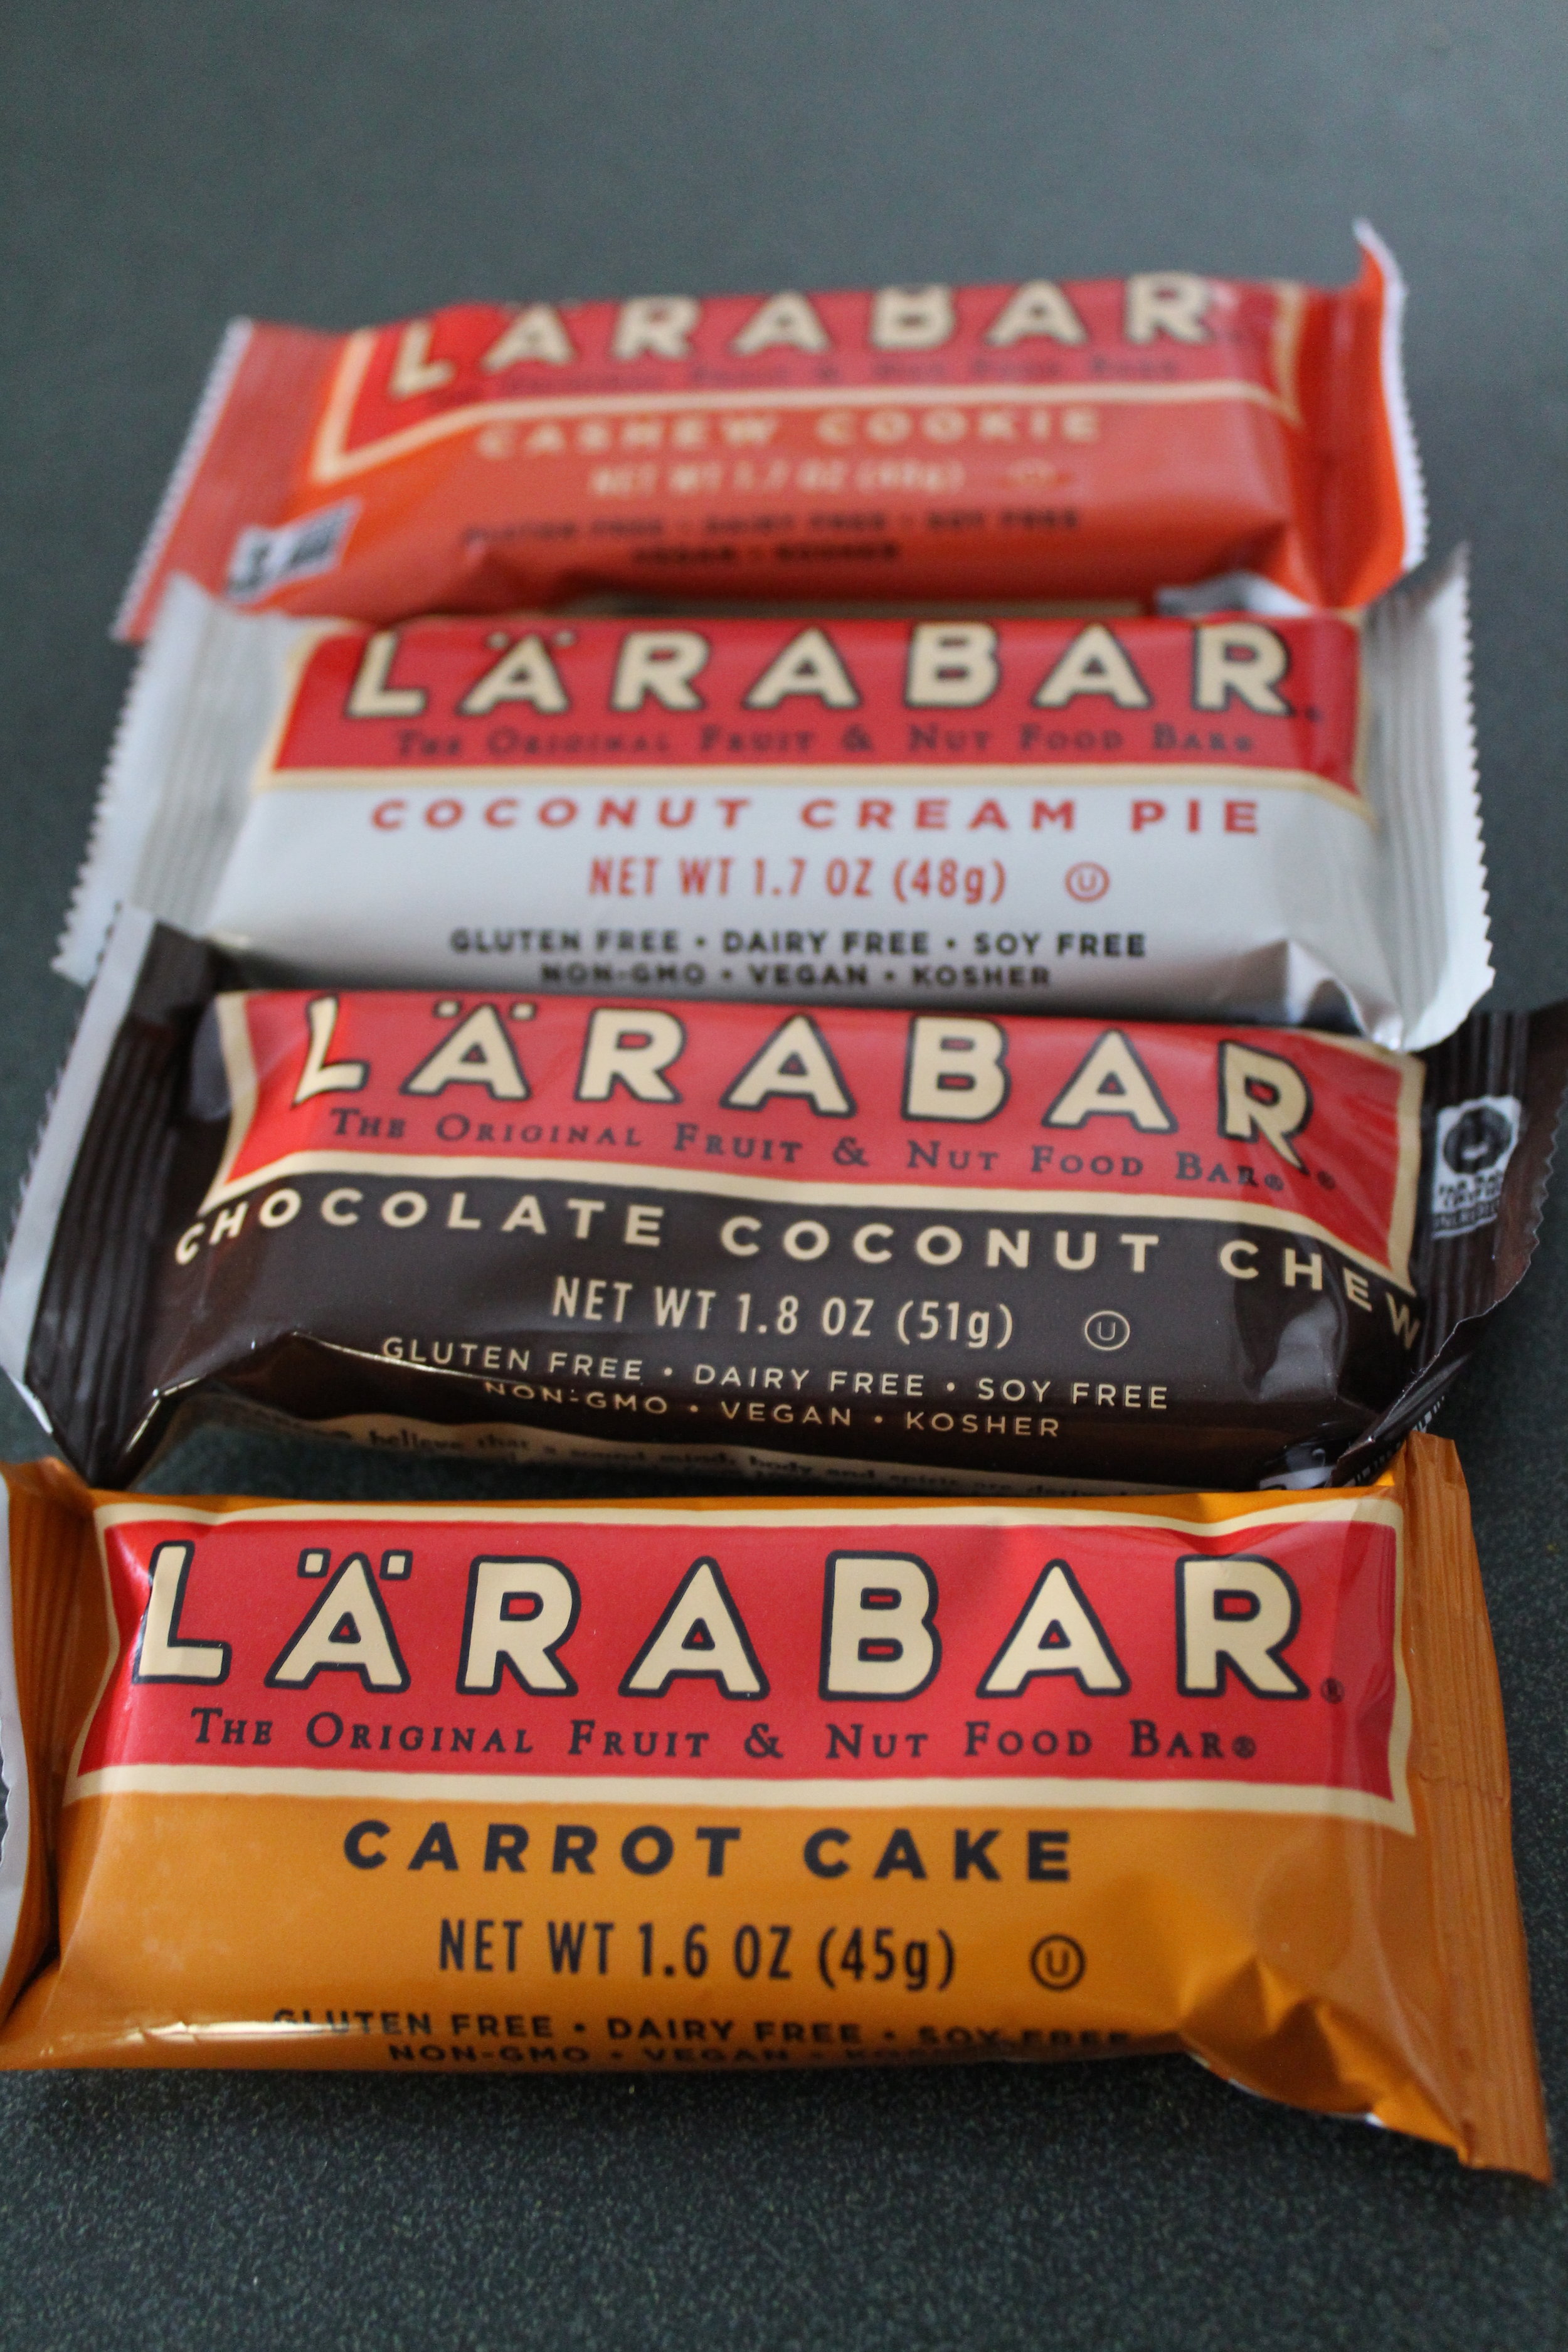
Lara Bars – Lara Bars are my go-to “granola” bar because they don’t contain any added sugar (except for the ones with chocolate chips in them), and you can pronounce all the ingredients. My favorite flavors are Peanut Butter Cookie and Chocolate Coconut Chew. Clif Bar just came out with some no-added-sugar bars as well, and they are also quite delicious. They’re called Kit’s Organic bars. If you want to save money and make your own Lara Bars, here is the recipe that I use. The one downside of Lara Bars is that they turn into a block of ice when they get too cold. To solve this problem, I keep them in my inner jacket pocket to keep them warm.

Fruit leathers – Fruit leathers are my favorite way to get a quick sugar fix. They’re like fruit roll ups, but it’s purely dehydrated fruit with no added sugar. We’ve made our own fruit leathers before with our dehydrator, but they’re usually all in our bellies before the day is even over. My favorite fruit leathers are the Stretch Island fruit leathers. Dale also likes Pure Organics fruit leathers.
“Just in case” items
Dale and I like to pack light, but we opted to play it safe and carry heavier bags on this trip. Mount Washington is no joke, and it is home to the world’s worst weather even in the summer time. I spoke to a guy who climbed Mount Washington in the winter right before traveling to Antarctica to climb Vinson Massif, the highest point in Antarctica, and the cold summit with 50mph winds was “the best training I could have had for Vinson.” This is pretty amazing since a 6,288-foot mountain is being compared to one almost 10,000 feet higher!
According to amusingplanet.com, “The lowest temperature ever recorded at Mount Washington’s summit is −46.0 °C. Only the South Pole is colder. The highest wind speed recorded here was 231 miles per hour (372 km/h) which remained the fastest wind speed ever recorded anywhere on earth, for most of the 20th century, besting even the most fierce hurricanes. The peak is blasted by hurricane-force wind on an average of 110 days a year which further lowers the wind chill value. On January 16, 2004, the summit registered a temperature of −42.0 °C and sustained winds of 87.5 mph (140.8 km/h), resulting in a wind chill value of −74.77 °C. The primary building of Mount Washington Observatory built on the summit in 1932, as well as many structures of the observatory, are actually chained to the ground to prevent these structures from being blown away. Mount Washington also receives very high levels of precipitation. Snowfall occurs almost throughout the year averaging 280 inches a year. In February 1969, a record 49.3 inches of snow fell during a single 24-hour period.”
Here are some of our “just in case items”
Extra everything – As you may have noticed above, I brought an extra (and warmer) pair of nearly every clothing item. Reason #1 was so I had the warmest possible clothing options available. Reason #2 was so I had a DRY option to change into if needed. We were sweating the entire hike, even above treeline. If one of us got injured and we had to slow down, we would get cold very quickly if we didn’t have extra dry clothing.

Black Diamond ReVolt
Mount Washington is a day hike, so we had no intentions of being out in the dark. Of course anything can happen to slow you down, whether it be an injury, poor visibility, deep snow, trouble getting down steep sections, etc. Both of us had our headlamps just in case. The ReVolt is a cool headlamp because you can charge it with a USB cable (see my charger recommendation below). The only downside with this headlamp is that the batteries may die when exposed to cold temperatures. A better choice may be the Black Diamond Icon Polar headlamp because it has an external battery pack that you can stick somewhere warm like a jacket pocket. However, this one cannot be charged on the the trail like the ReVolt can.

Solar Charger – I carried the Bushnell Bear Grylls SolarWrap Mini USB Charger in my bag in the event I needed to charge my ReVolt headlamp or phone in an emergency (the headlamp and phone use the same micro-USB charger cable). It is very tiny and doesn’t take up a lot of space. You can pre-charge the lithium ion battery pack in 4 hours using an outlet at home, but when you are out on the mountain it unrolls into a solar panel that can recharge it as well. There are way bigger and more powerful solar panels out there, but this little guy is enough to keep things going when you’re away from civilization.
First aid kit and compass – A compass is a must-have for an expedition on Mount Washington. I have heard so many stories of the fog being so bad that you can’t even see the next cairn in front of you. I’ve read other stories of people getting lost and going down the other side of the mountain because they can’t see where they’re going. Even if you’re not an experienced compass-reader, you can at least get a general idea of where you need to go in case you experience a white-out. Of course you should have a map with you as well. Don’t rely on a GPS to get you home since the batteries may die in the cold weather. Our first aid kit was simple. We had a little bit of duct tape, an ACE bandage, waterproof matches, fire starter “cubes”, and some toe warmers. We usually carry little whistles as well, but each of our backpacks had a whistle designed into the chest strap.
Things we would change for next time
As with most trips, things don’t always work out perfectly. I have no complaints about our hike, but there are some things we could have changed to make it better. These are some of my suggestions:
Glove liners – For some reason I did not bring a pair of glove liners. I had two pairs of mittens (three if you include the separate lining and shell of the Outdoor Research Alti Mitts), but I didn’t have any lightweight liners. These would have been super helpful when I was fiddling with the camera on the summit with bare hands.

Insulator for water bottles – I knew this would be a problem before the hike even started, but I would recommend storing your water in either a thermos or an insulated shell. There’s nothing worse than carrying around a frozen water bottle that you can’t drink out of. We only carried one Nalgene bottle each (three bottles between the two of us would have made us more comfortable, but we didn’t want to carry the extra weight). Despite filling them with boiling water in the morning, our last few sips were icy. I would recommend using a wide-mouth Nalgene since a narrow-mouth is more likely to freeze shut at the opening.
Adjustable trekking poles – Dale used his cross-country skiing poles for this hike, and they were a bit too long for the hike up. It wasn’t the end of the world, but it was annoying for him. Even more annoying was when he was using his ice axe and had the poles attached to his backpack. The poles were so long that any time he walked under a low branch, the poles would get snagged on them. We noticed that my life was much easier since I could have my poles shorter on the hike up, longer on the way down, and 100% shortened when attached to my backpack. I use the Black Diamond Distance Carbon FLZ Trekking Poles with snow basket attachment. They are SUPER light, pack small, and are adjustable.
Gaiters – Dale did not have a pair of gaiters, and his snow pants showed it at the end of the day. His crampons kept getting caught on his snow pants (which didn’t have much reinforcement on the inner legs), and they kept getting ripped. Gaiters would have helped contain his snow pants as well as prevent snow from getting underneath his snow pants and into his boots.

This is what happens when crampons meet snow pants.

Ashur says, “Wear your gaiters, fool!”
As you enjoy the warmth of your home after your hike, I would highly recommend reading the book, Not Without Peril. This is an excellent book about the tragedies on the Presidential Range. Although I am aware of the dangers of these mountains, this book really hit home since I have experienced a lot of the conditions that the people in this book were not prepared for. In addition to some unbelievable stories, this book does a great job talking about the history of the White Mountains.