
Mount Katahdin Winter Ascent (New Abol Trail)
Having lived in Maine for seven years and having a major obsession with Mount Katahdin, it was inevitable that I would eventually do a winter ascent of this magical mountain. A winter ascent of Mount Katahdin is unique because it is a multi-day trip that requires a bit more planning than a day hike (it technically can be done in a day, but I wouldn’t recommend it). I would suggest getting other winter hikes in before attempting this, such as Mount Washington. Mount Washington is no joke in the winter, but it can be done in a day which gives you a bit more flexibility in planning. Read my trip report here from my winter ascent of Mount Washington. Tackling other 4,000 footers in Maine and New Hampshire can also give you good practice.
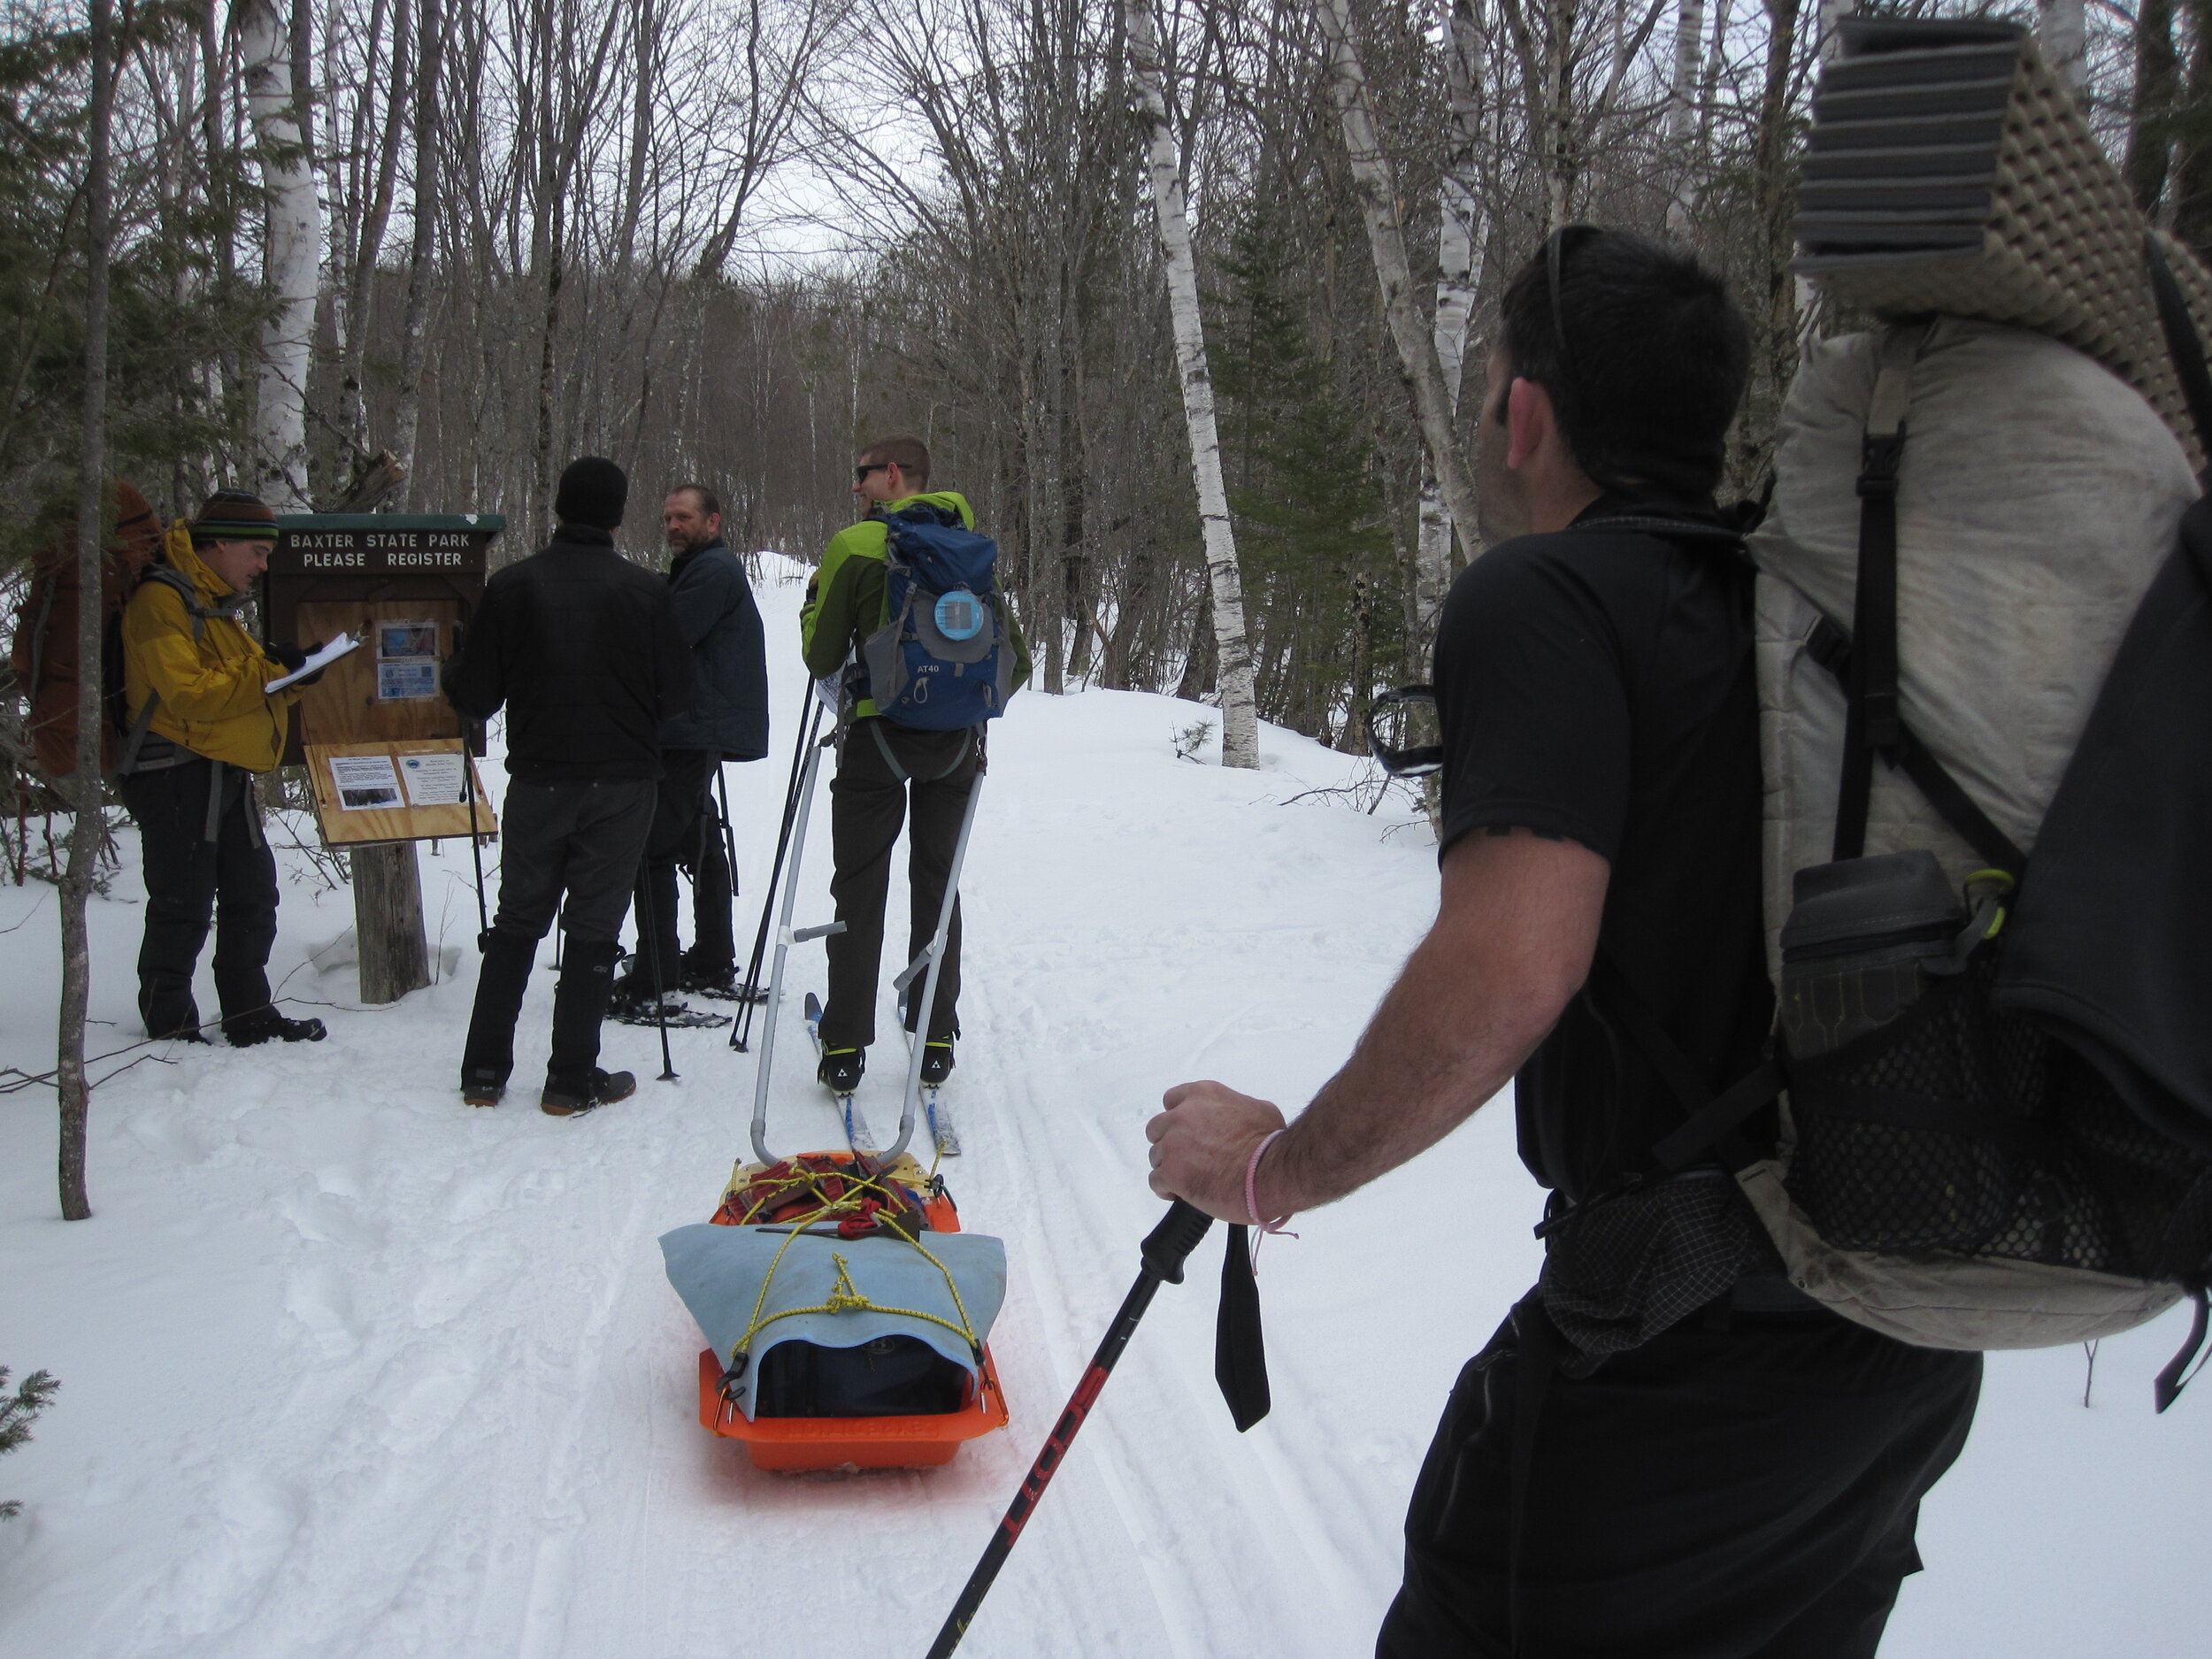
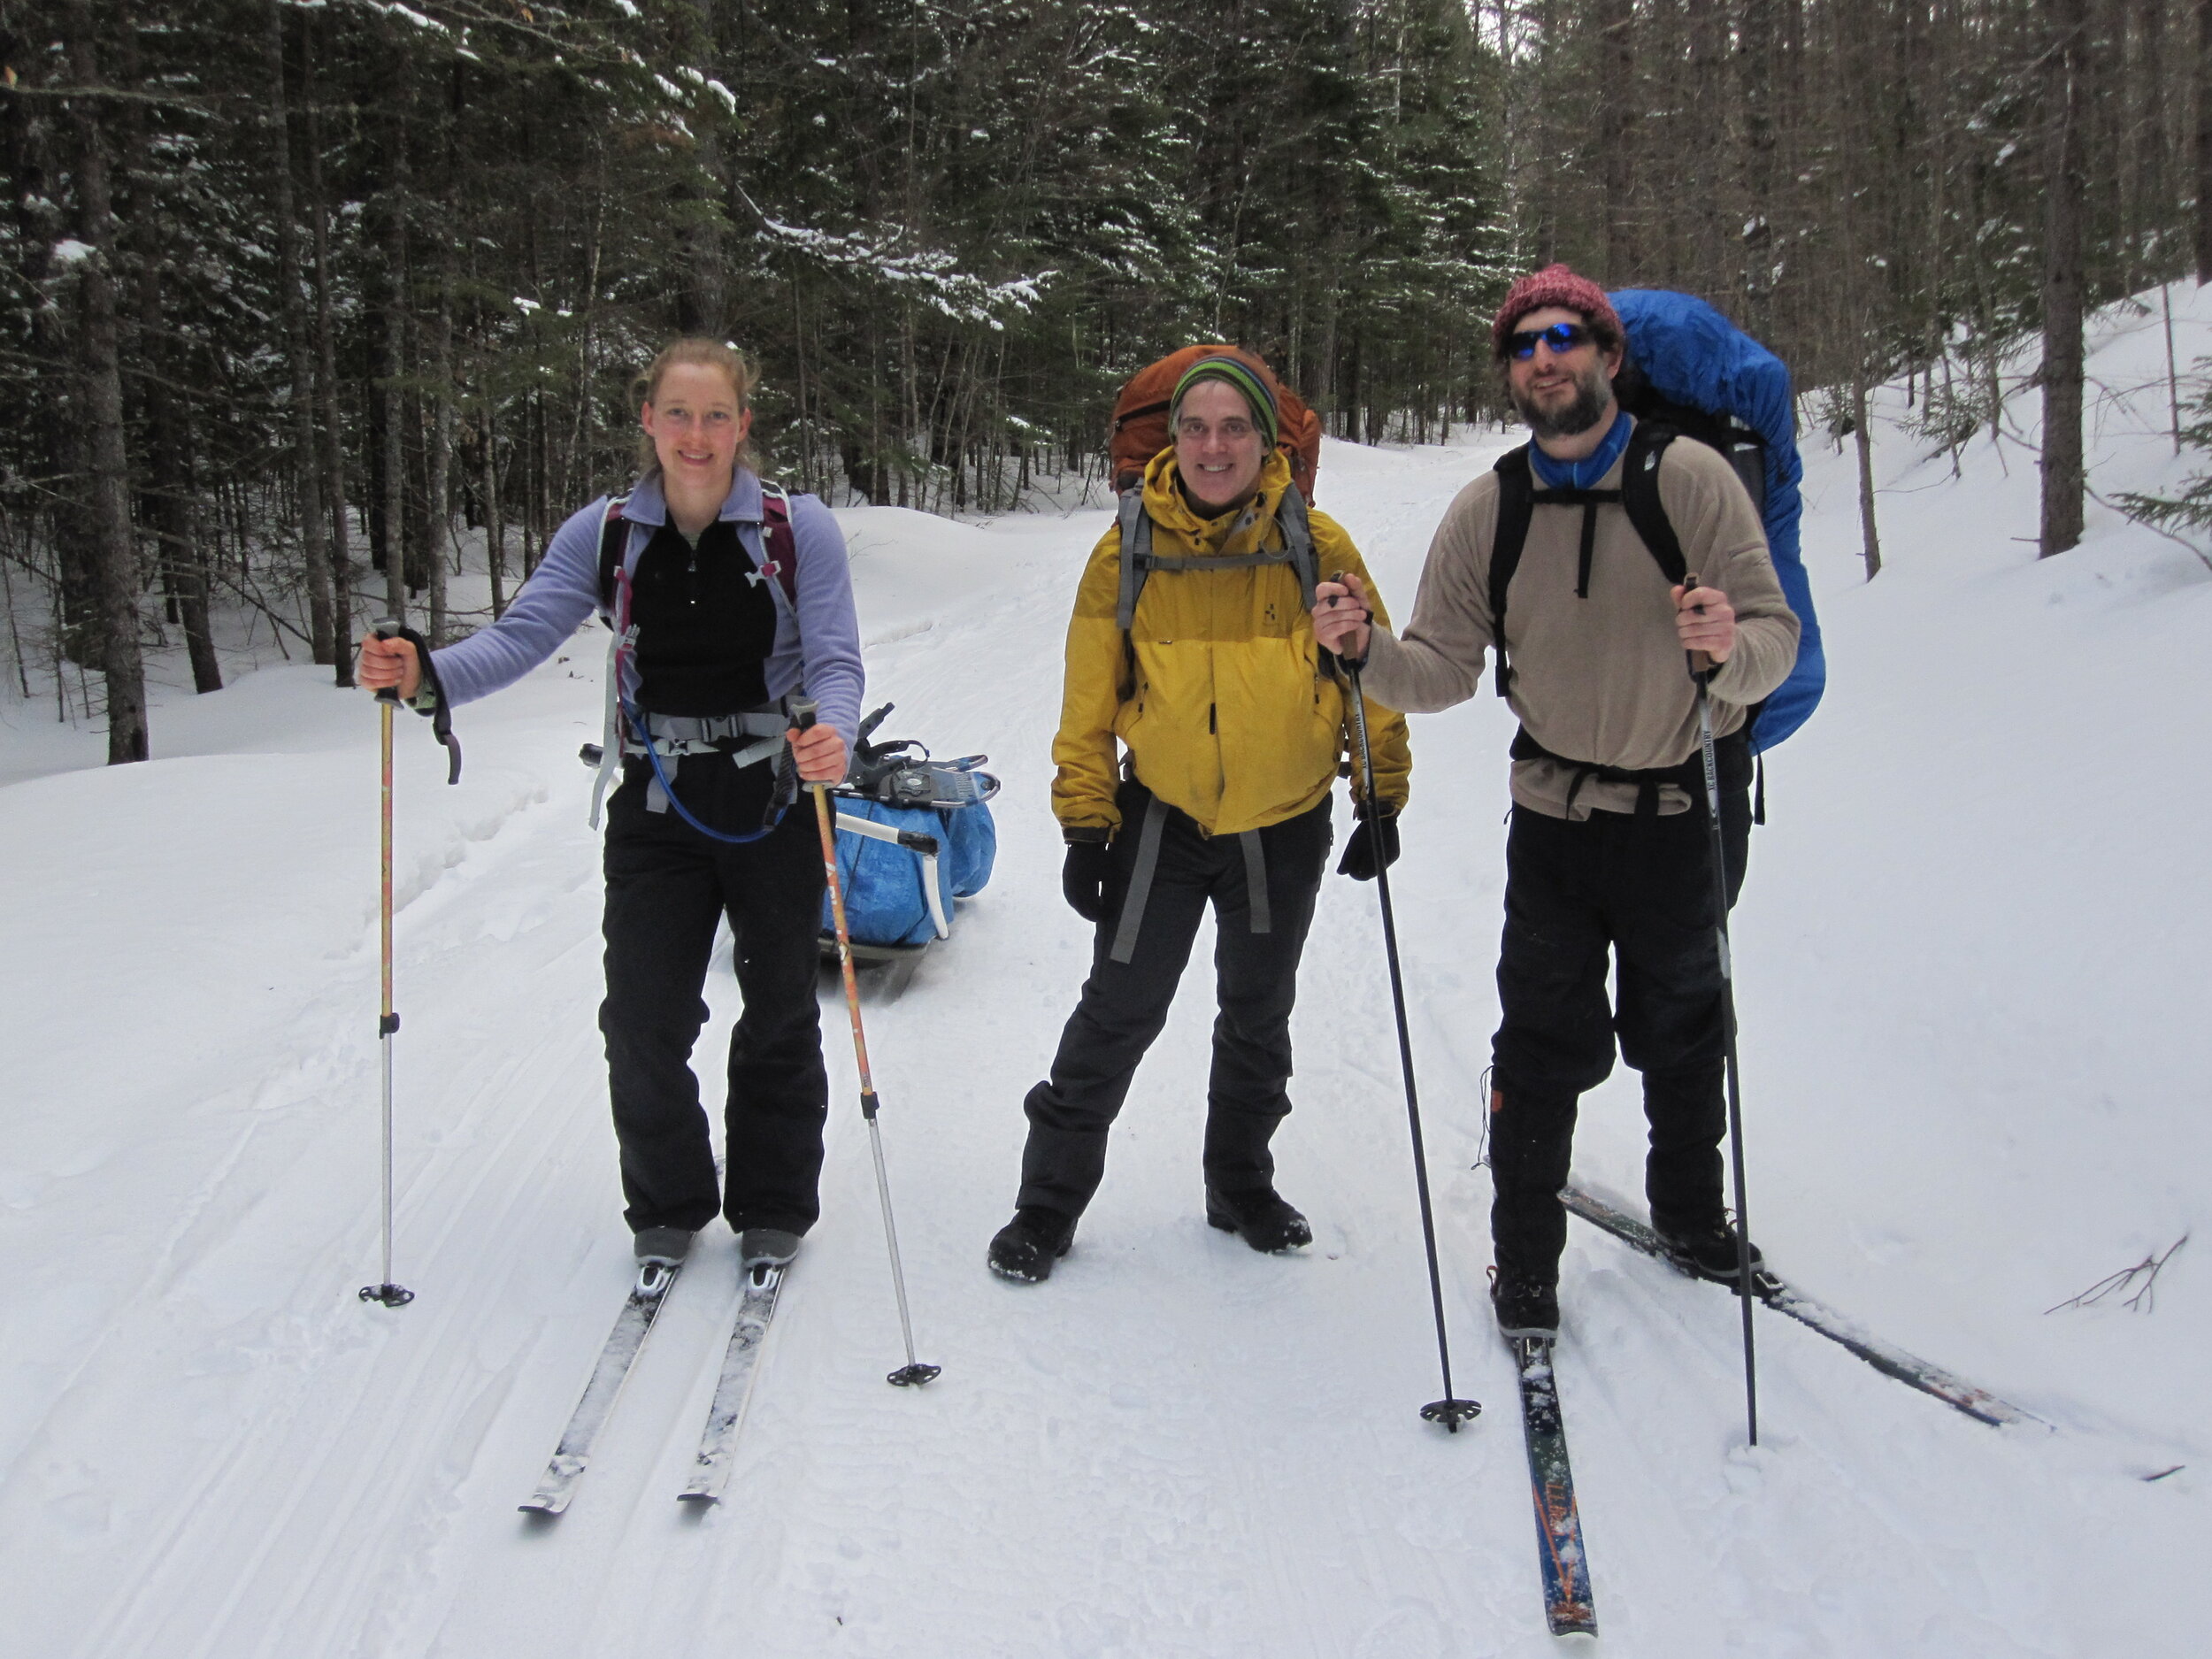
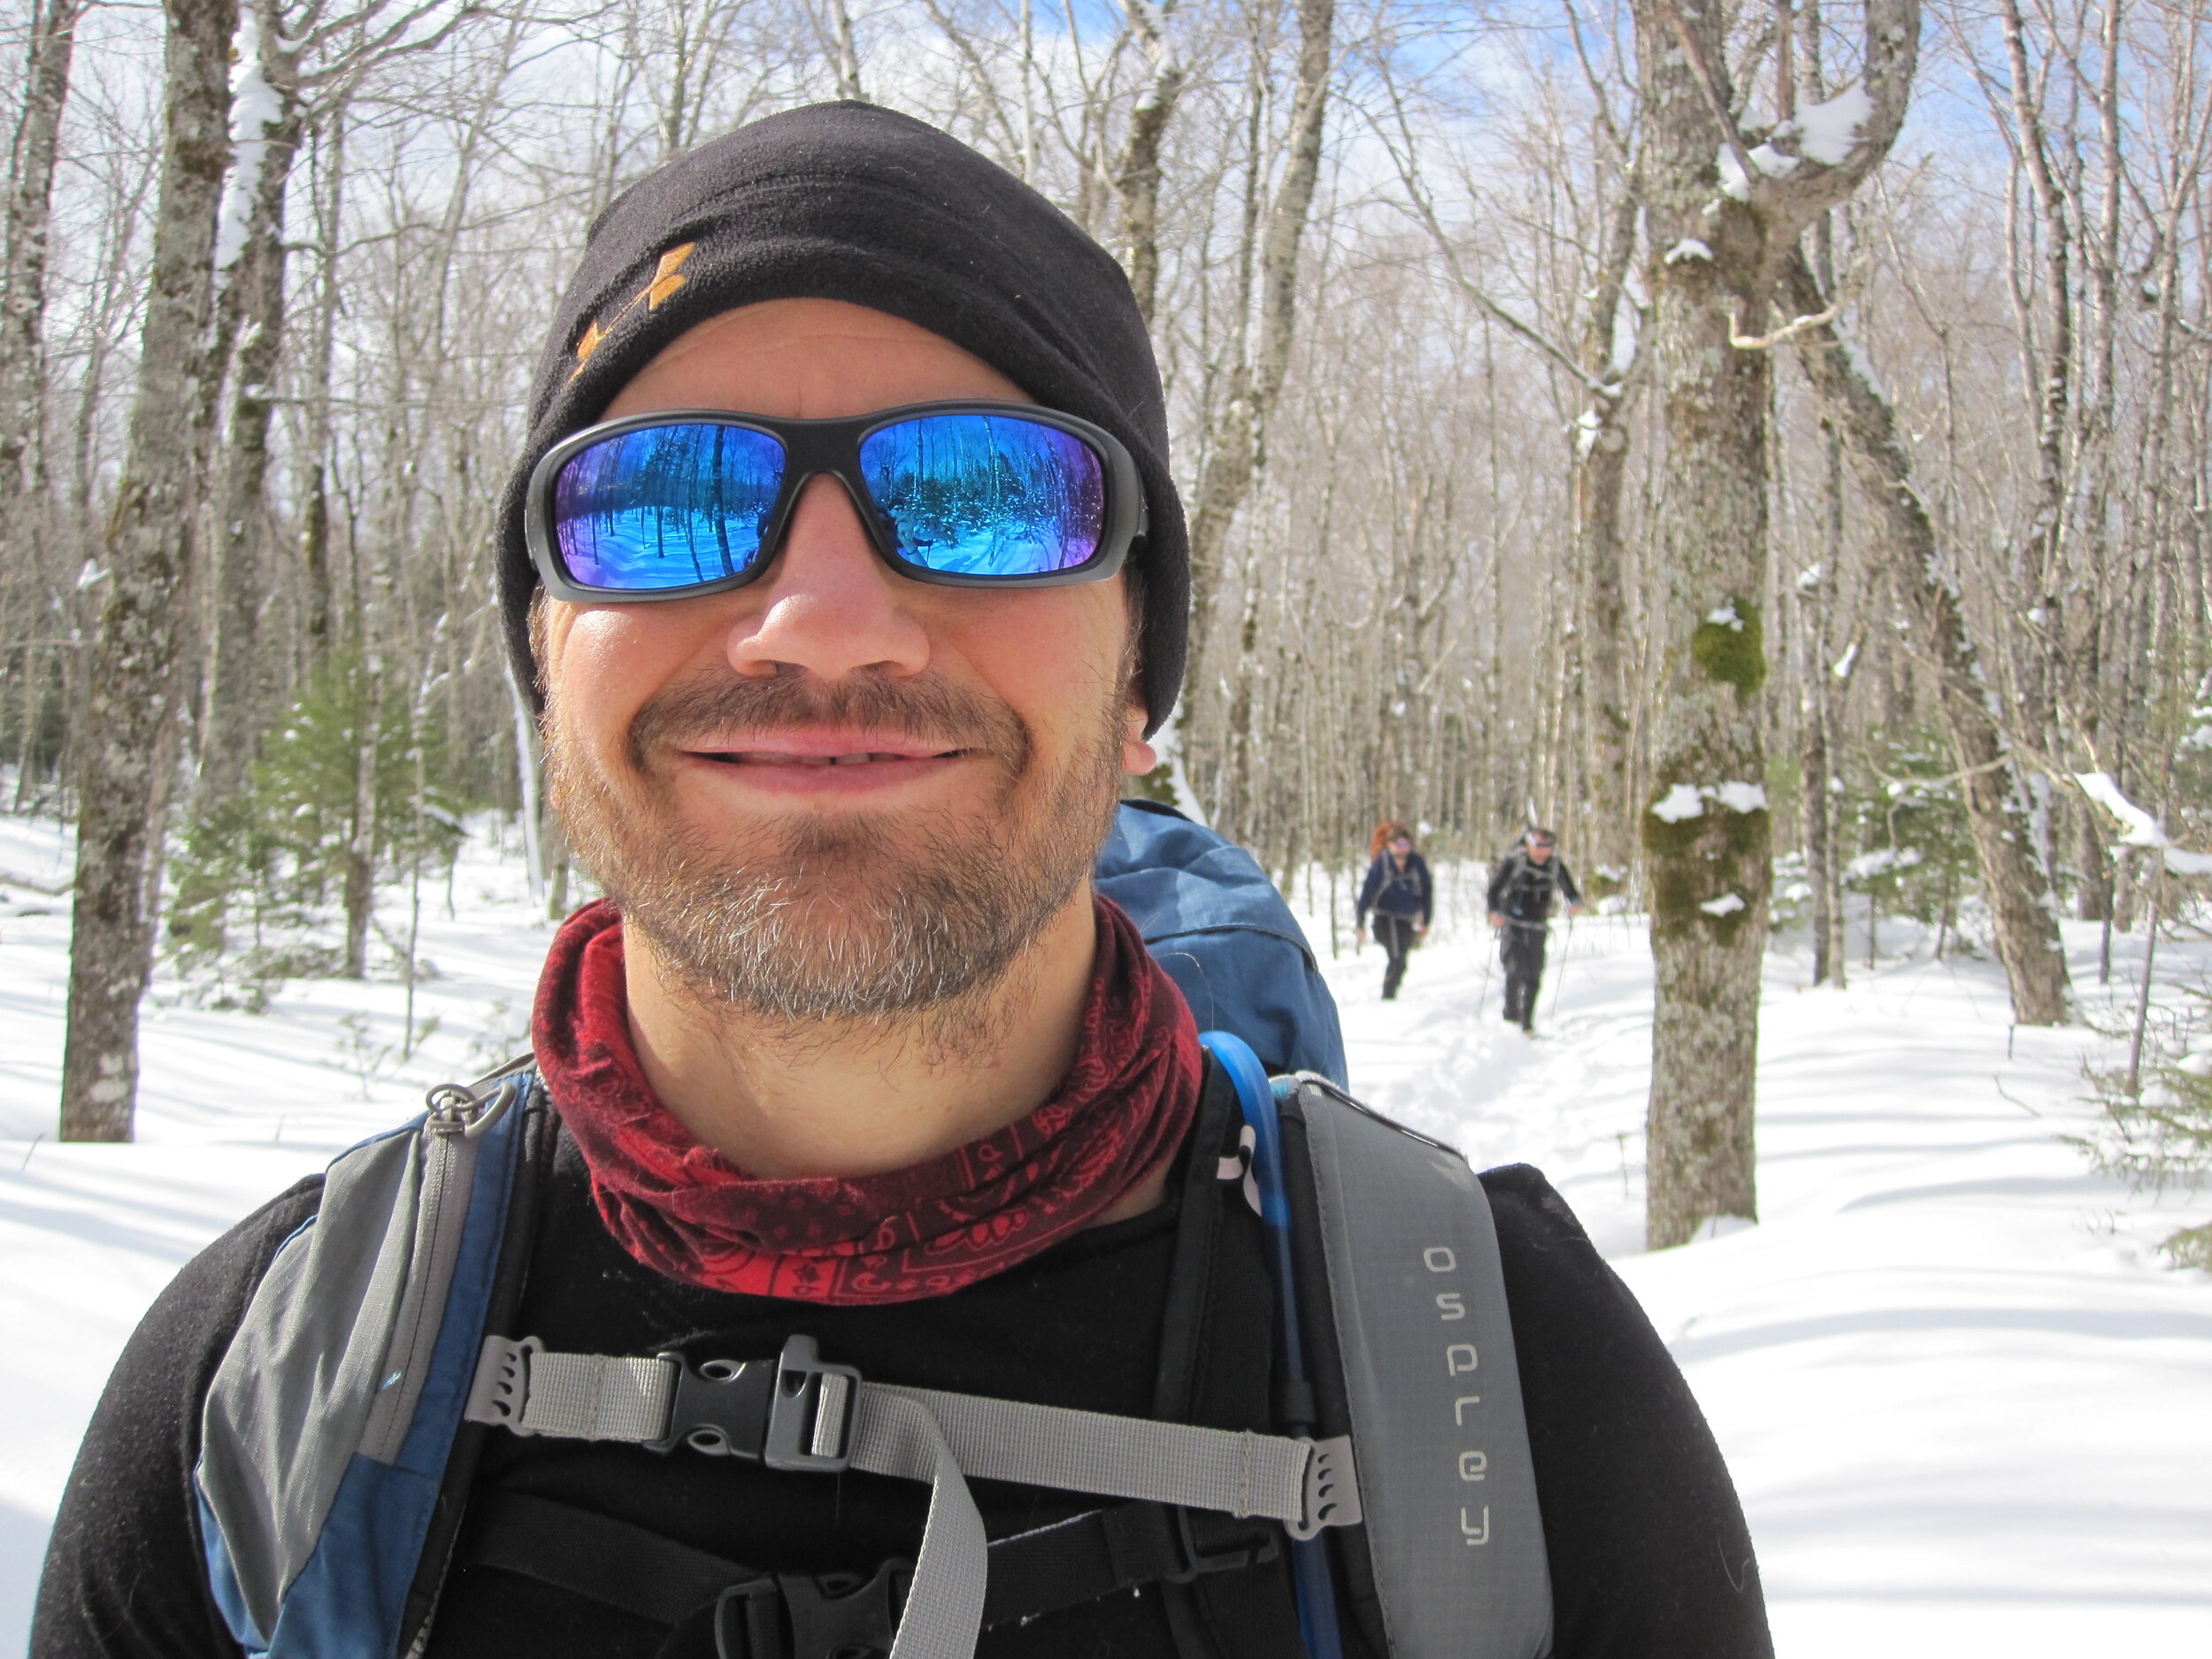
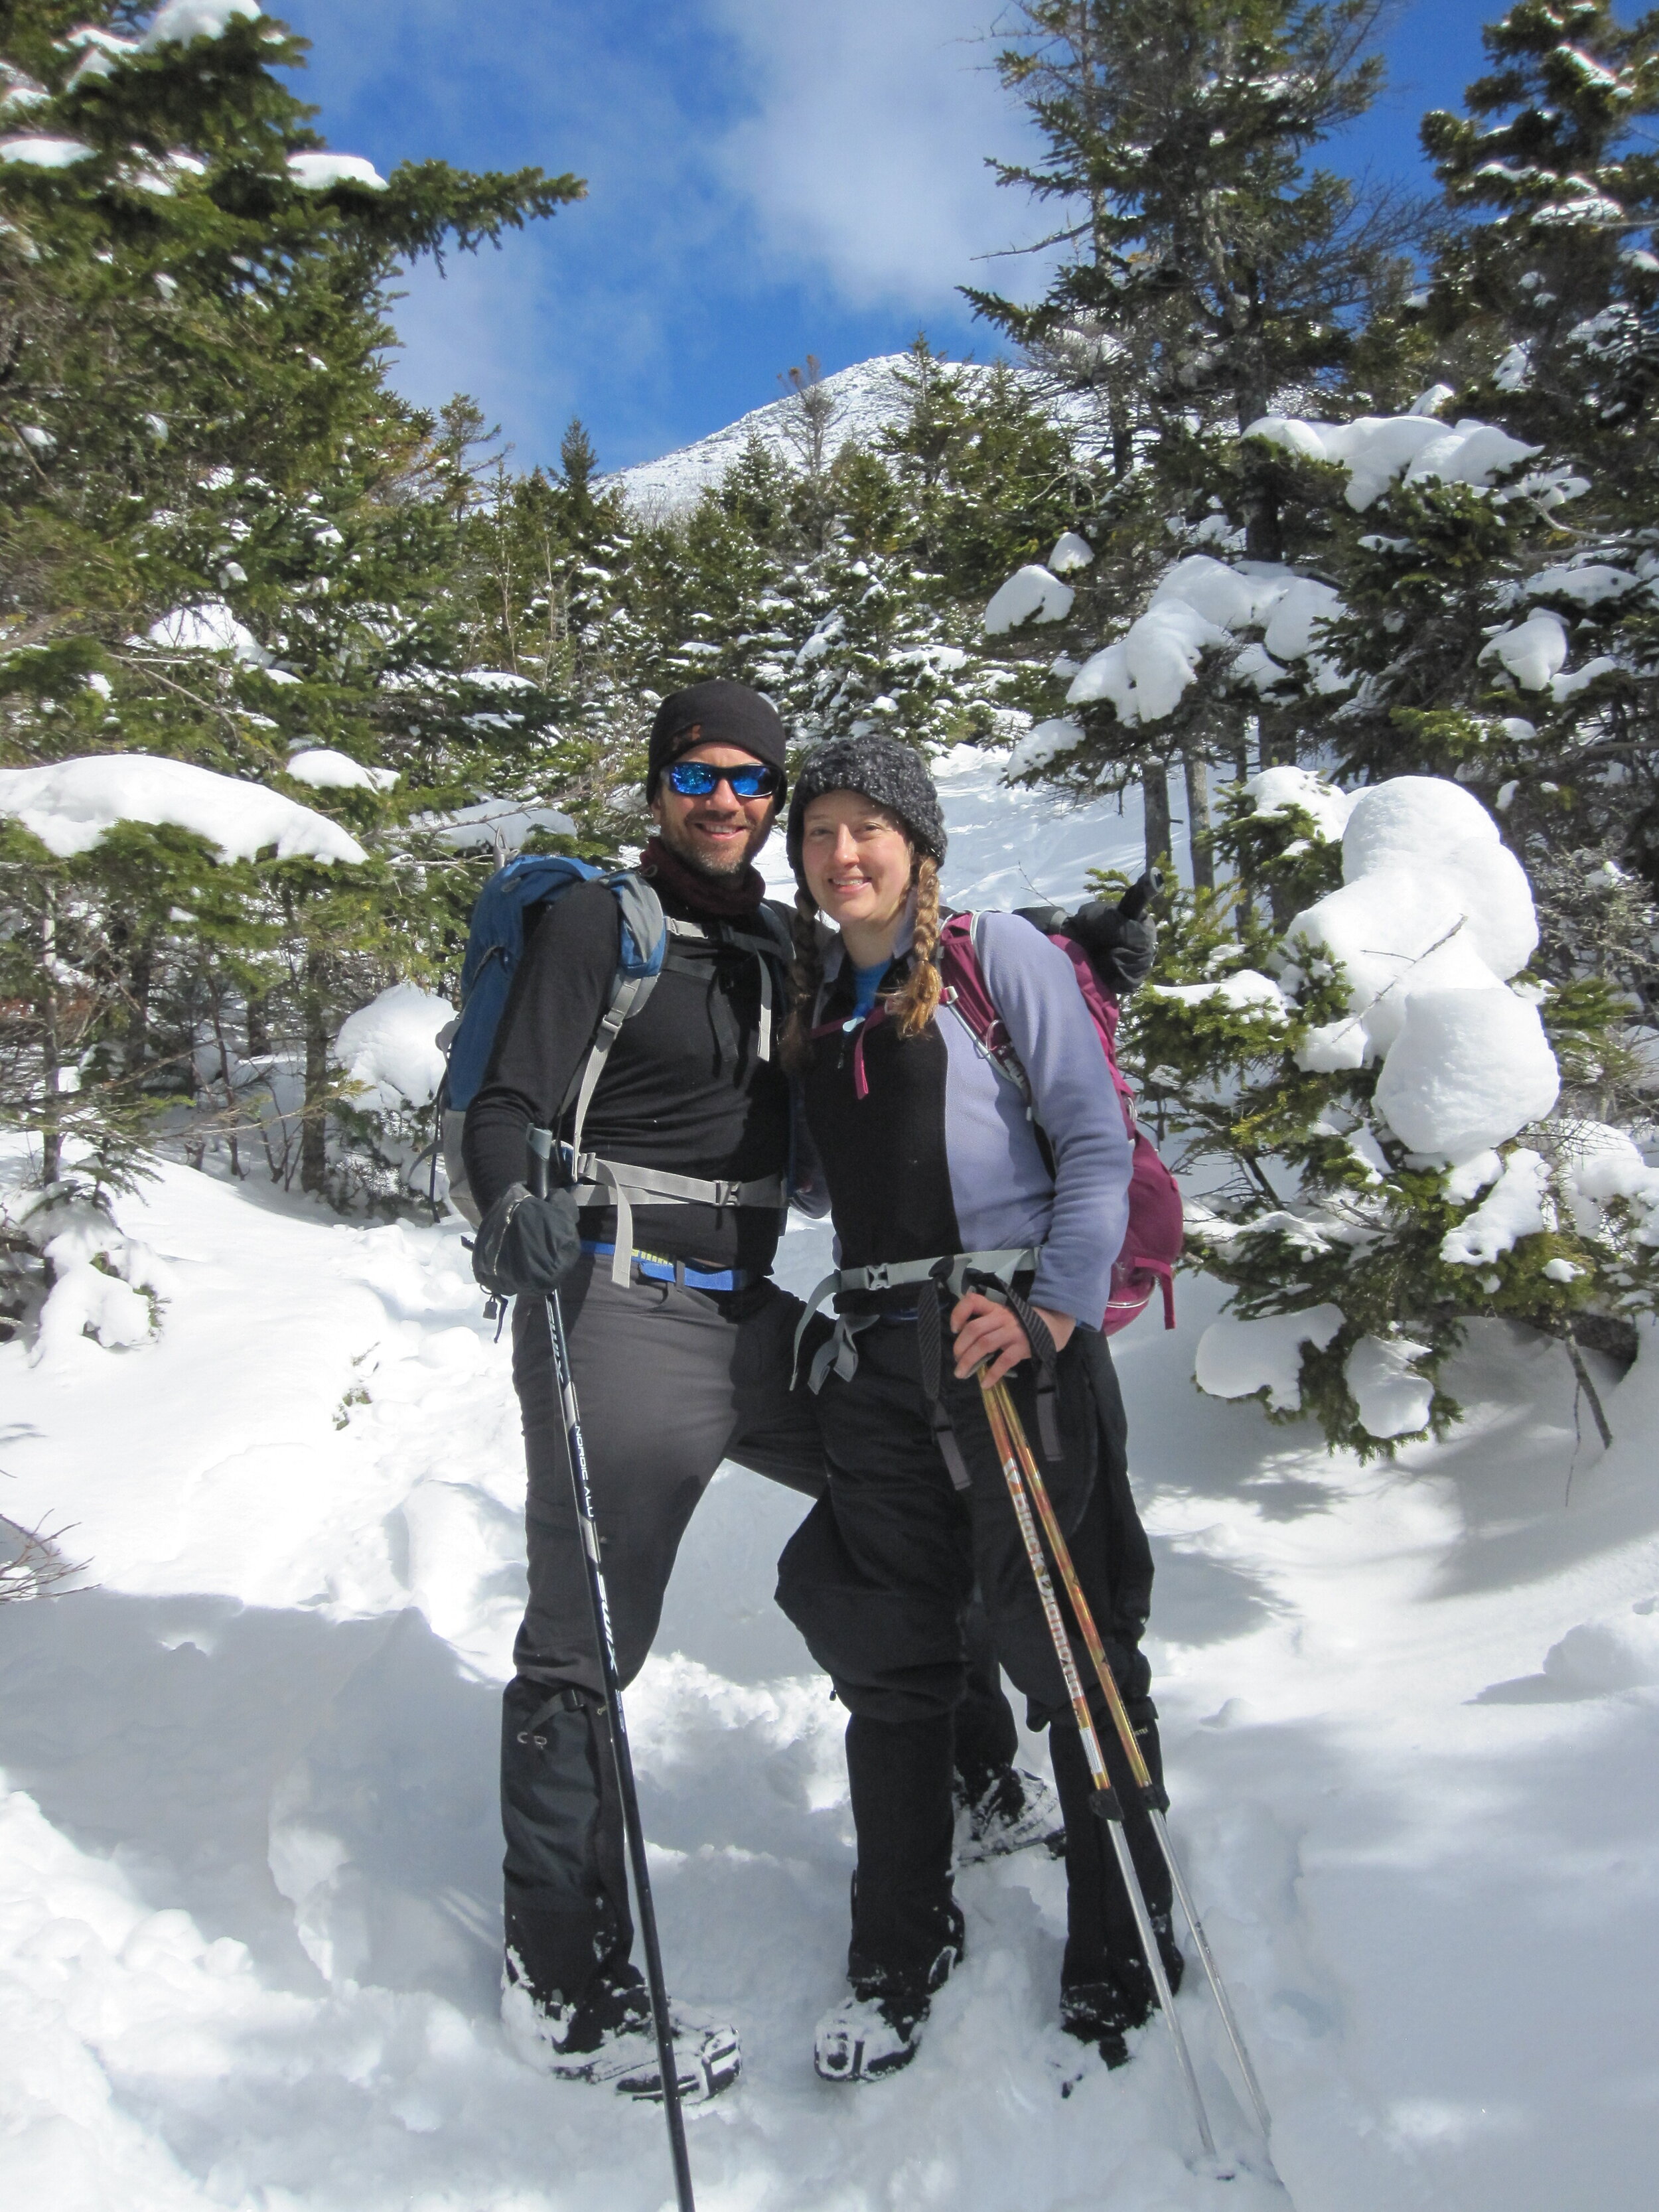
Our trip (which we did in March 2018) involved a group of eight people, some more experienced than others, but all in good shape and ready for adventure. We chose to climb the new Abol Trail, which is the standard non-technical climbing route in the winter. Other routes can be done from Chimney Pond, where you have the option of staying overnight in a bunkhouse. Our route, however, involved camping in a lean-to at Abol Campground. This trip involves a bit of planning because you need to obtain a permit from Baxter State Park. The park takes this very seriously, and they even ask what your prior experience is on the registration form. Their website includes a wealth of information on directions, planning, gear recommendations, etc.

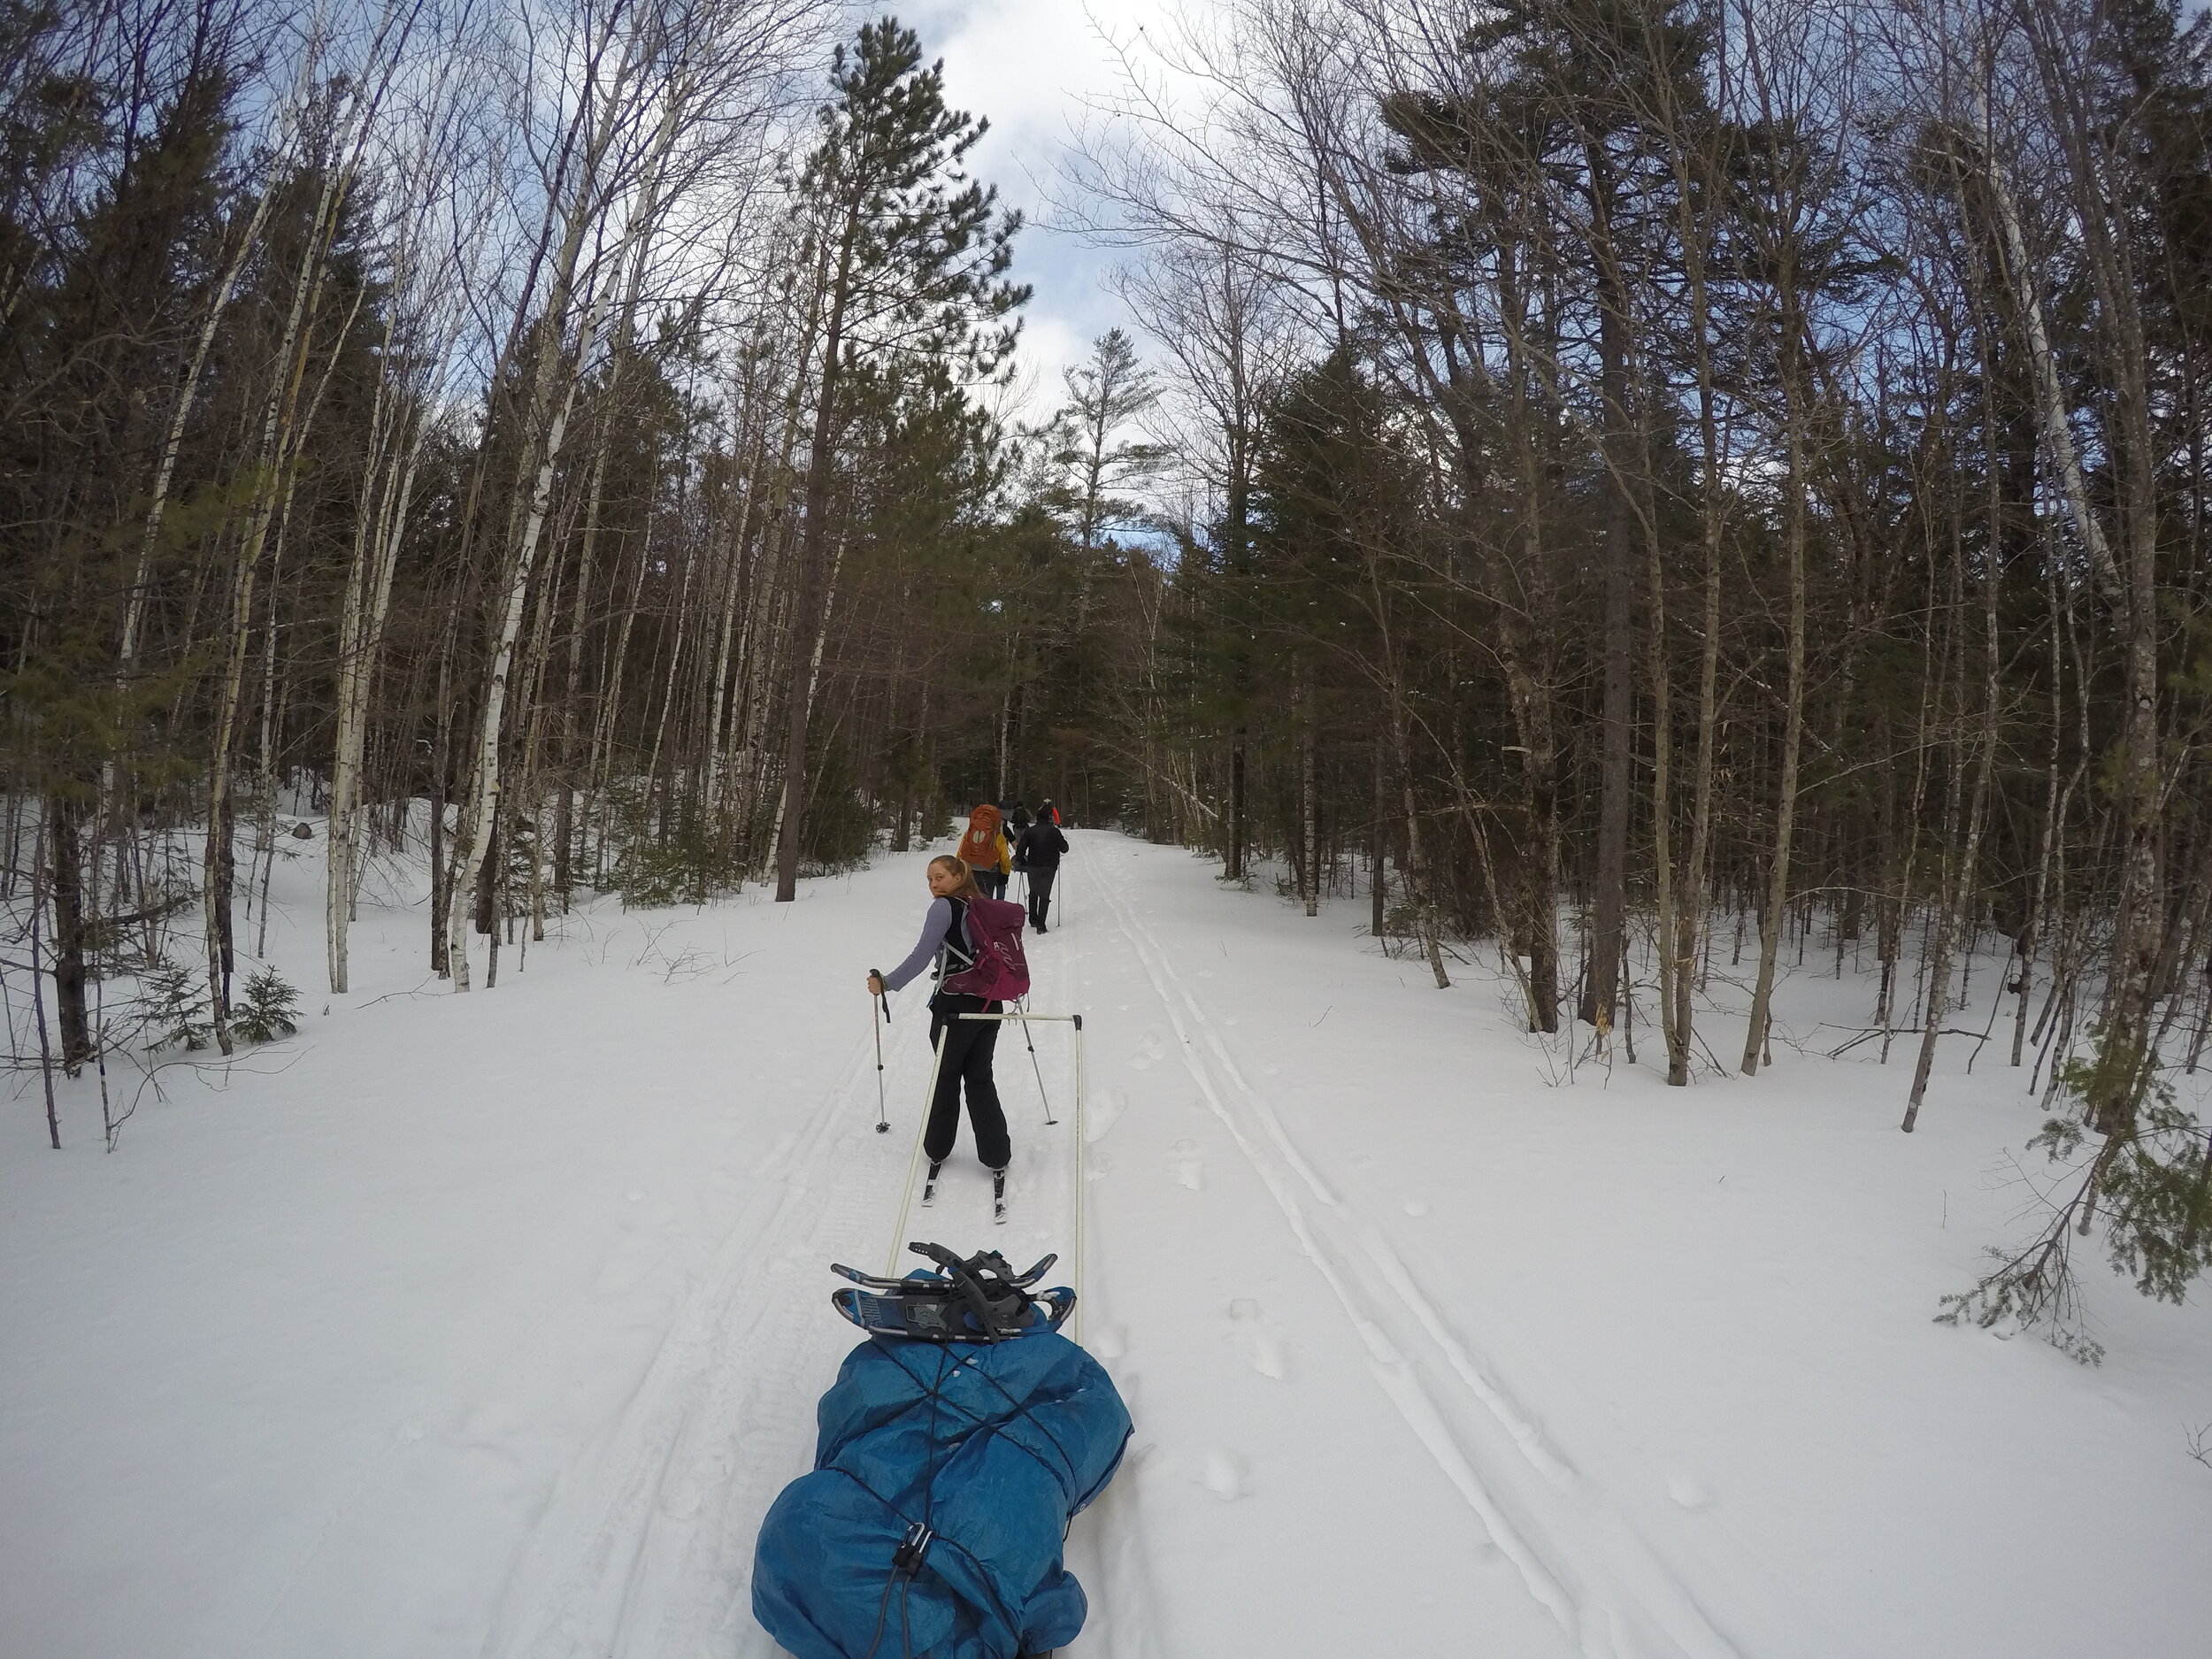
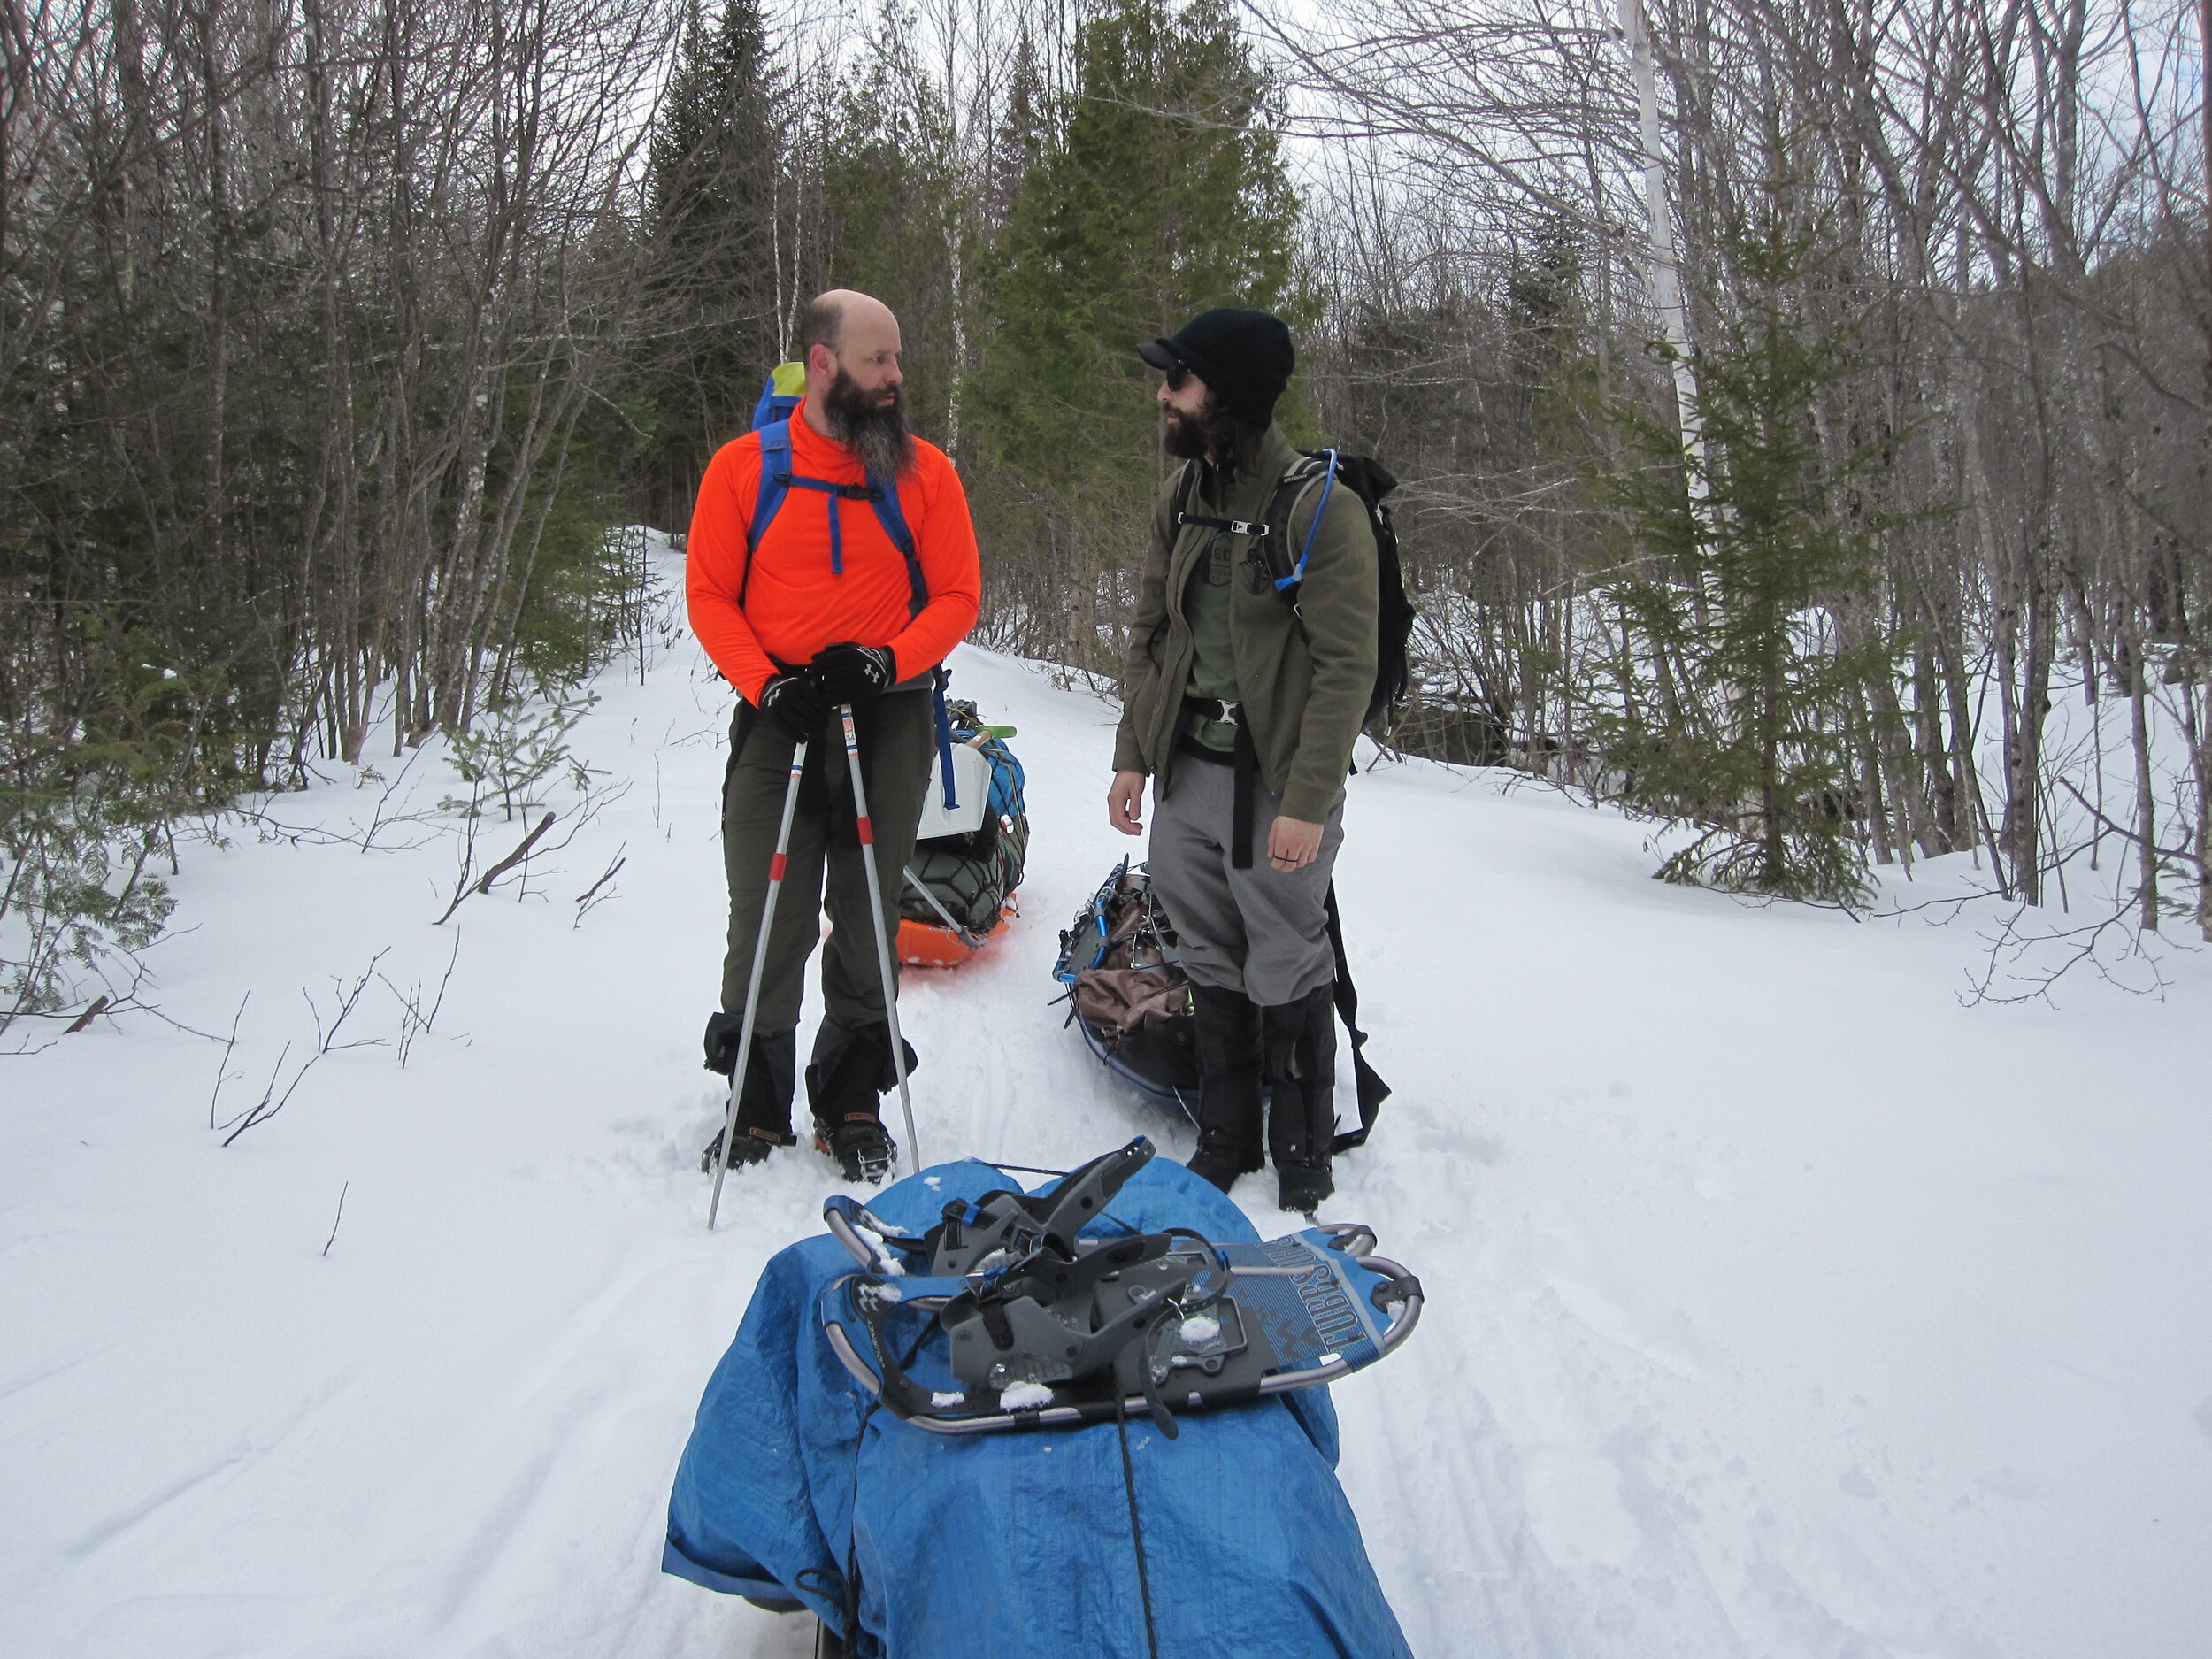
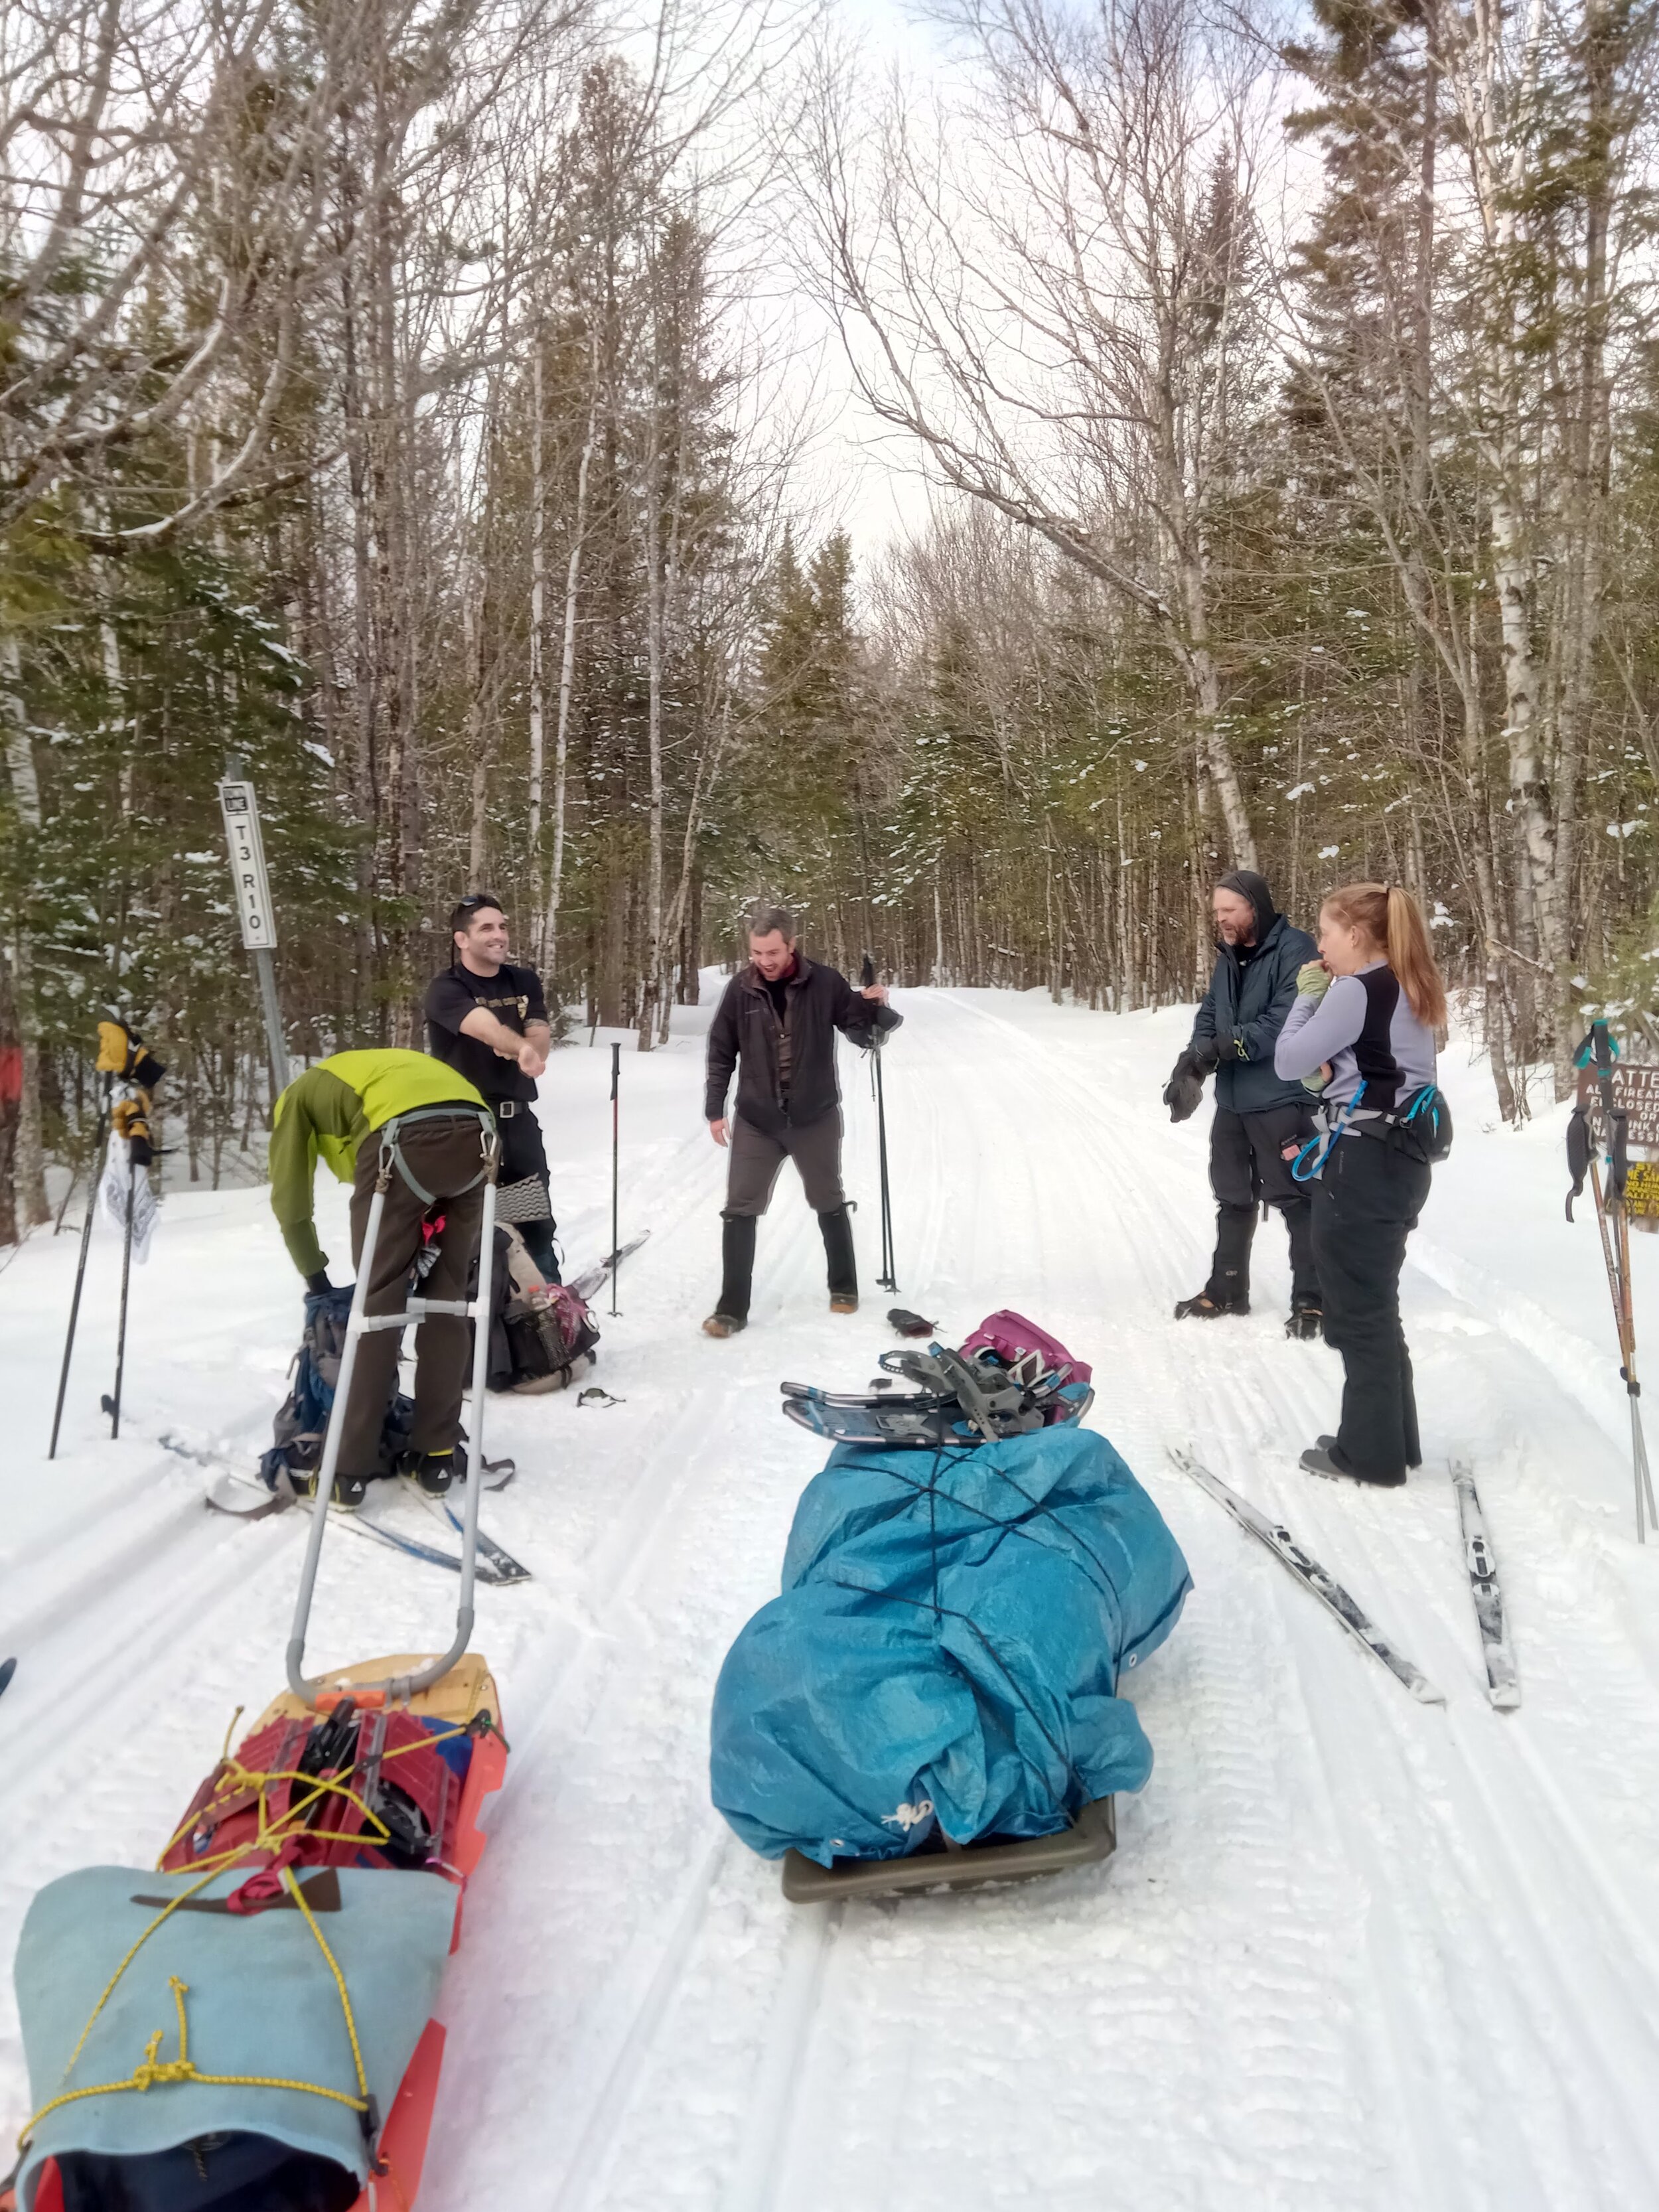
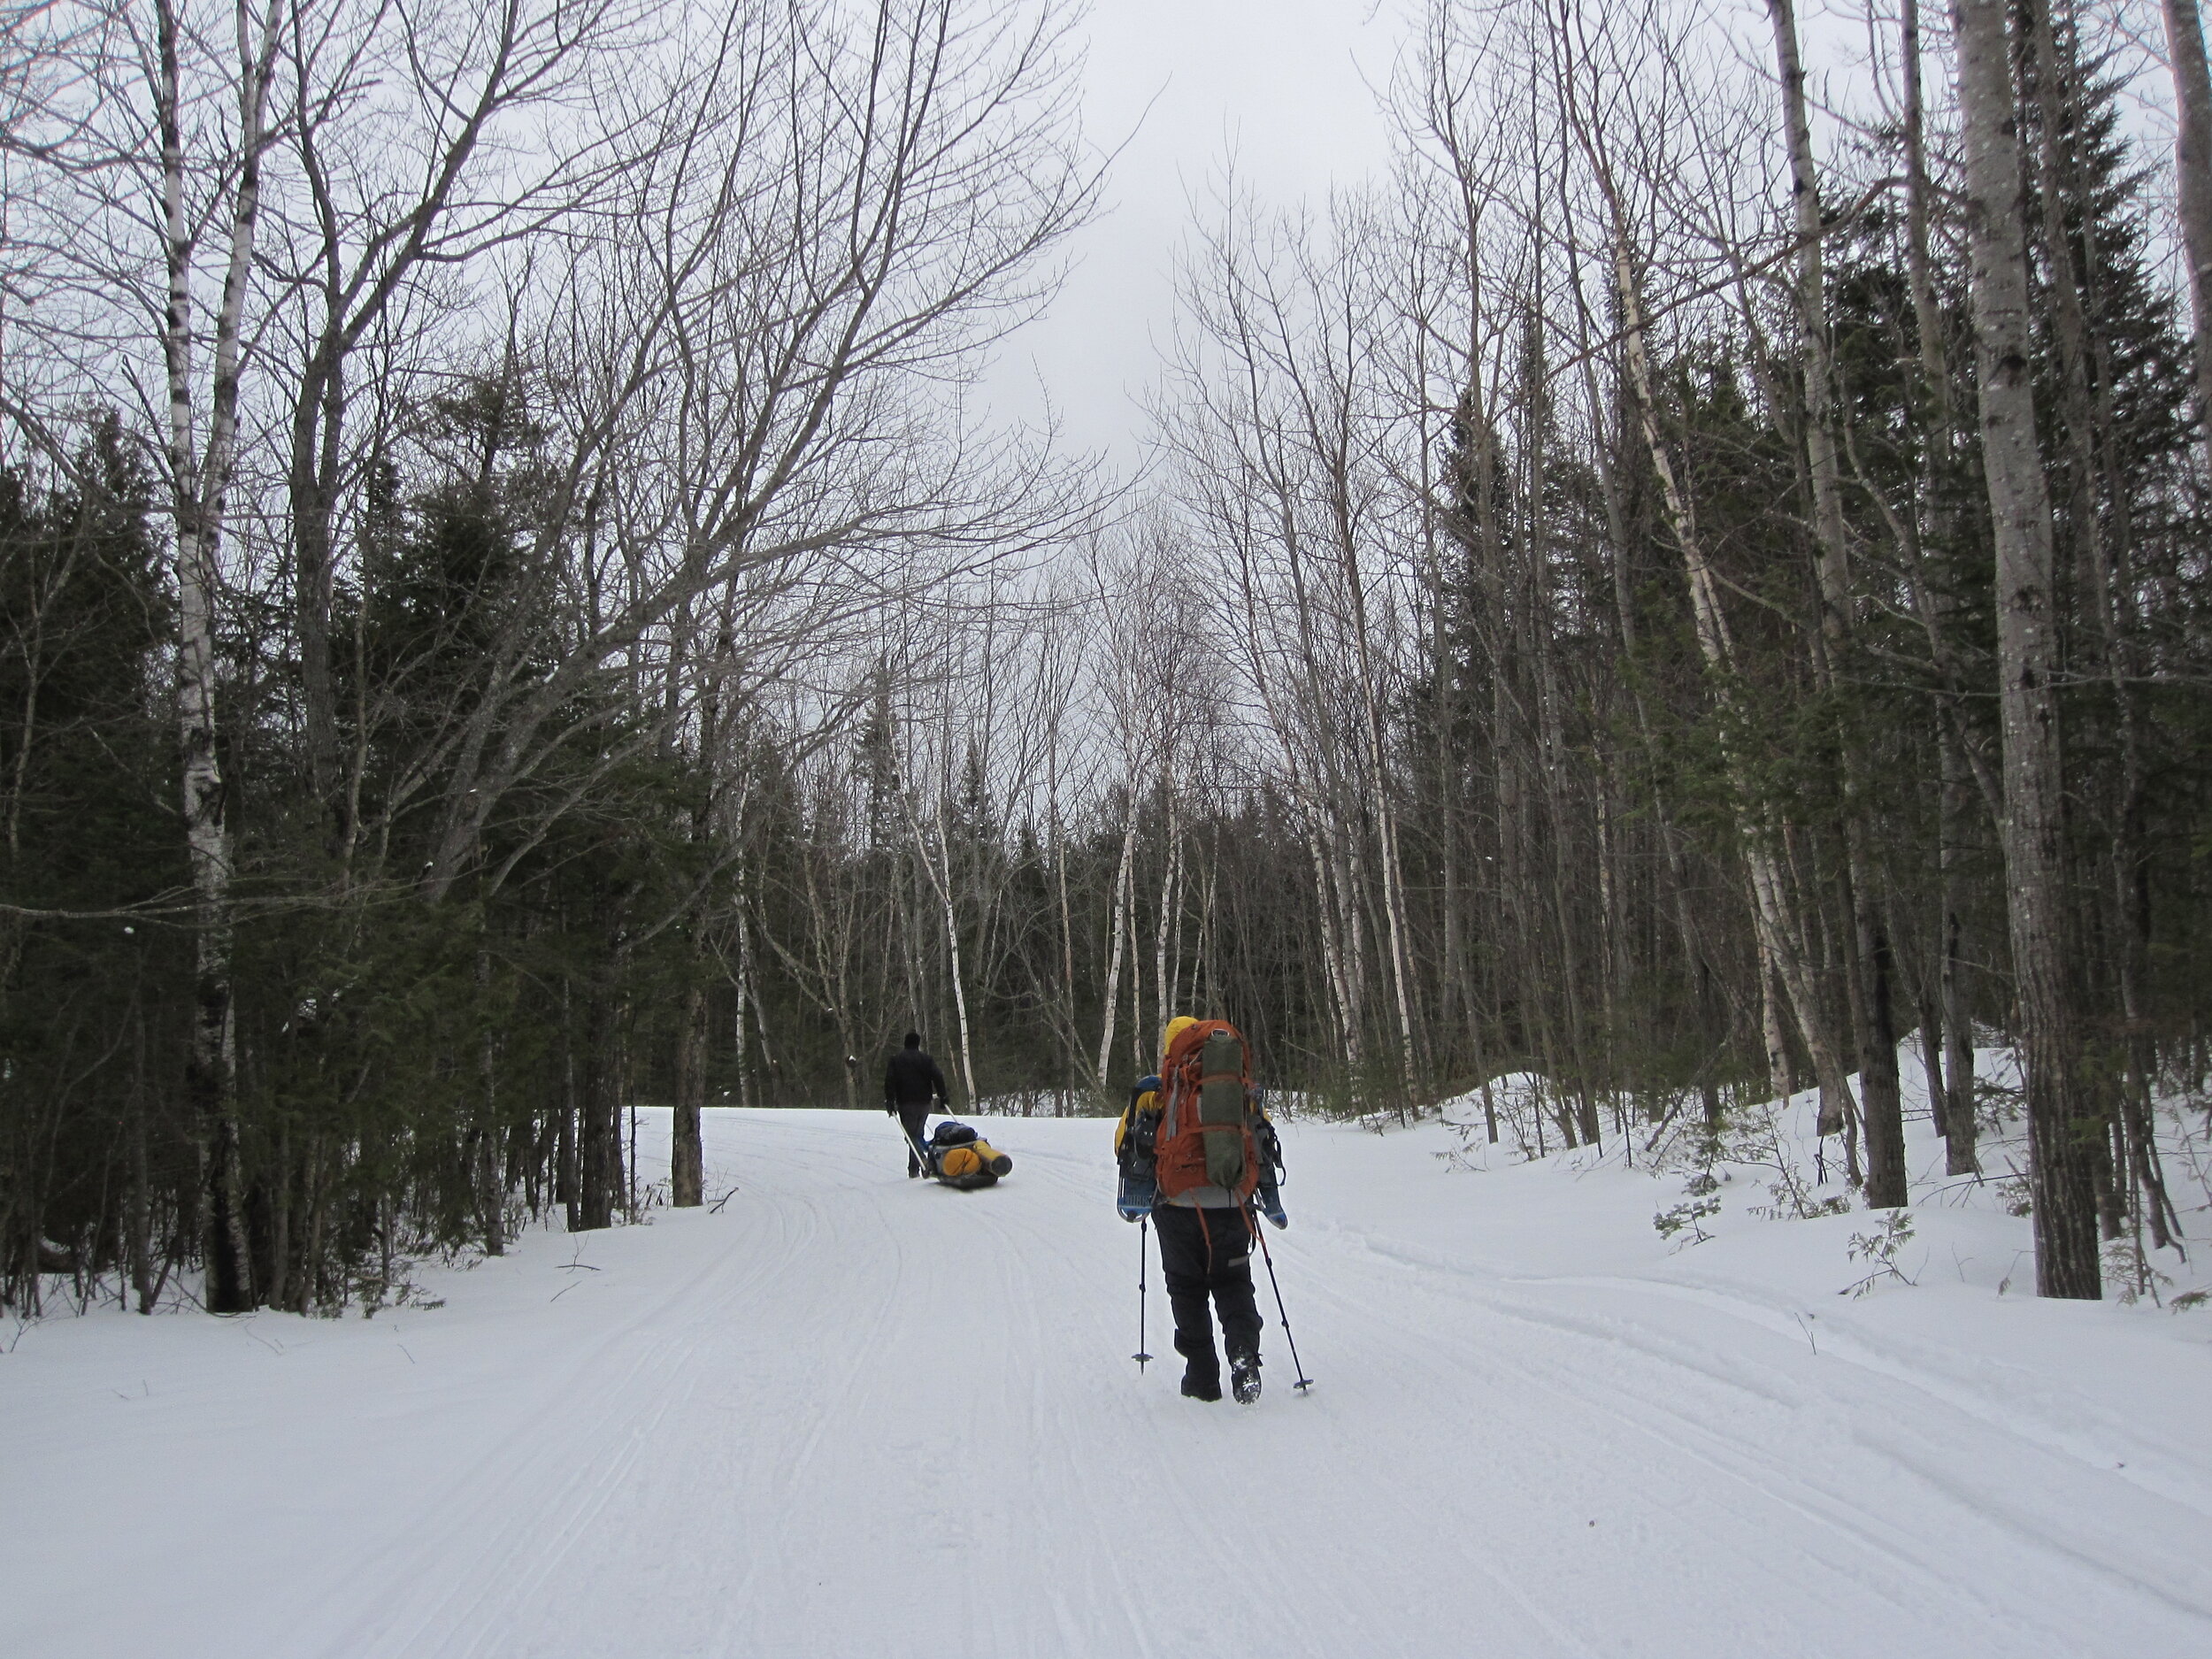
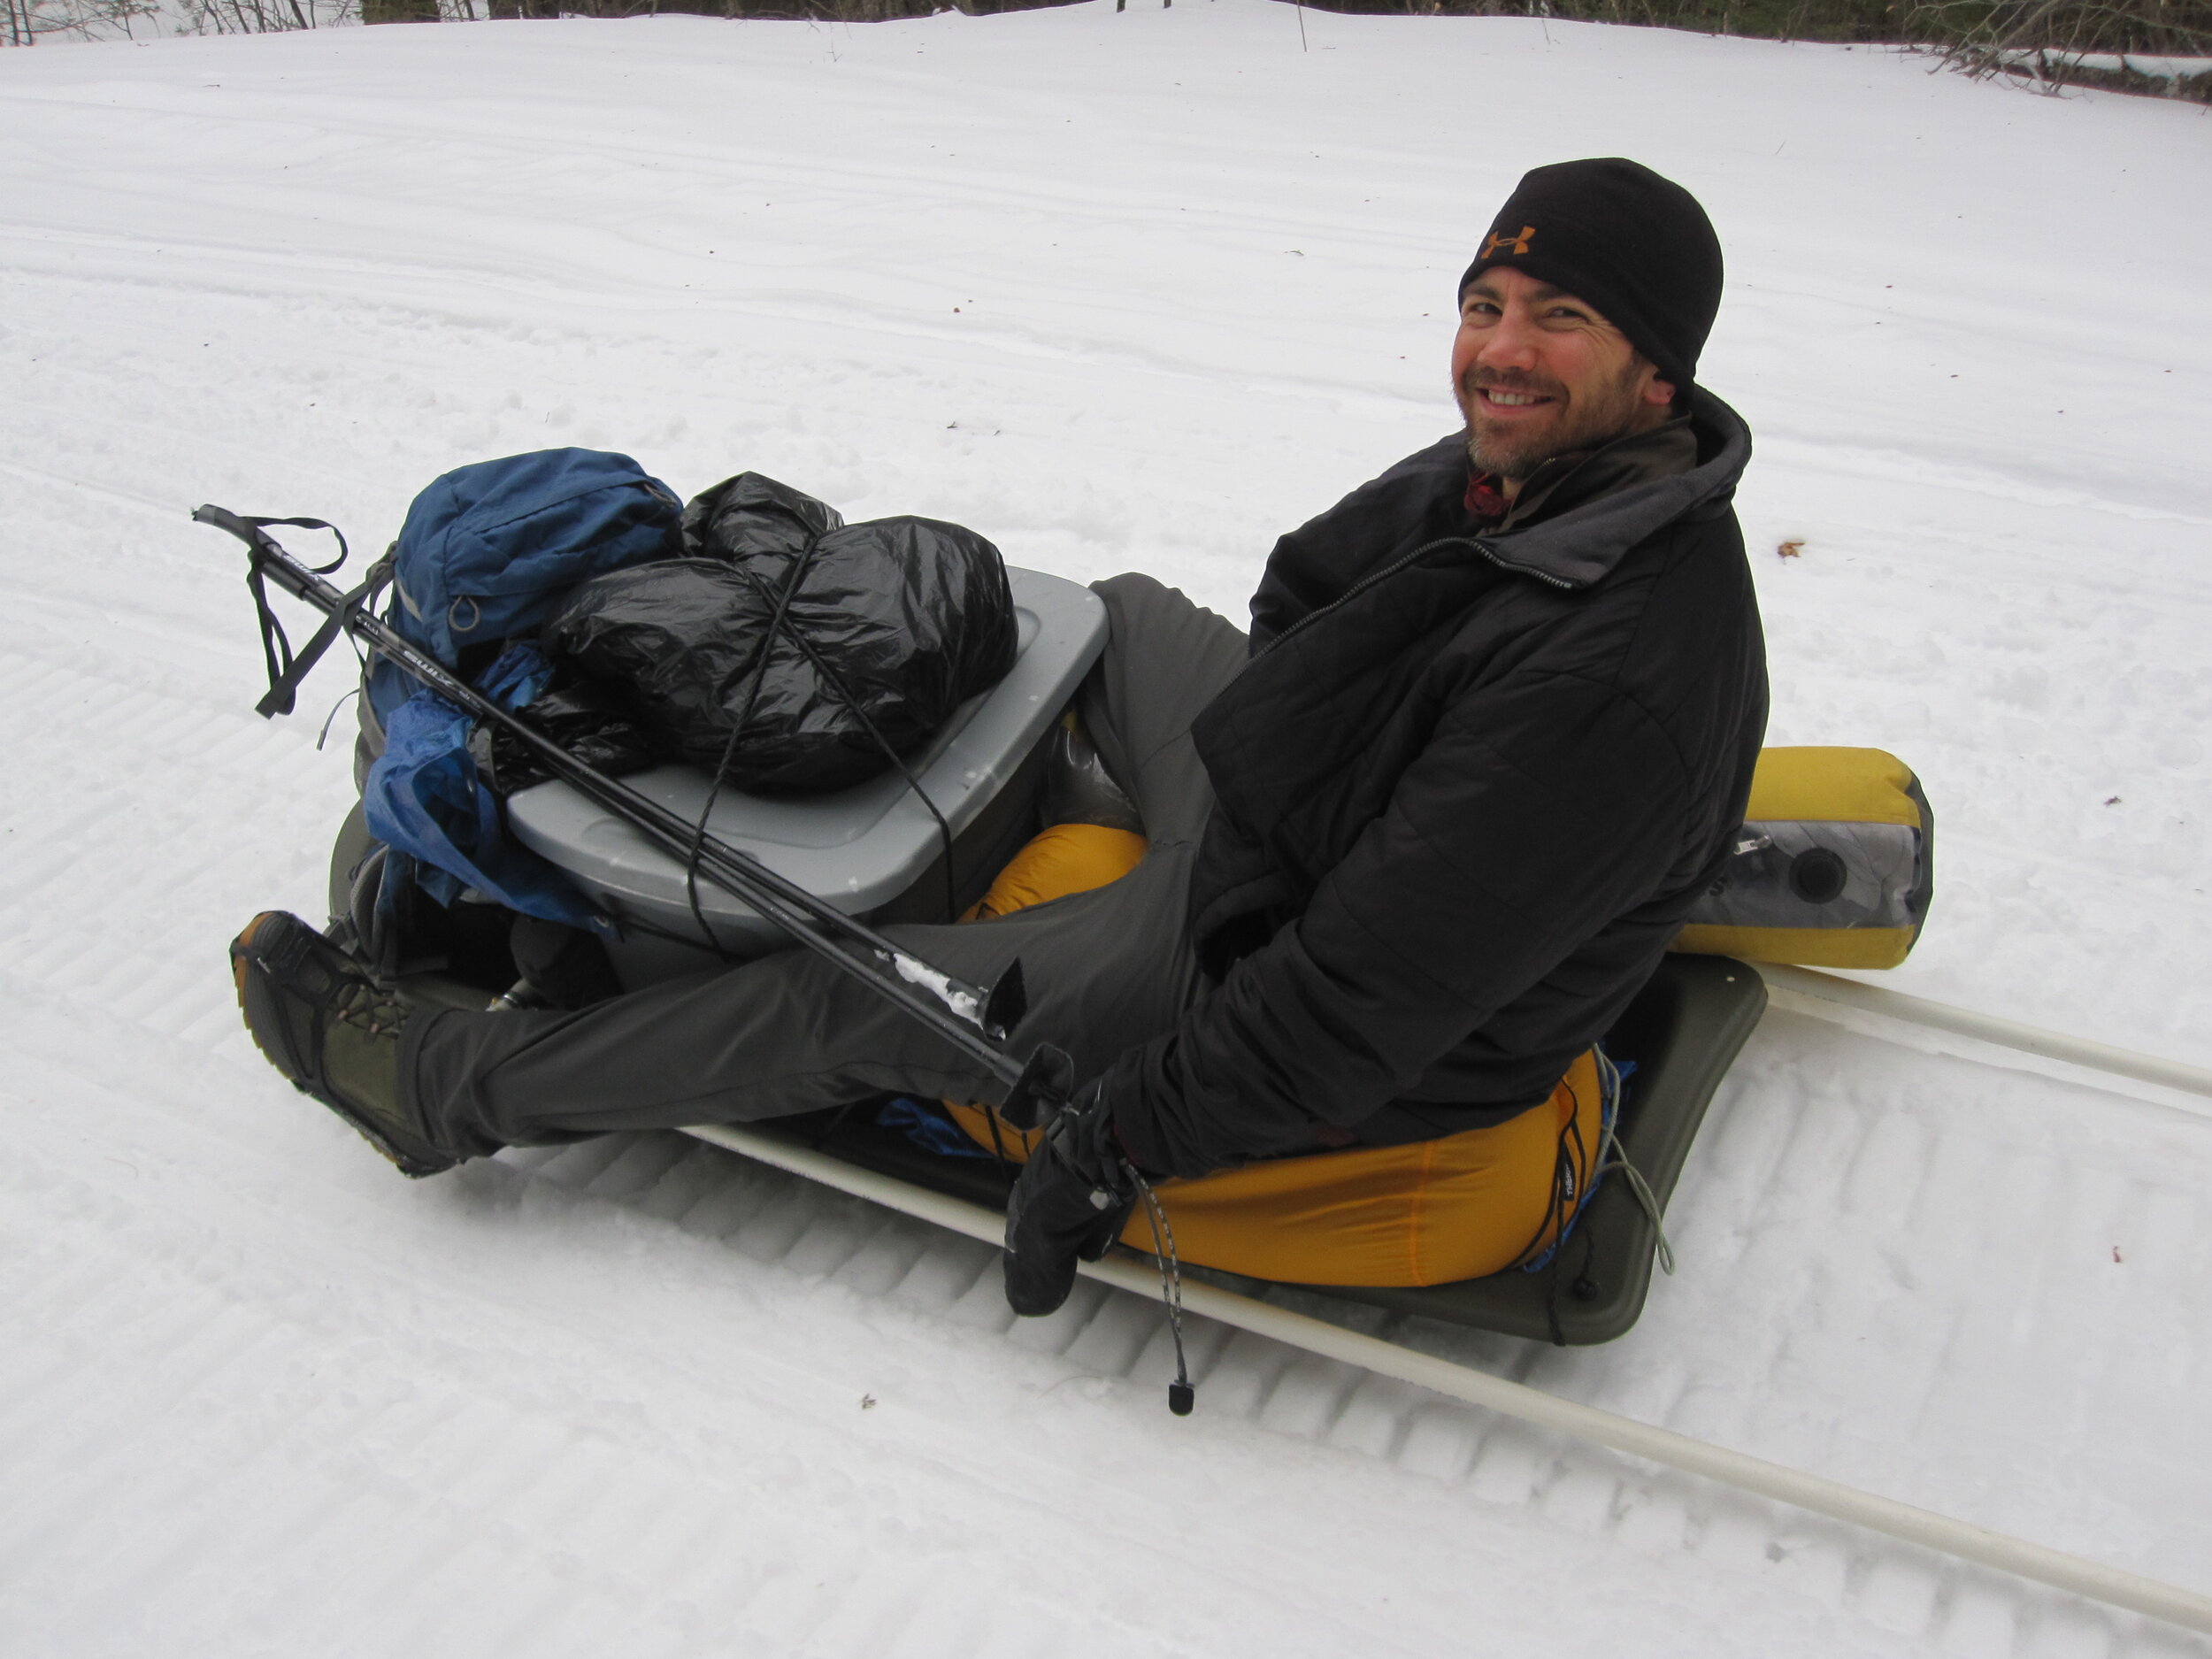
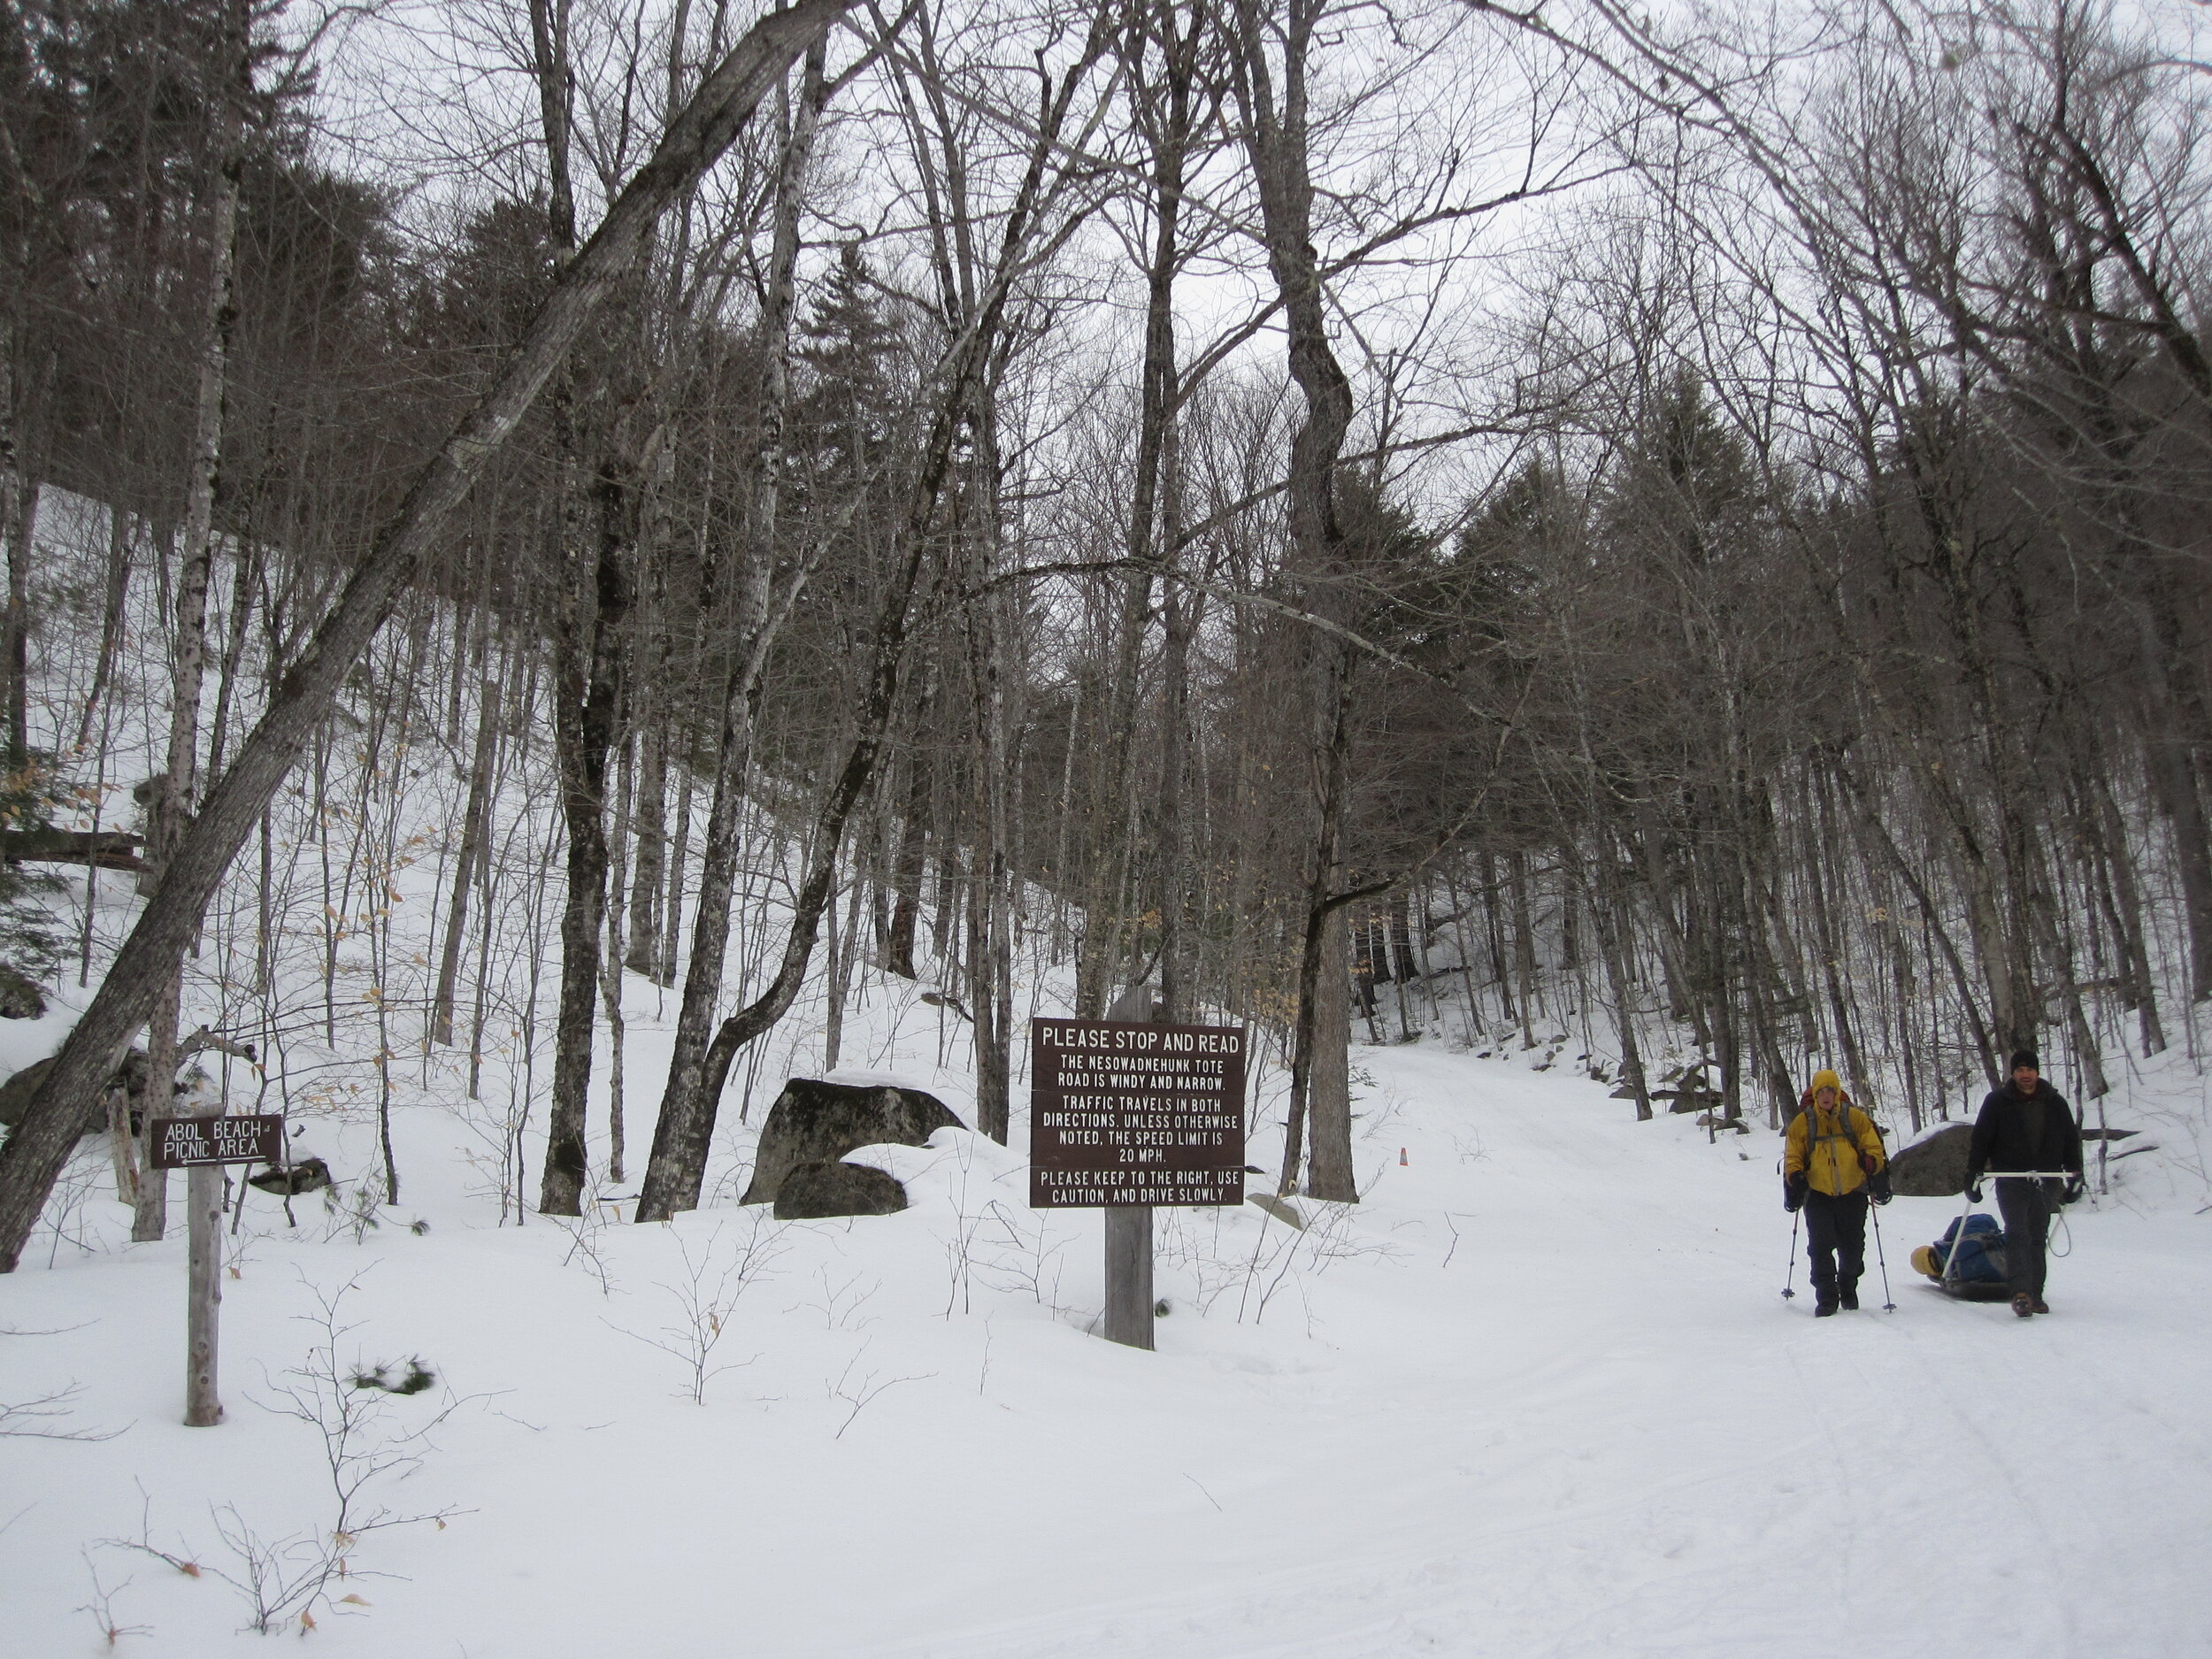
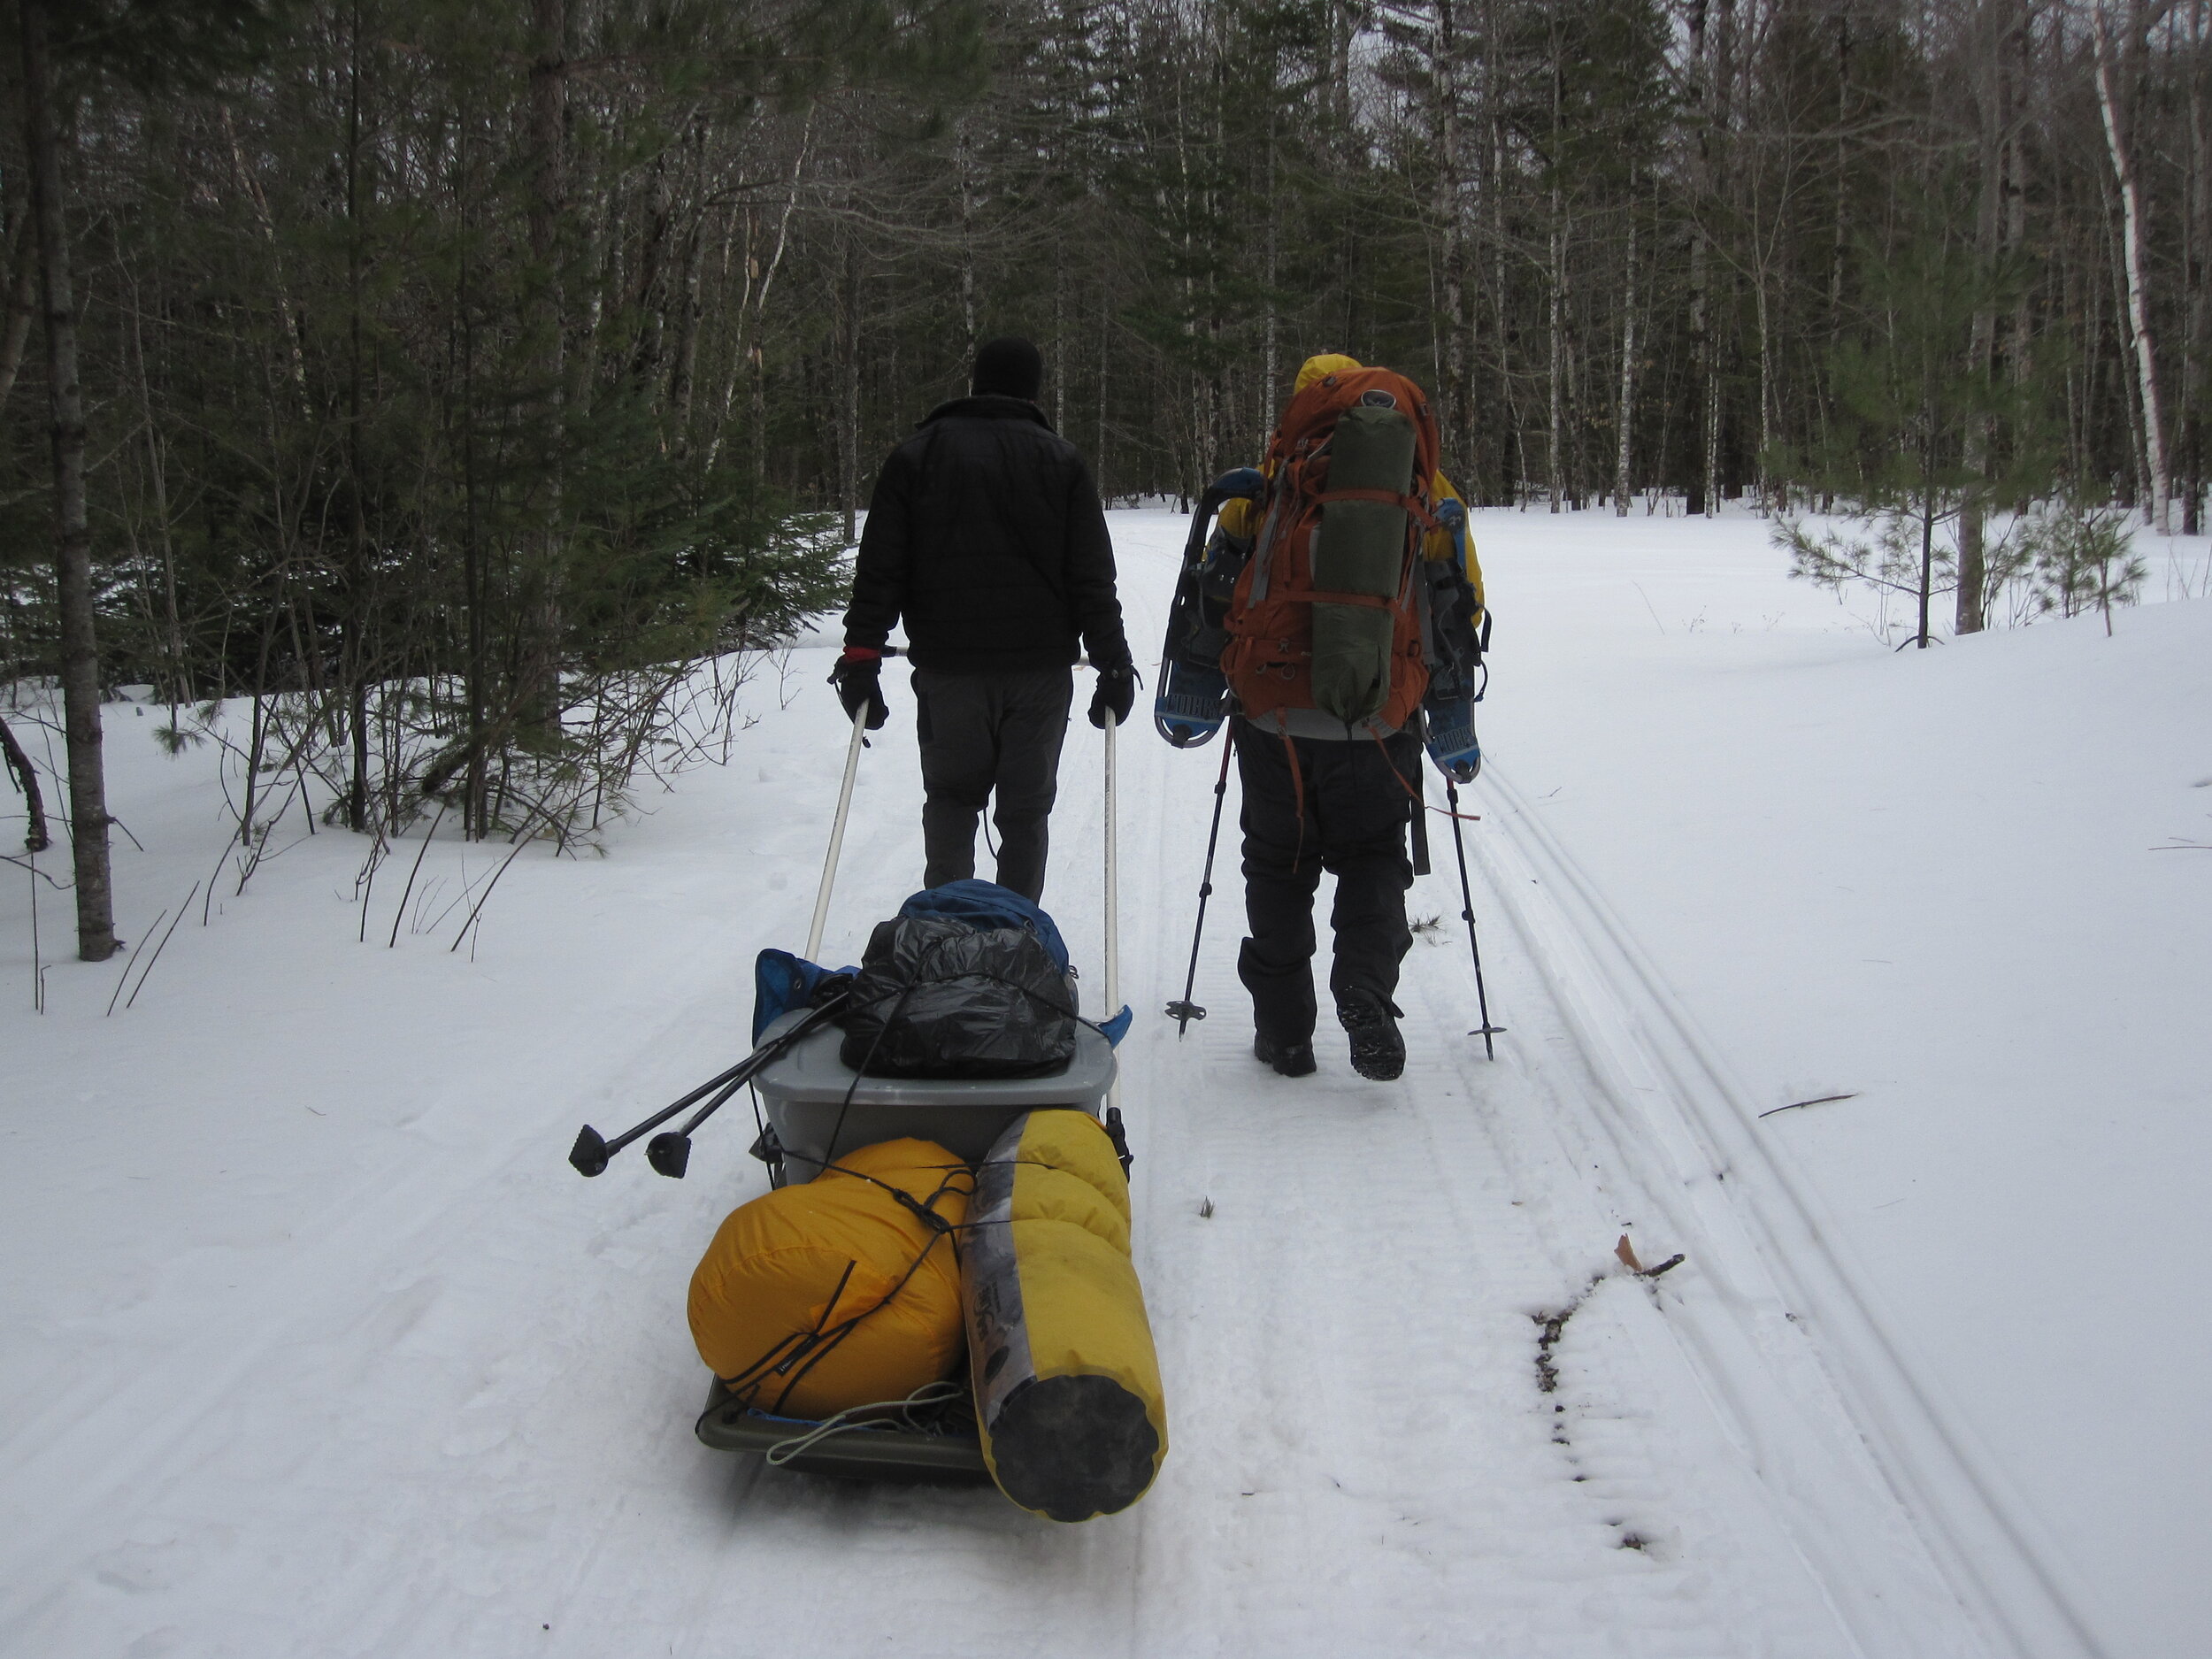
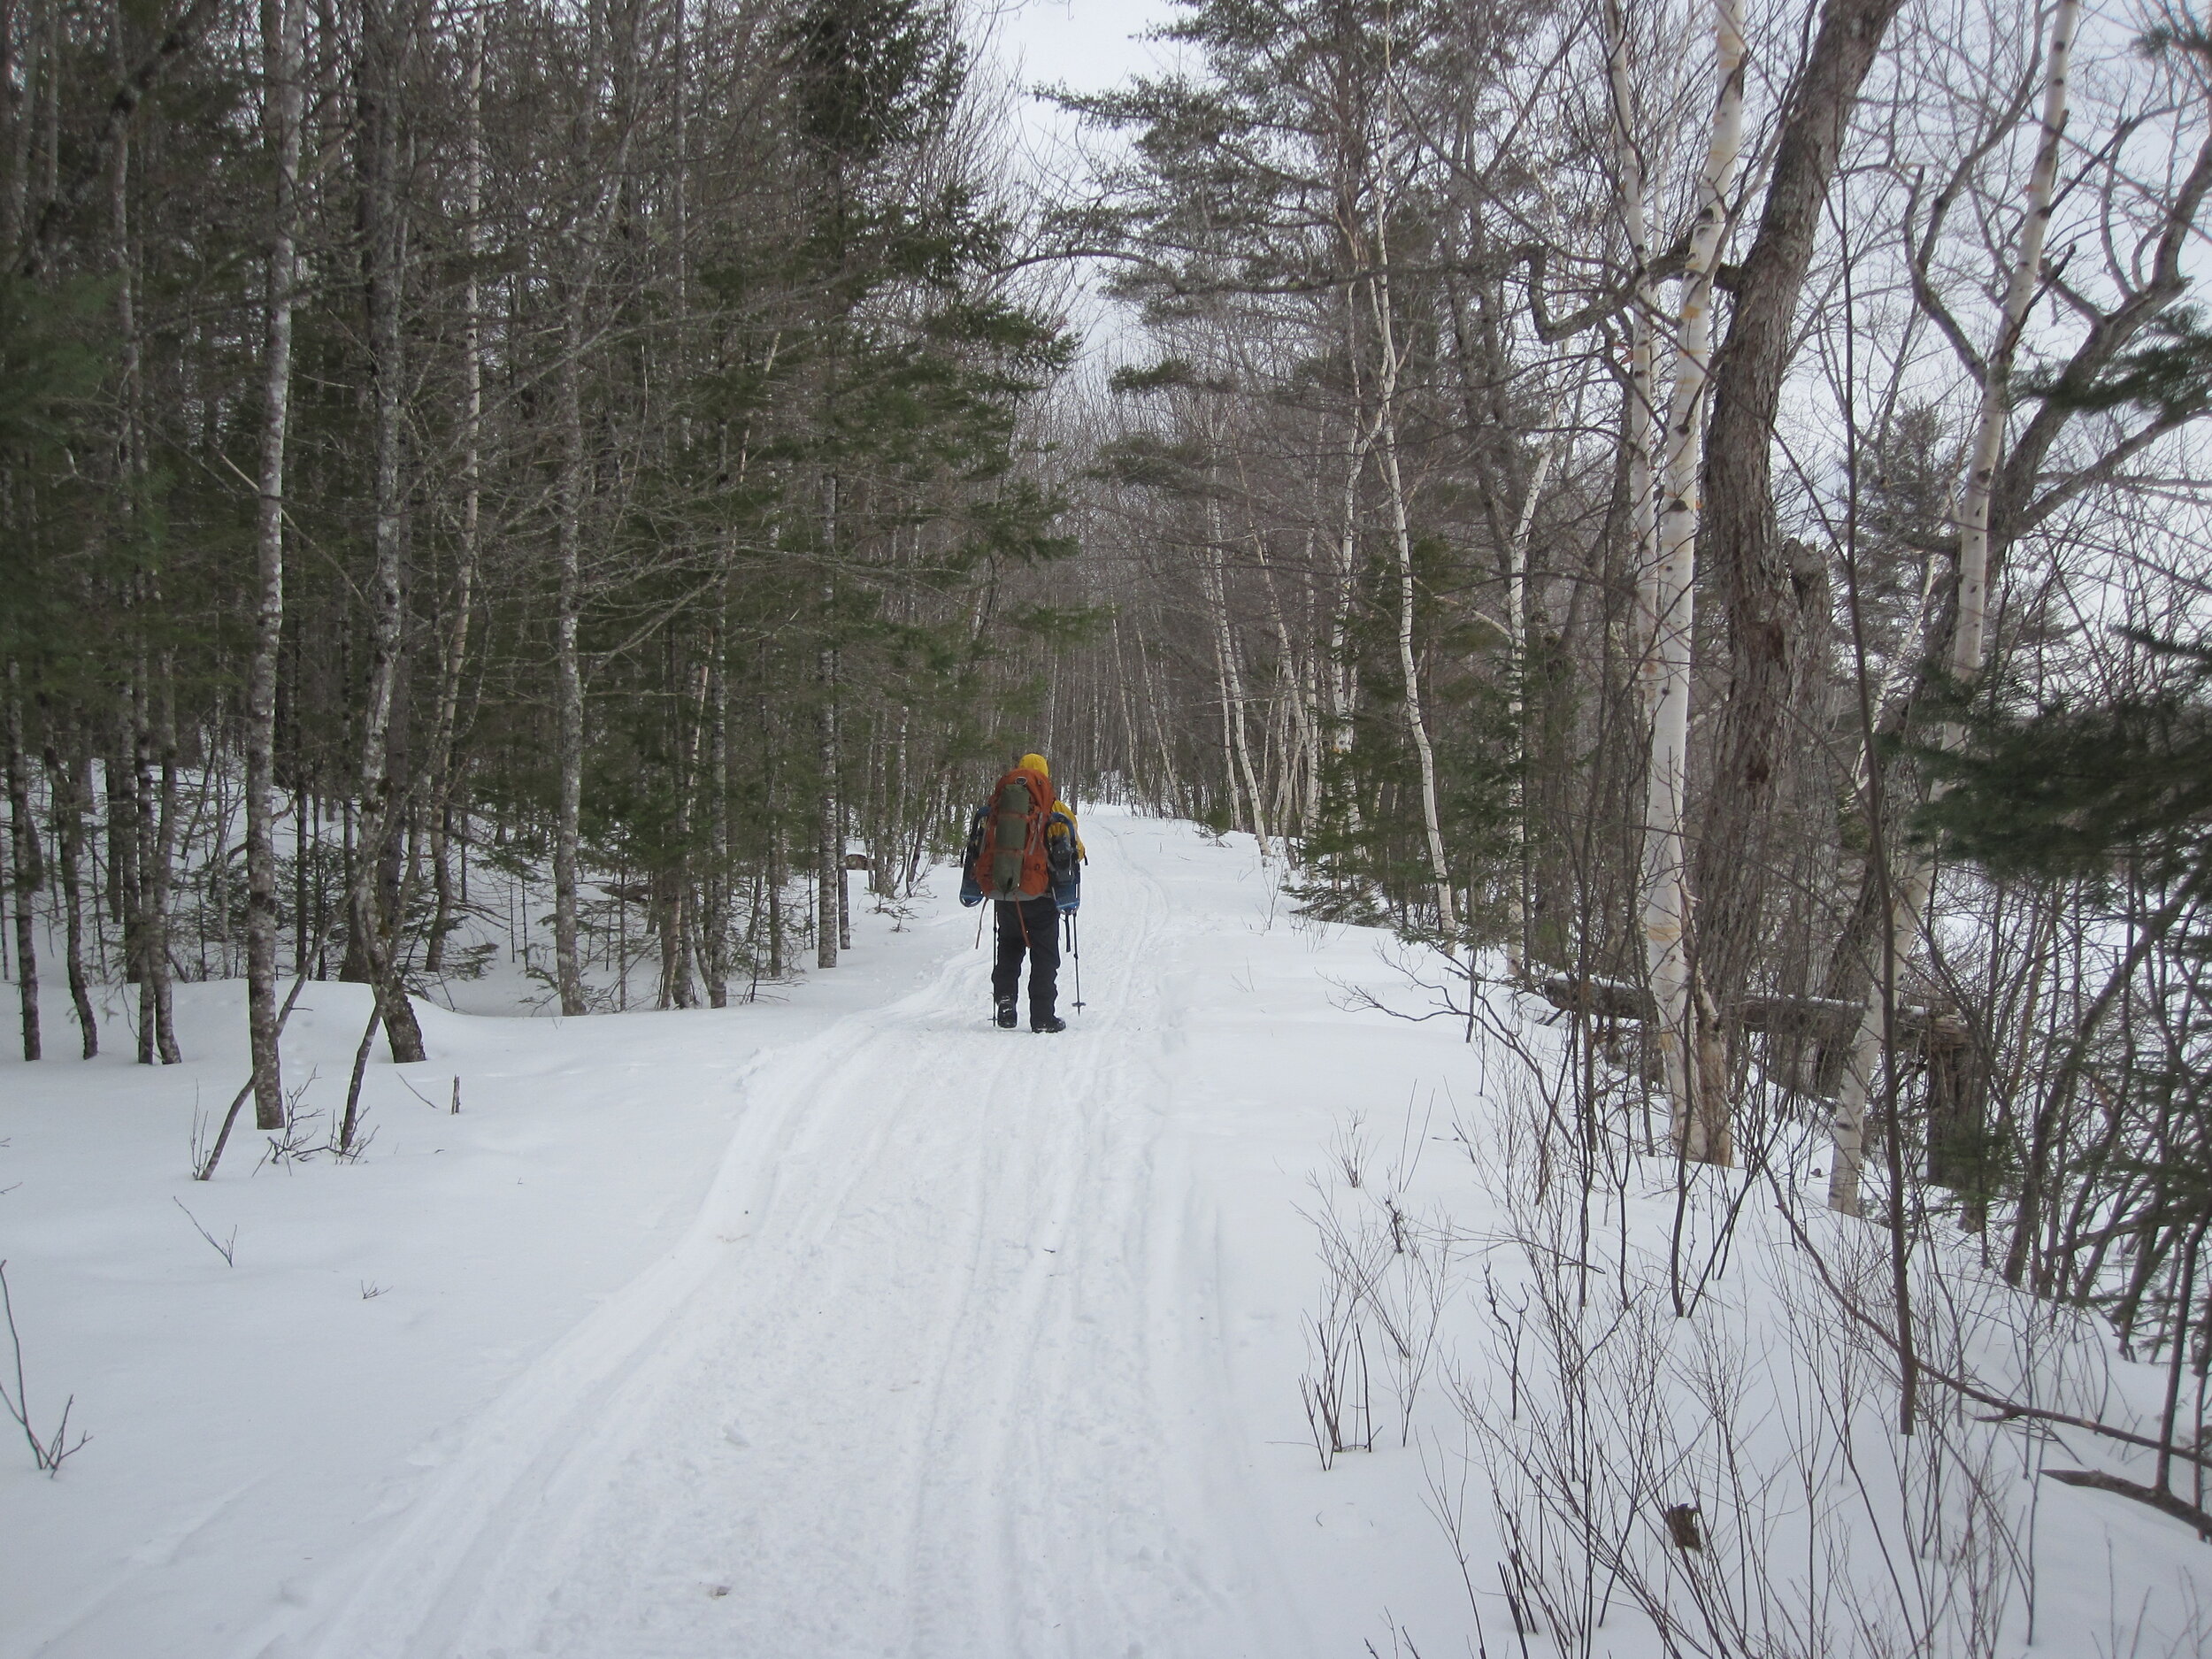
Since this was an overnight trip, we needed to pack more gear than usual. Baxter State Park closes its roads in the winter, although they are accessible by snowmobile. It is possible that you can shuttle your gear into the campground using snowmobiles, but we chose to carry it in ourselves by towing our gear using sleds and cross-country skis. We used this sled from Amazon which worked great, but we did have to build it up a bit by adding PVC pipes for handles to give it stability going downhill. If you would like more details on the apparel and equipment I used on this trip, read my gear guide here.
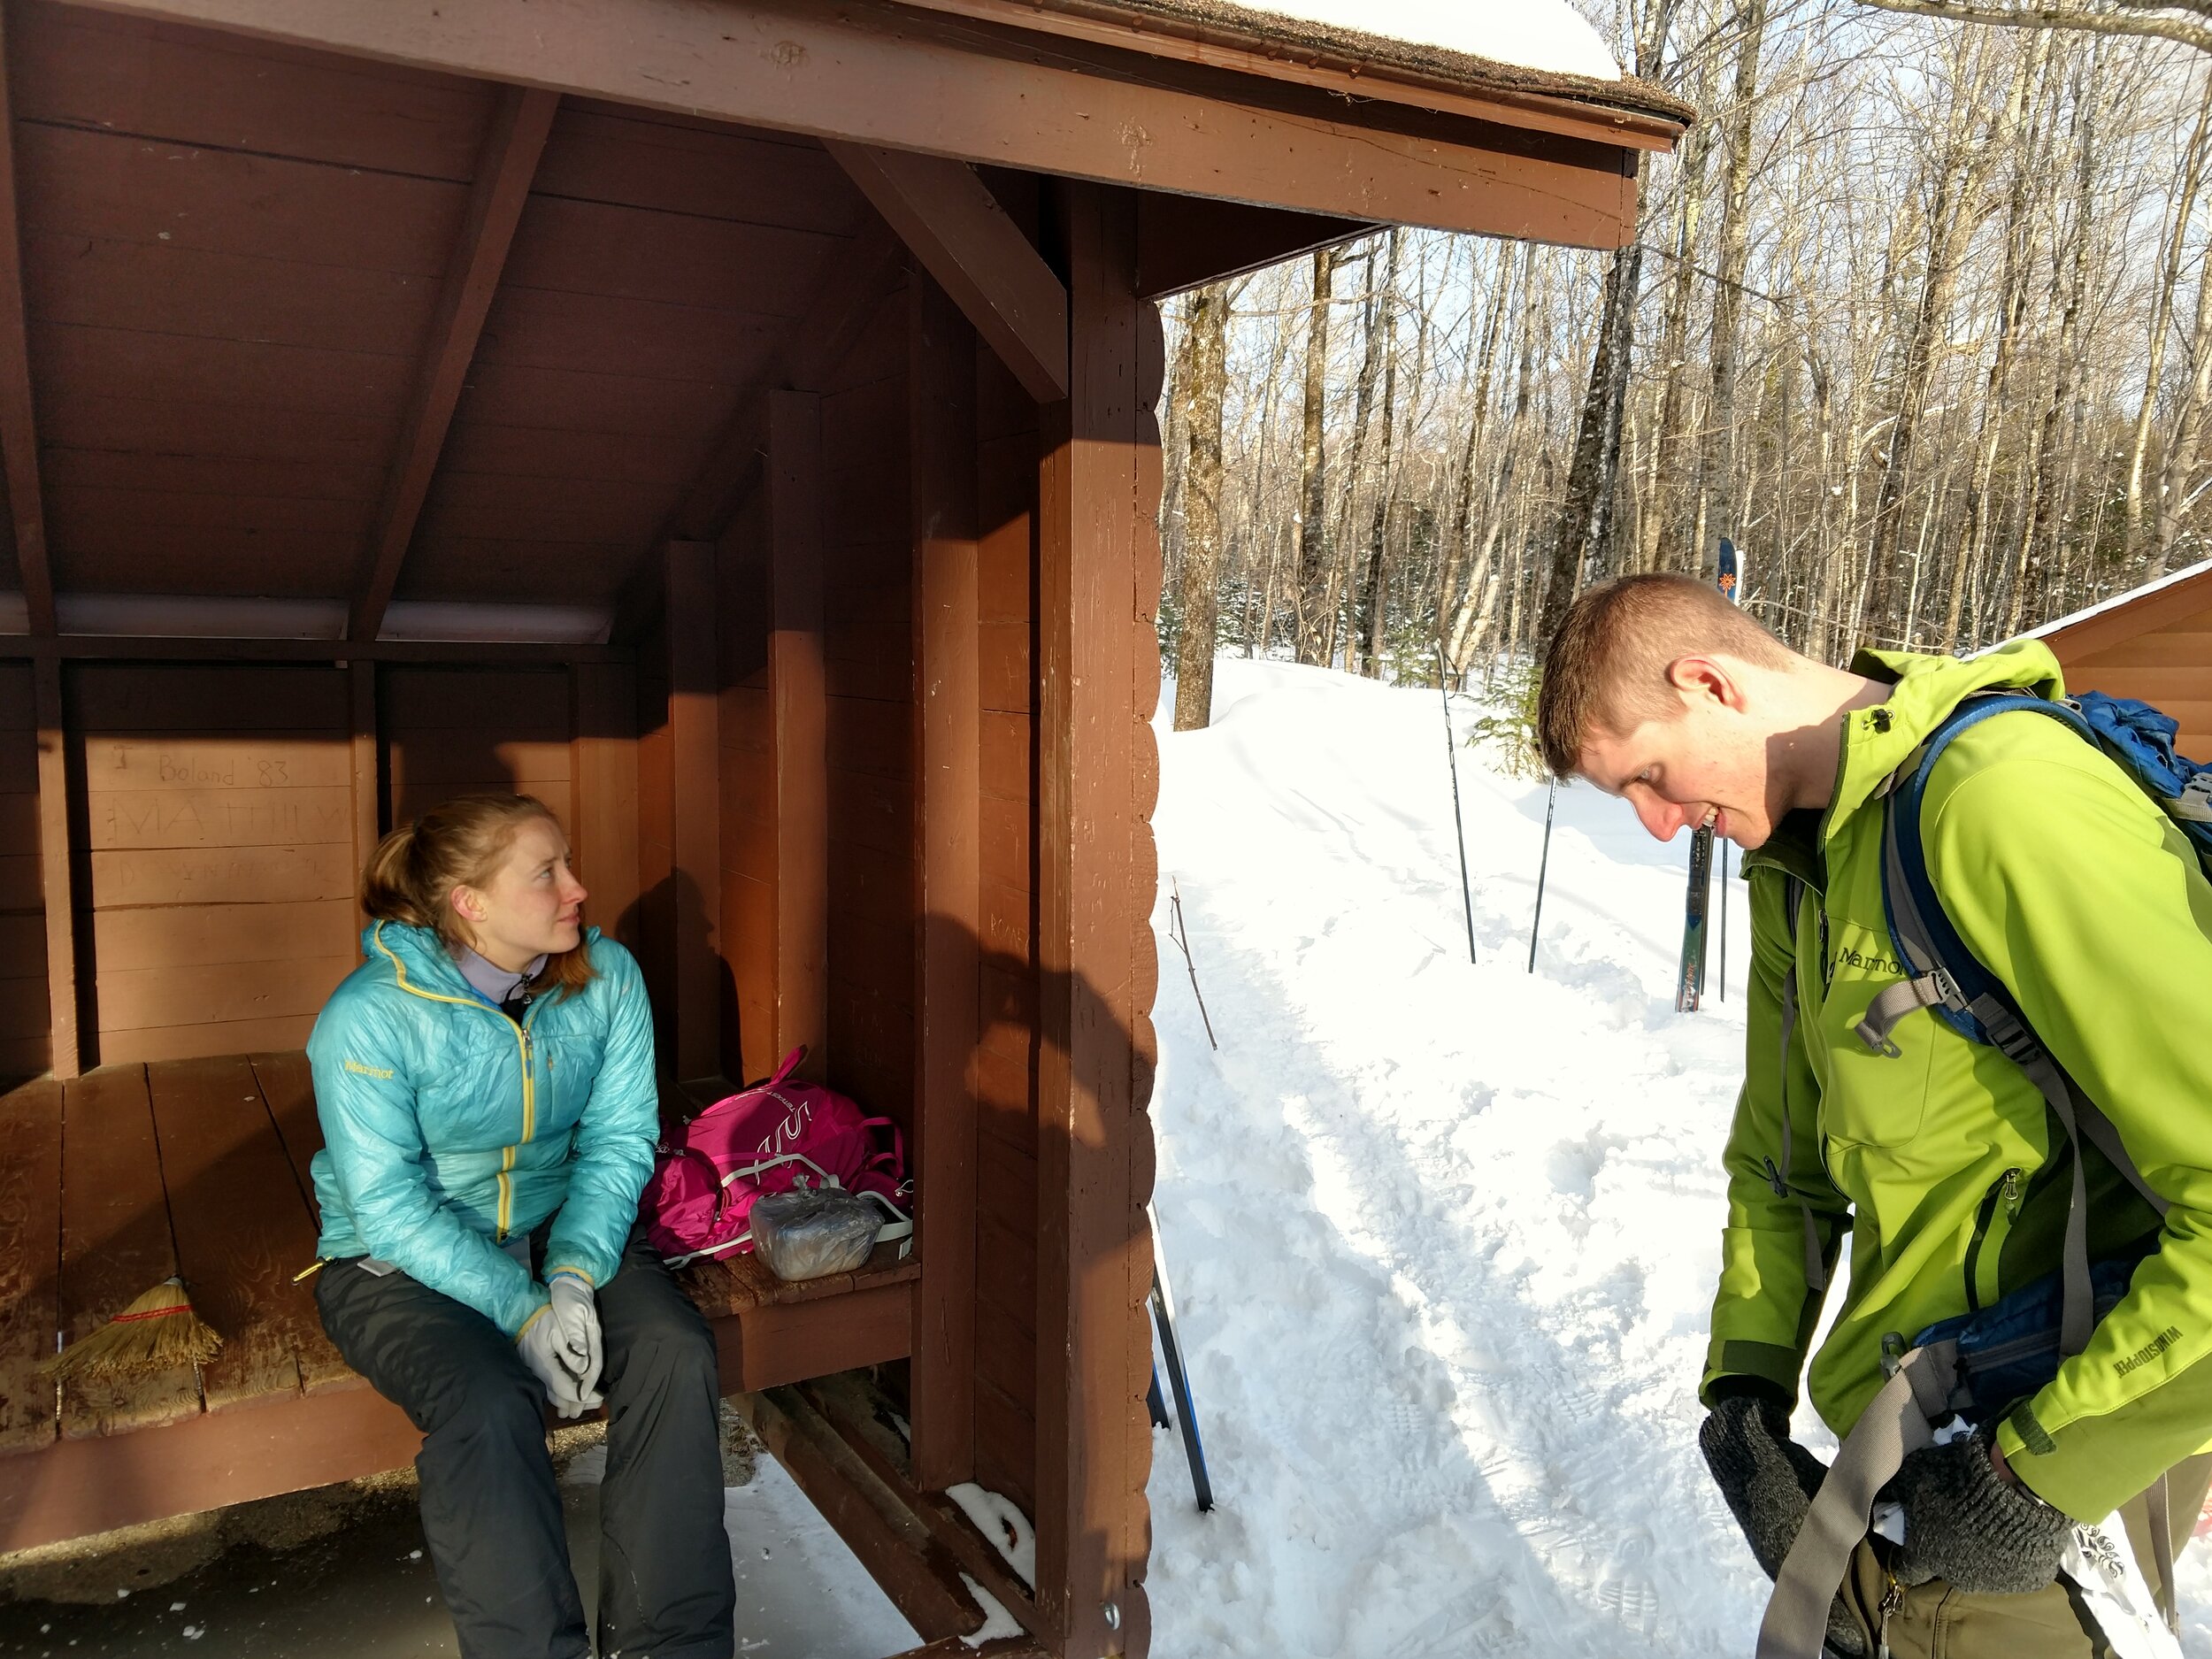
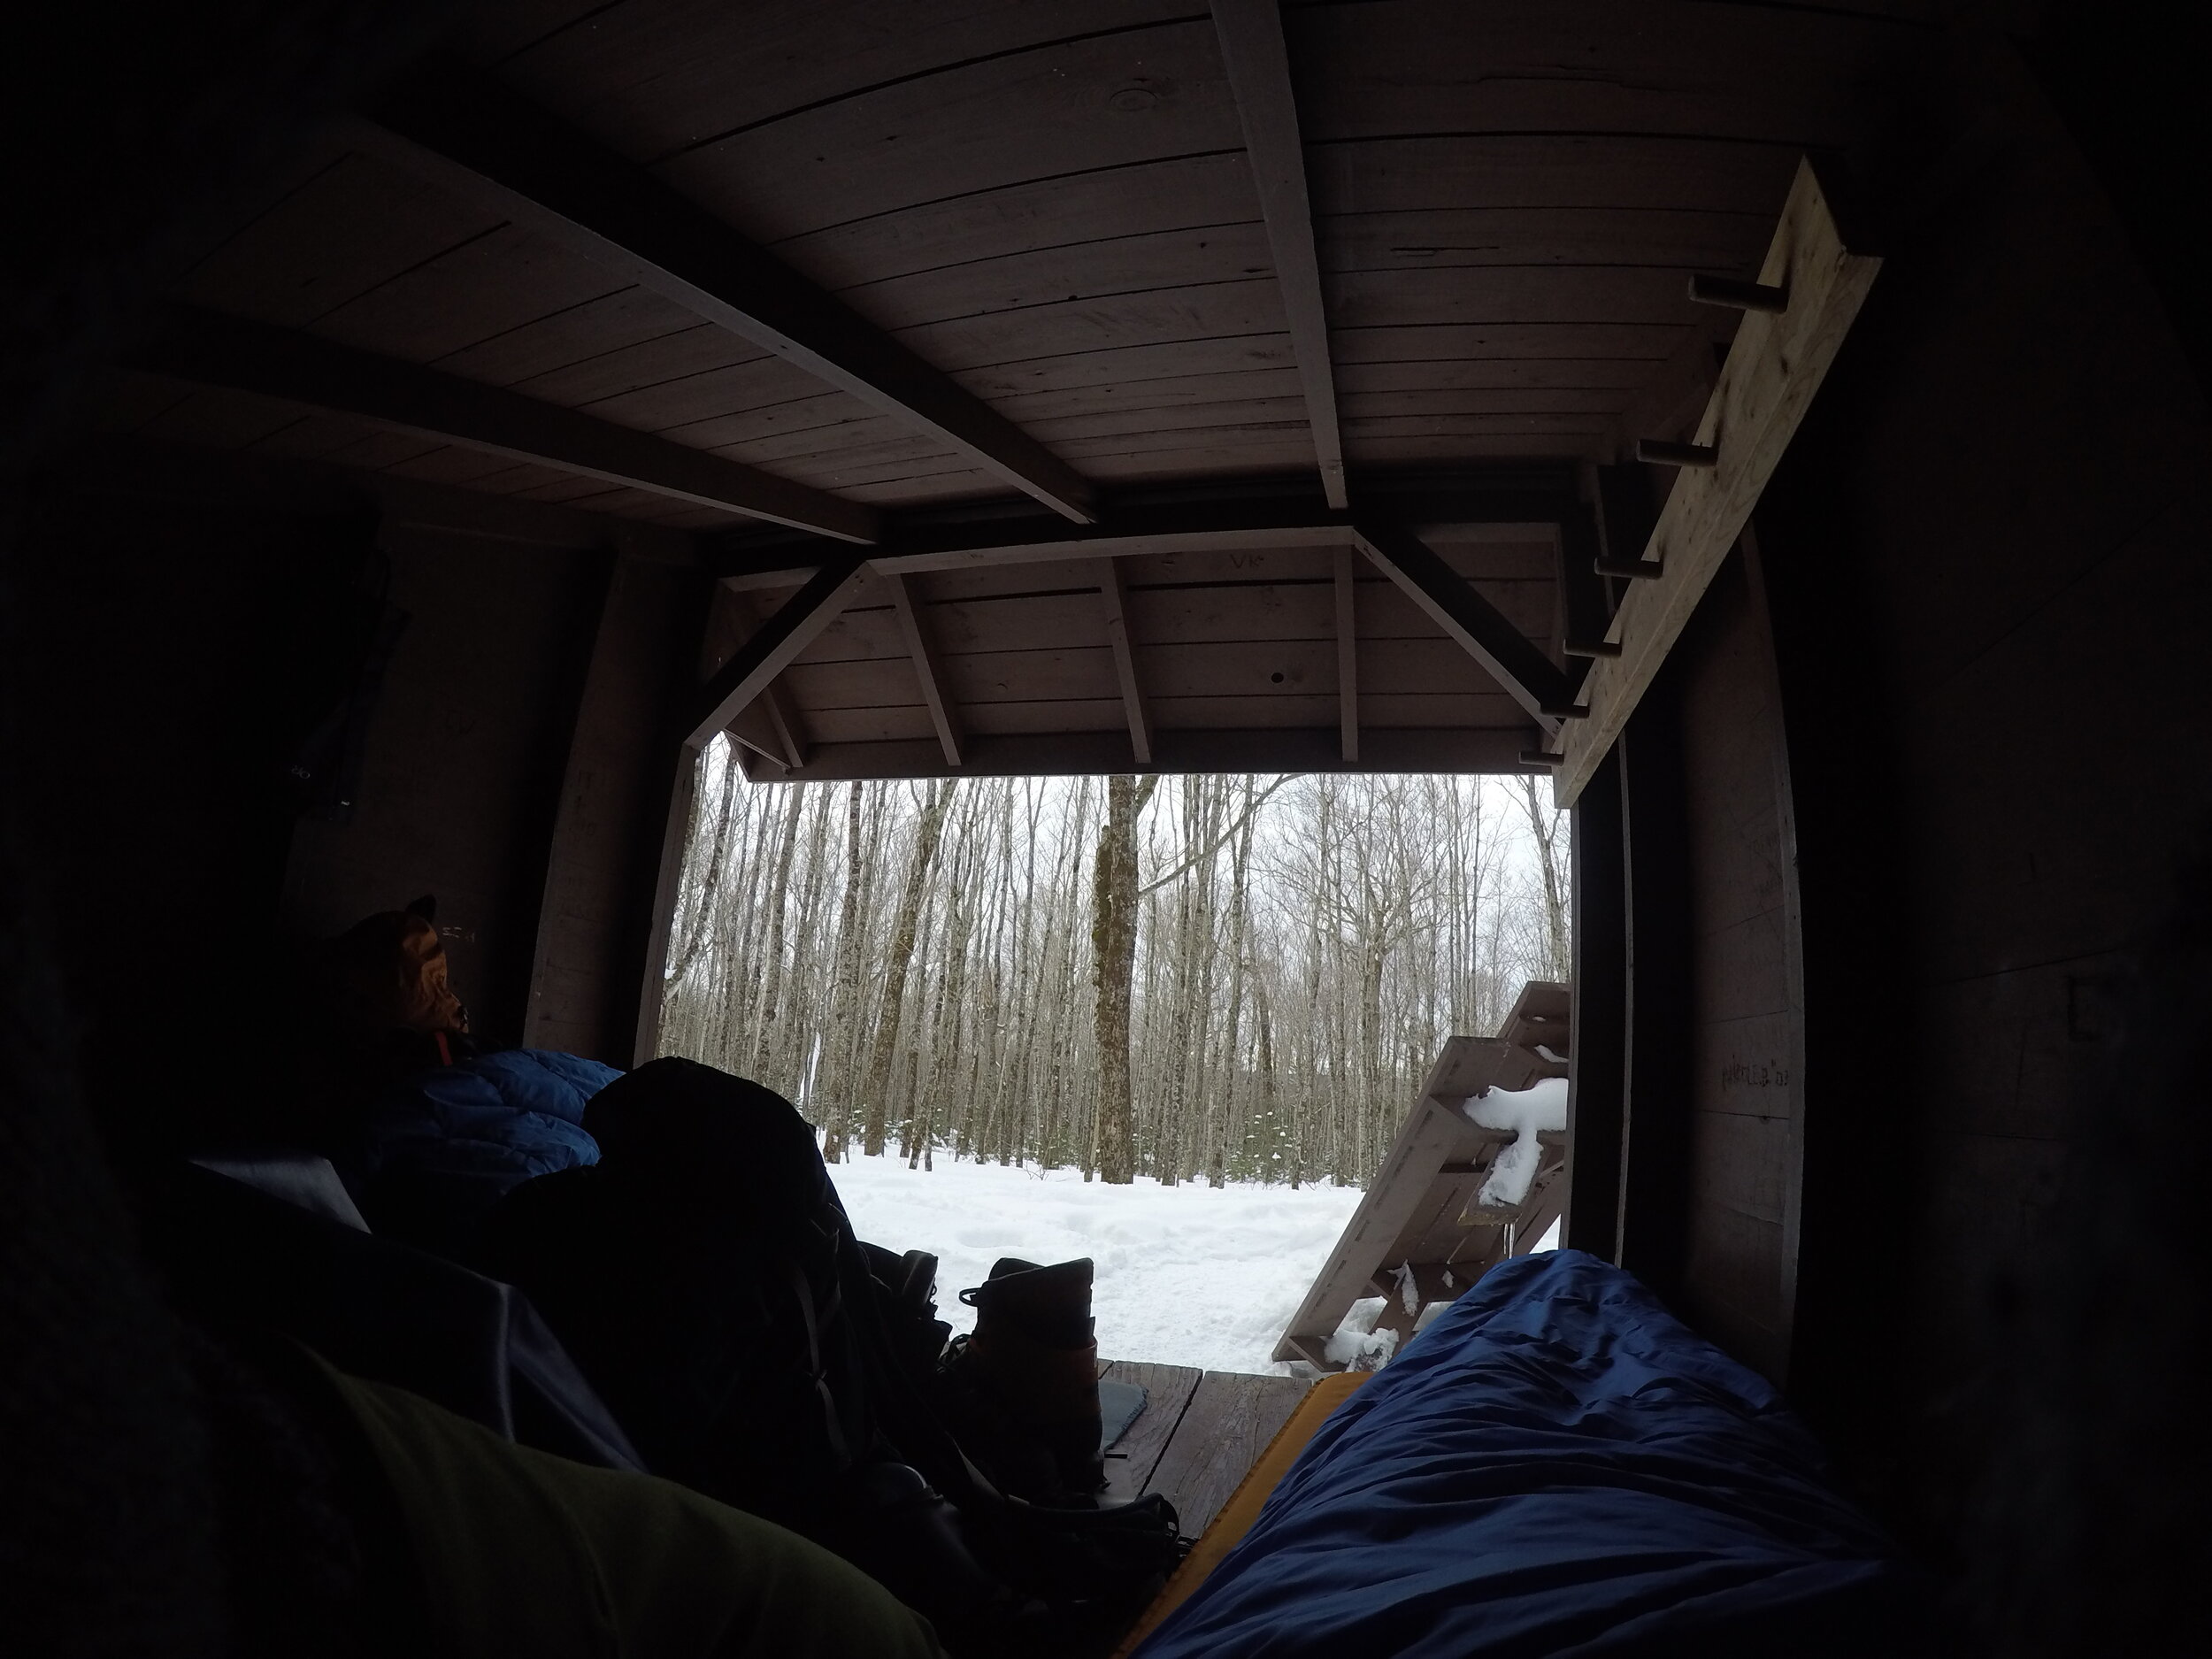
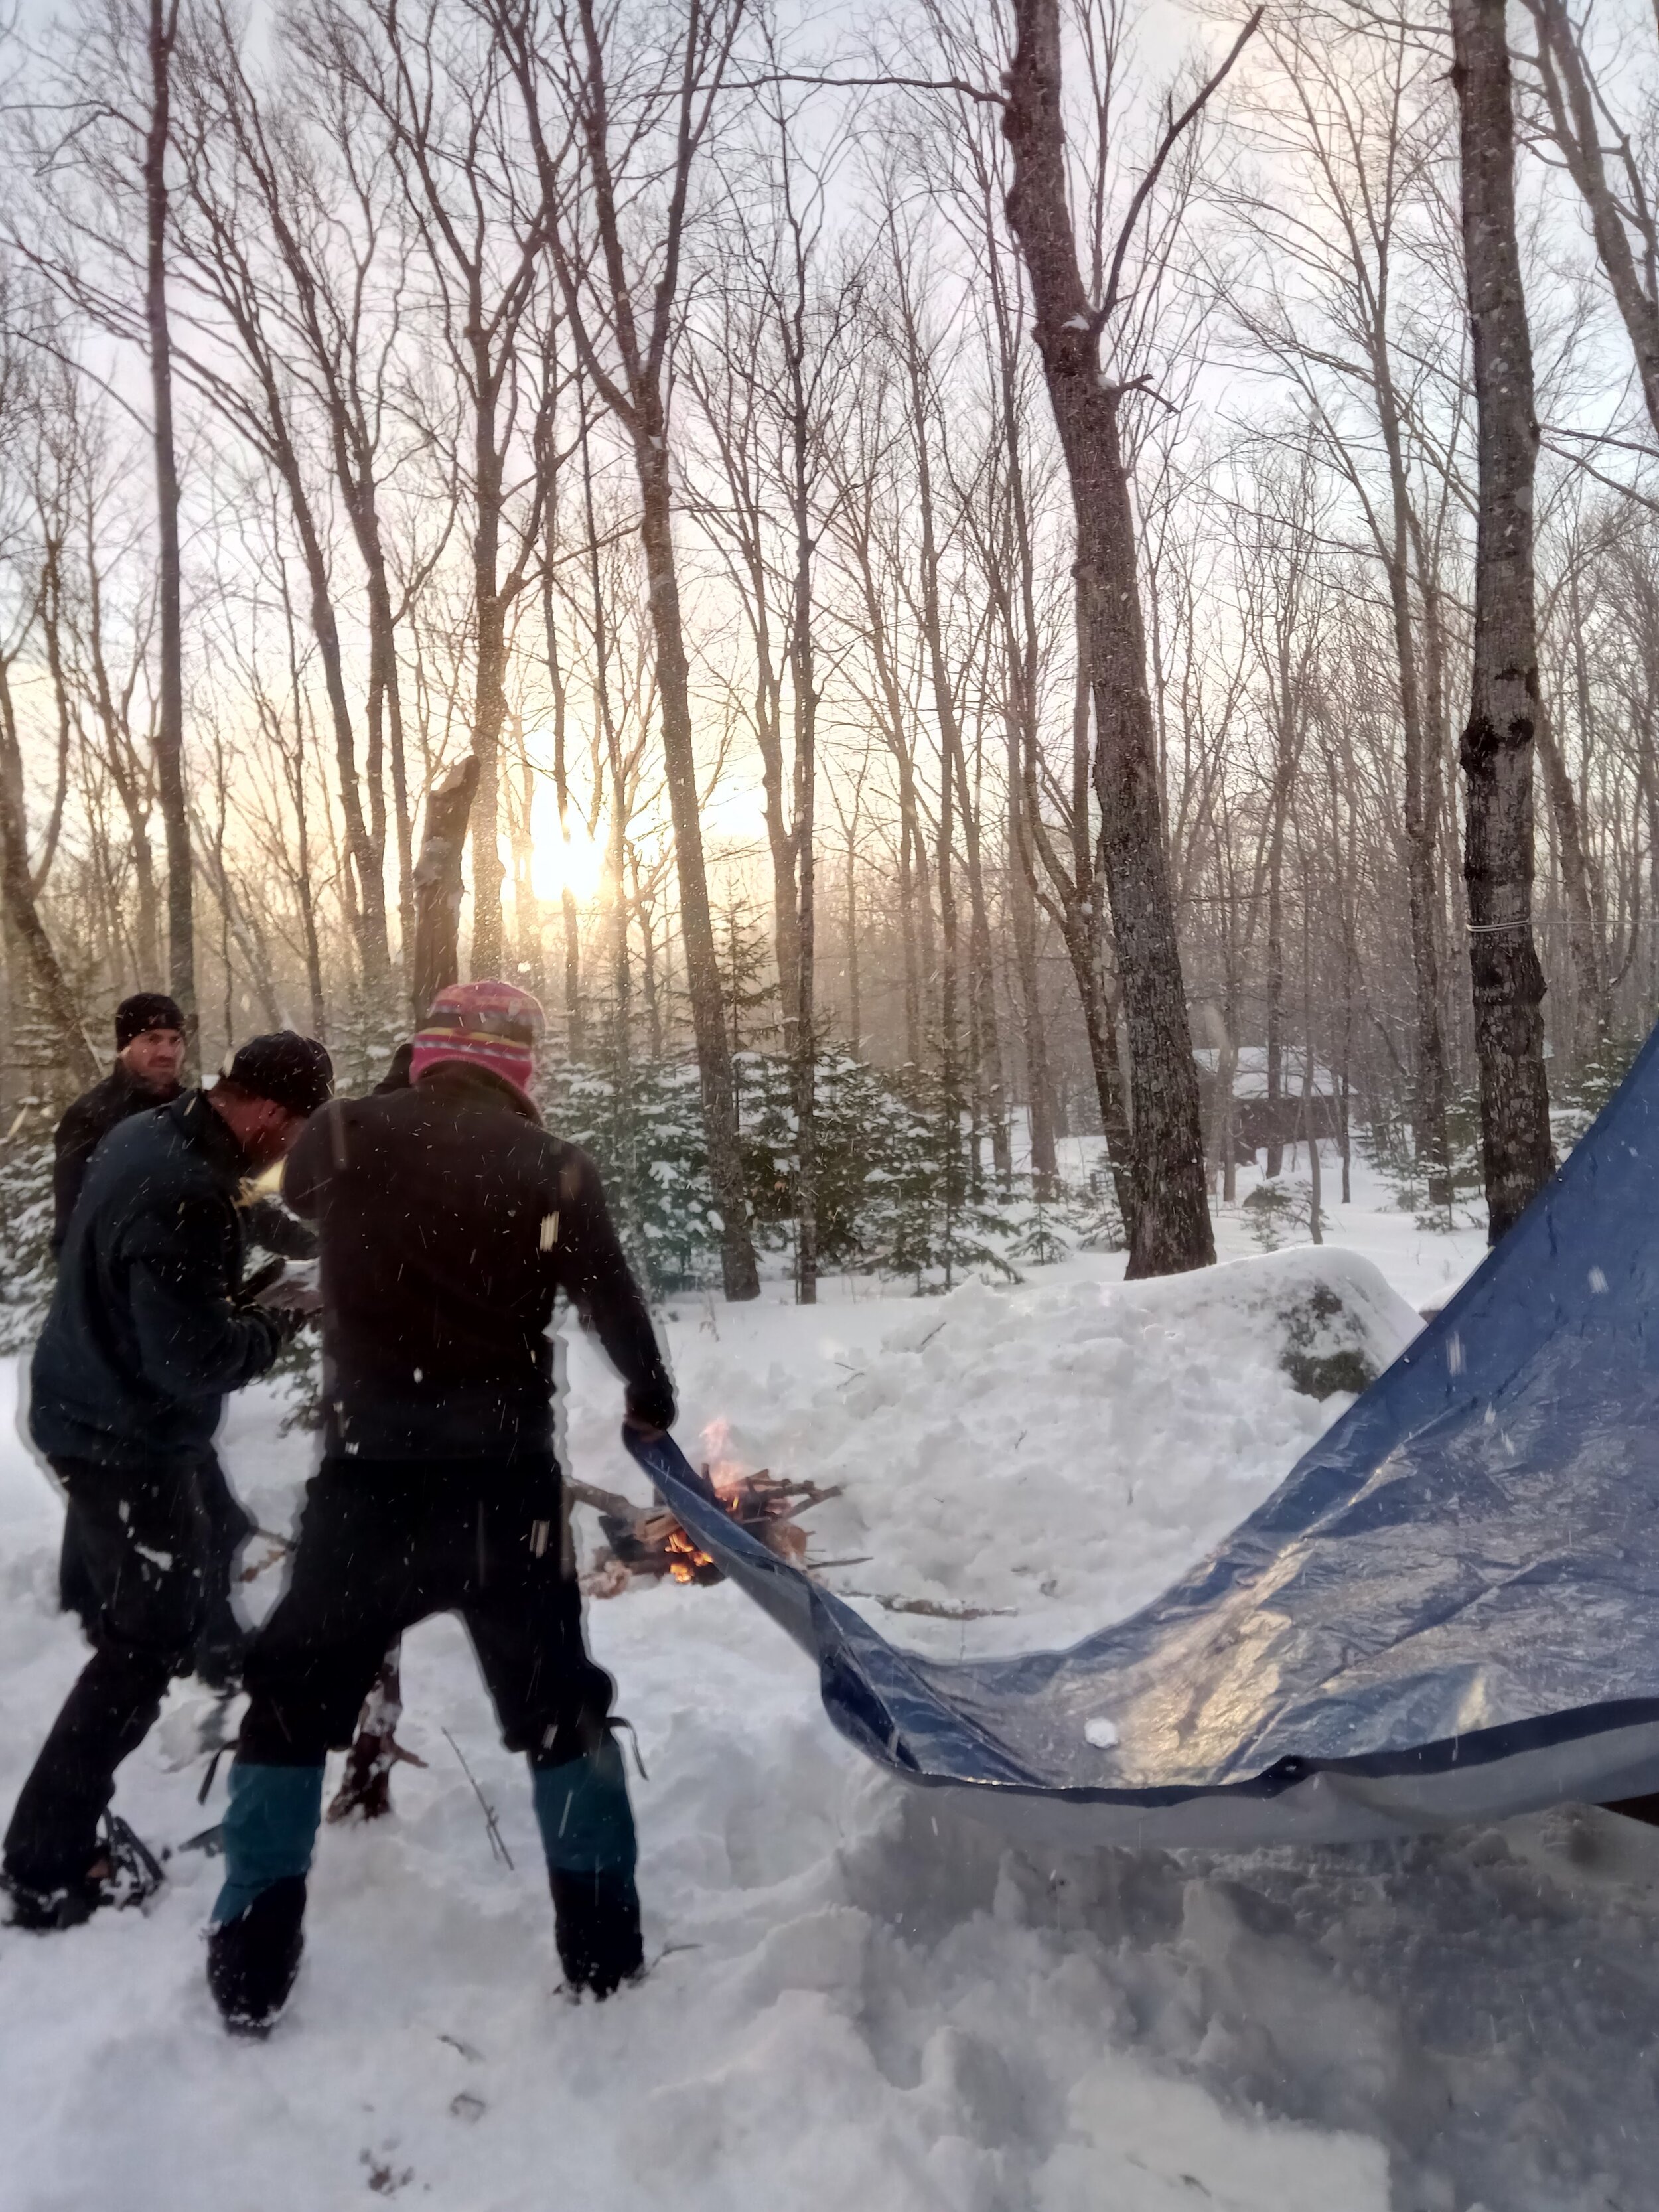
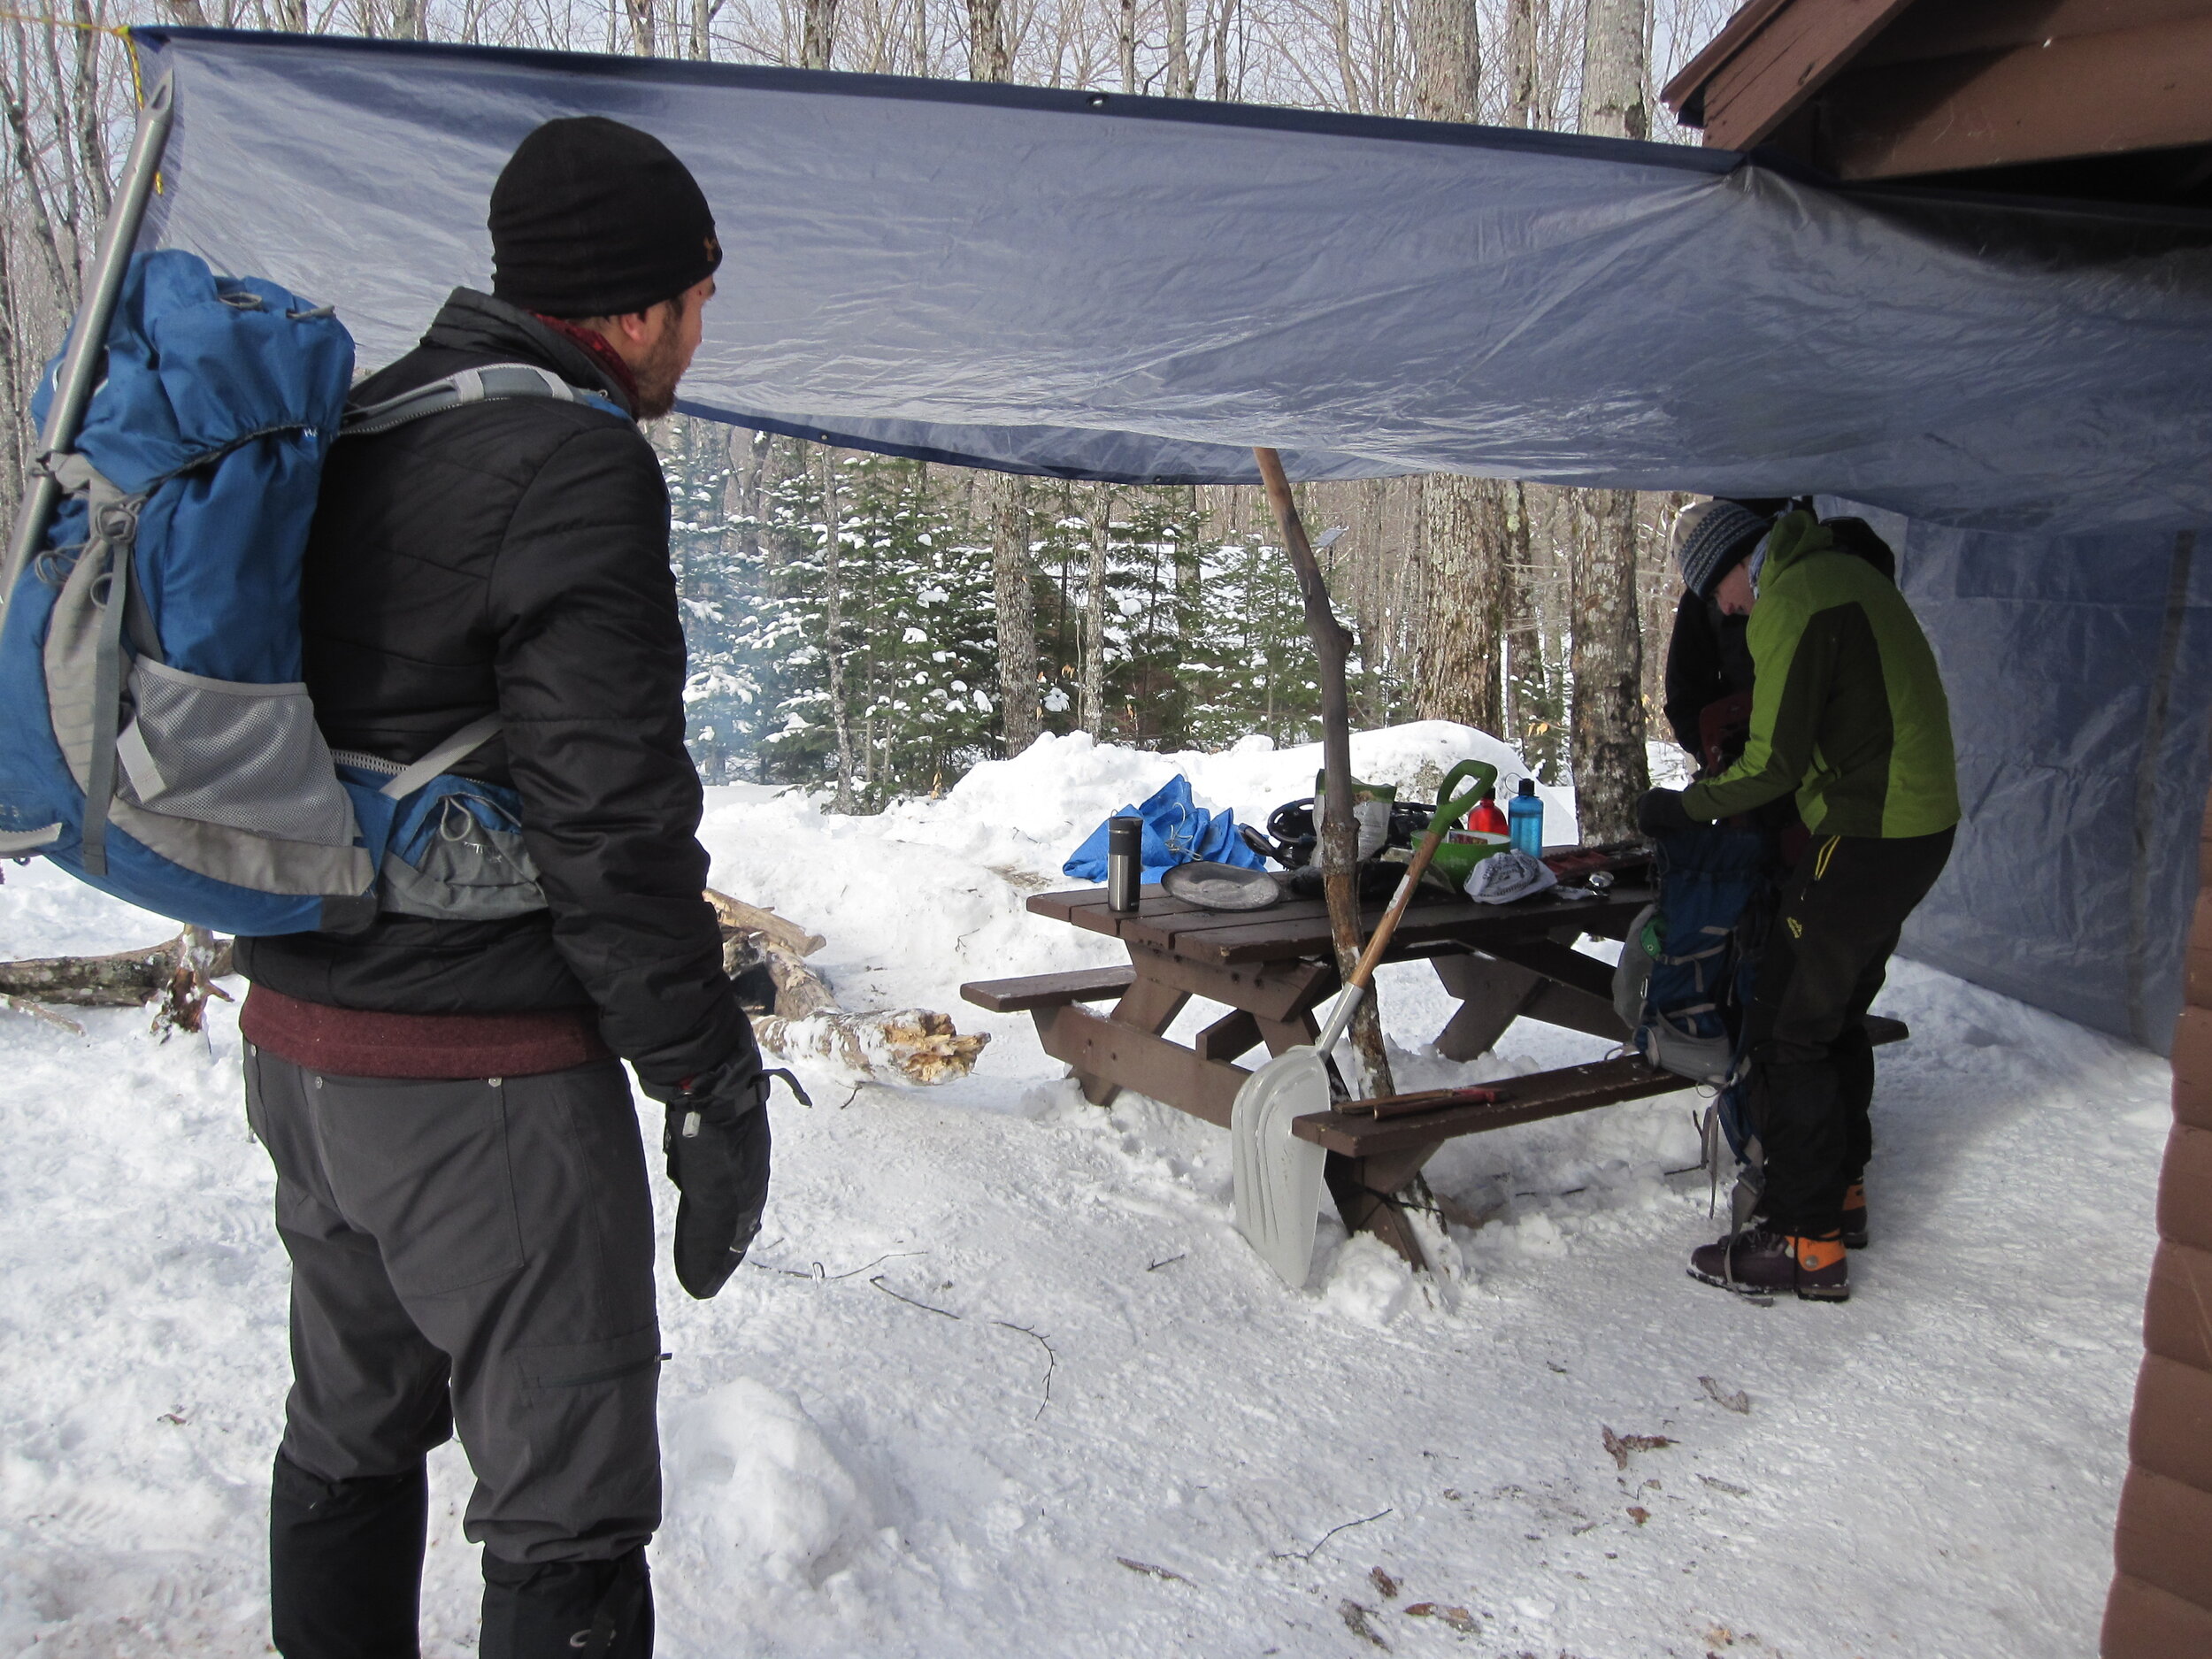
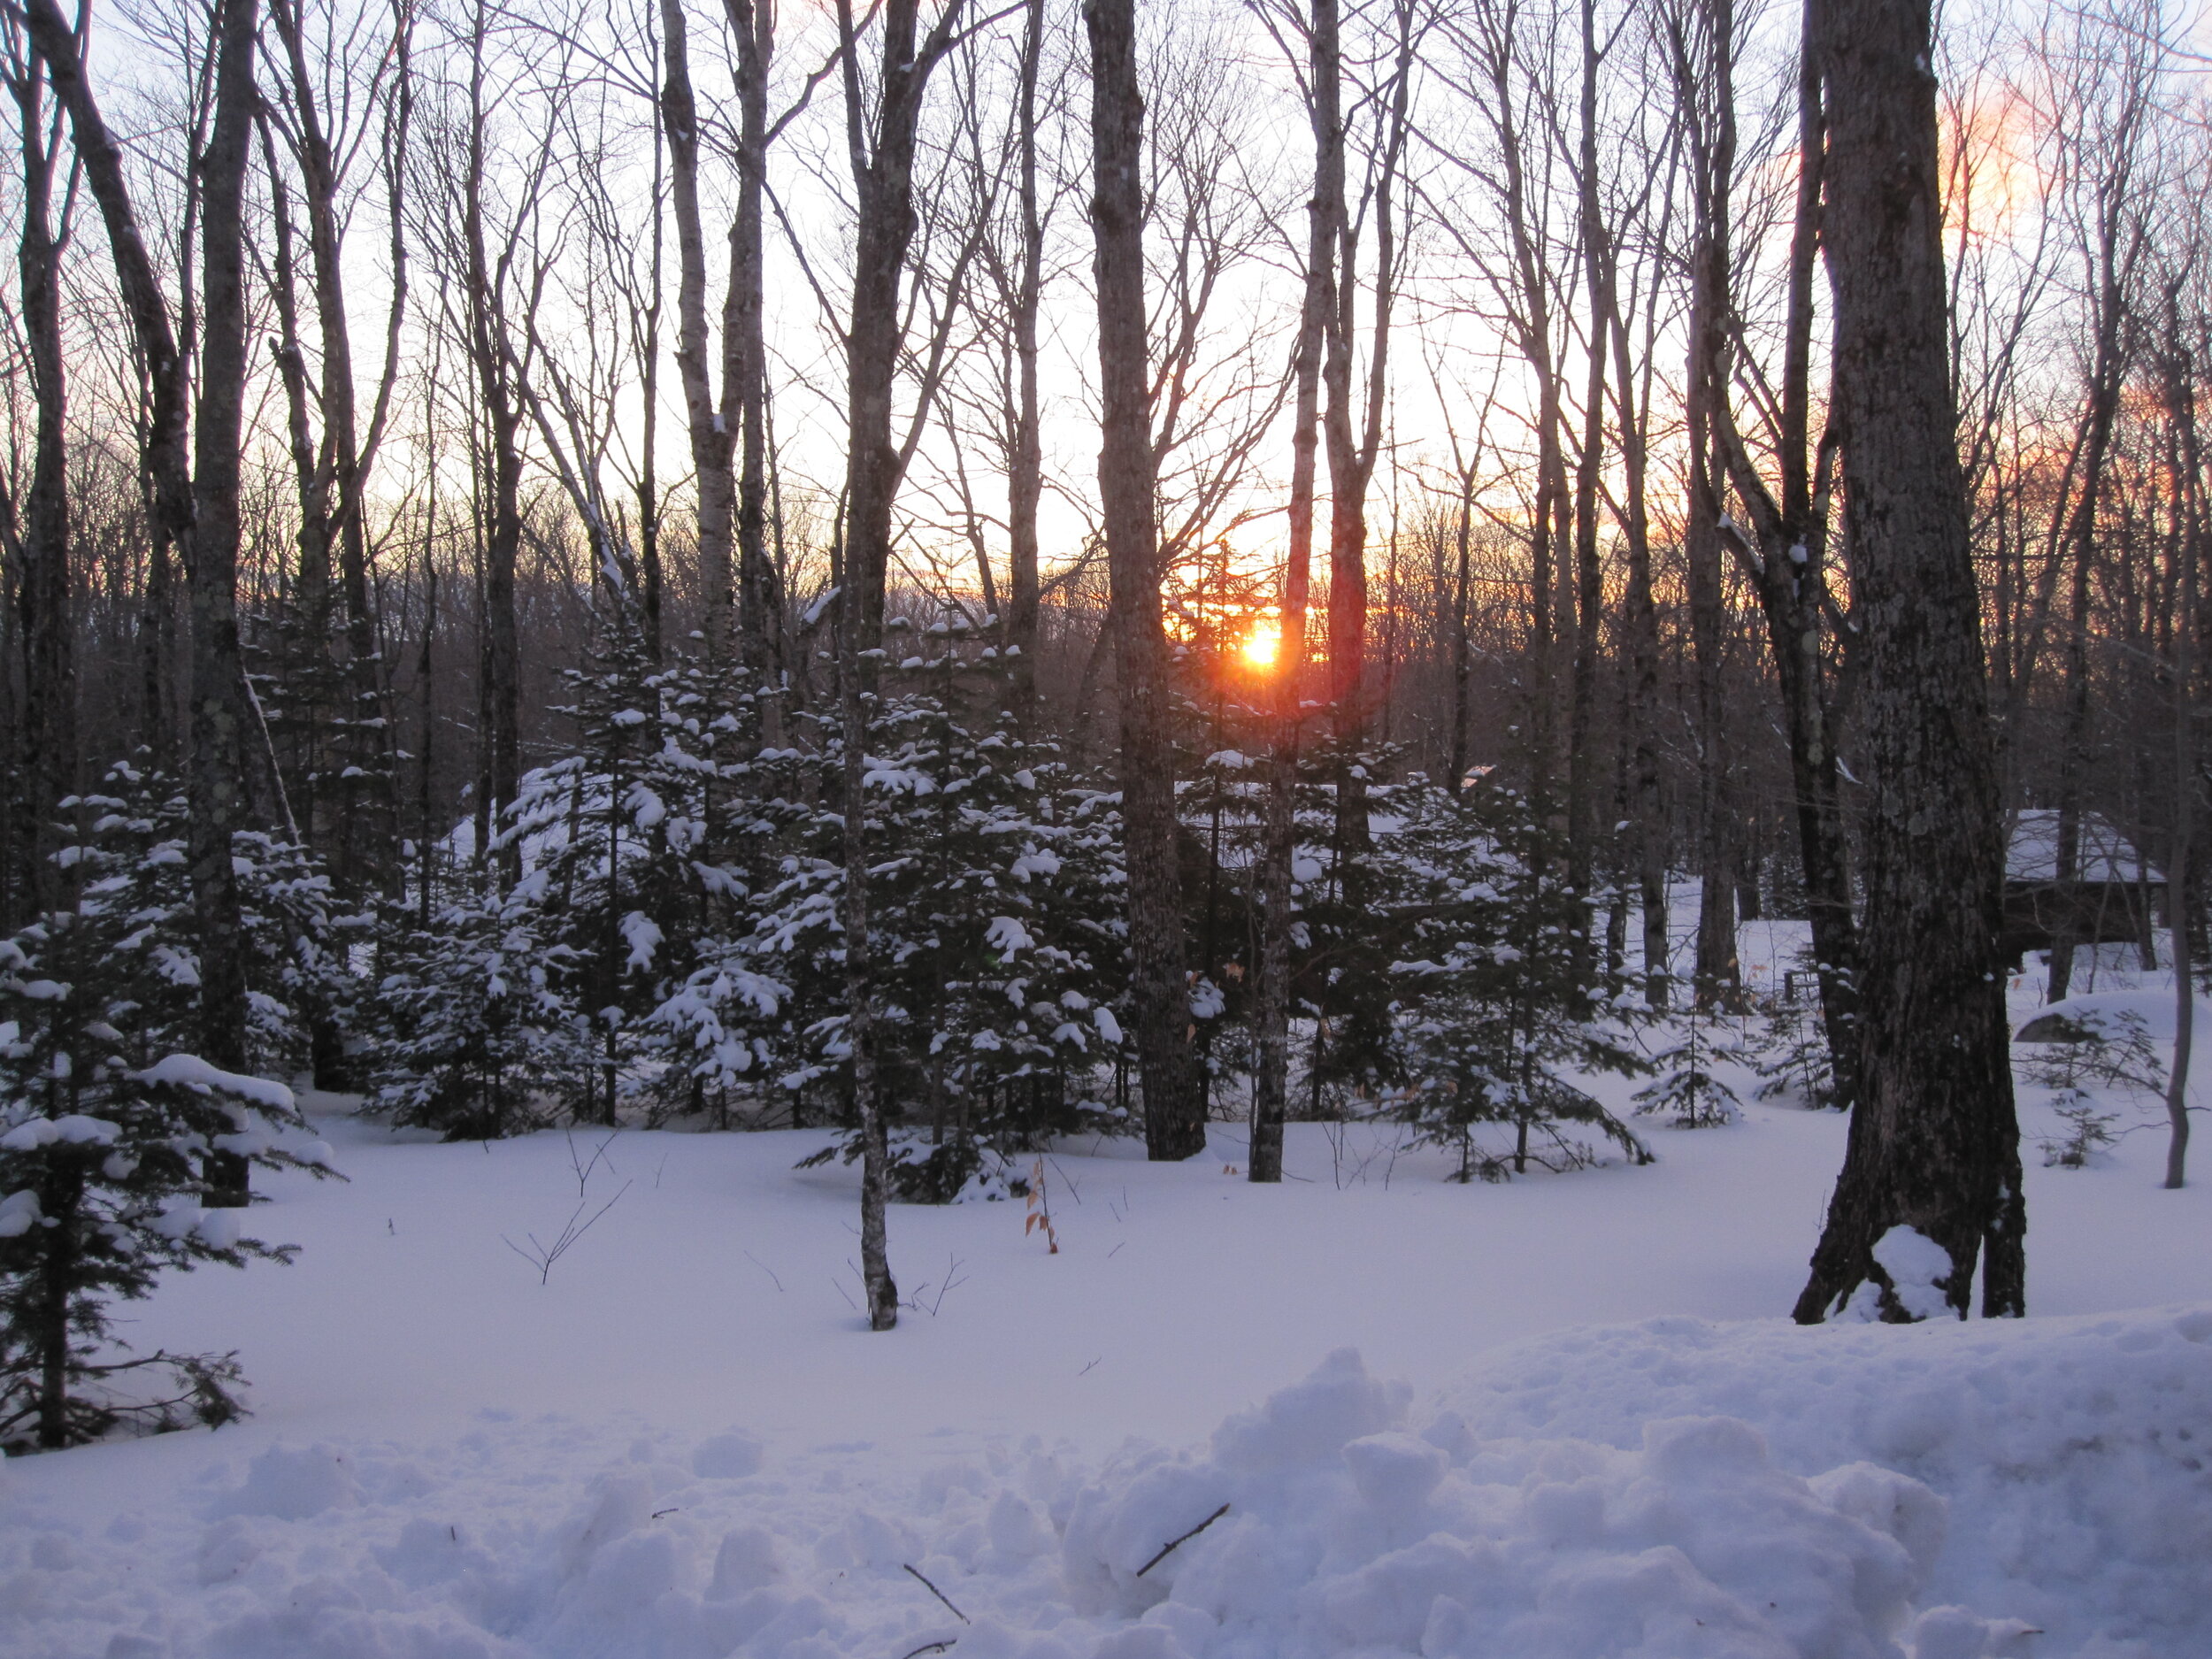
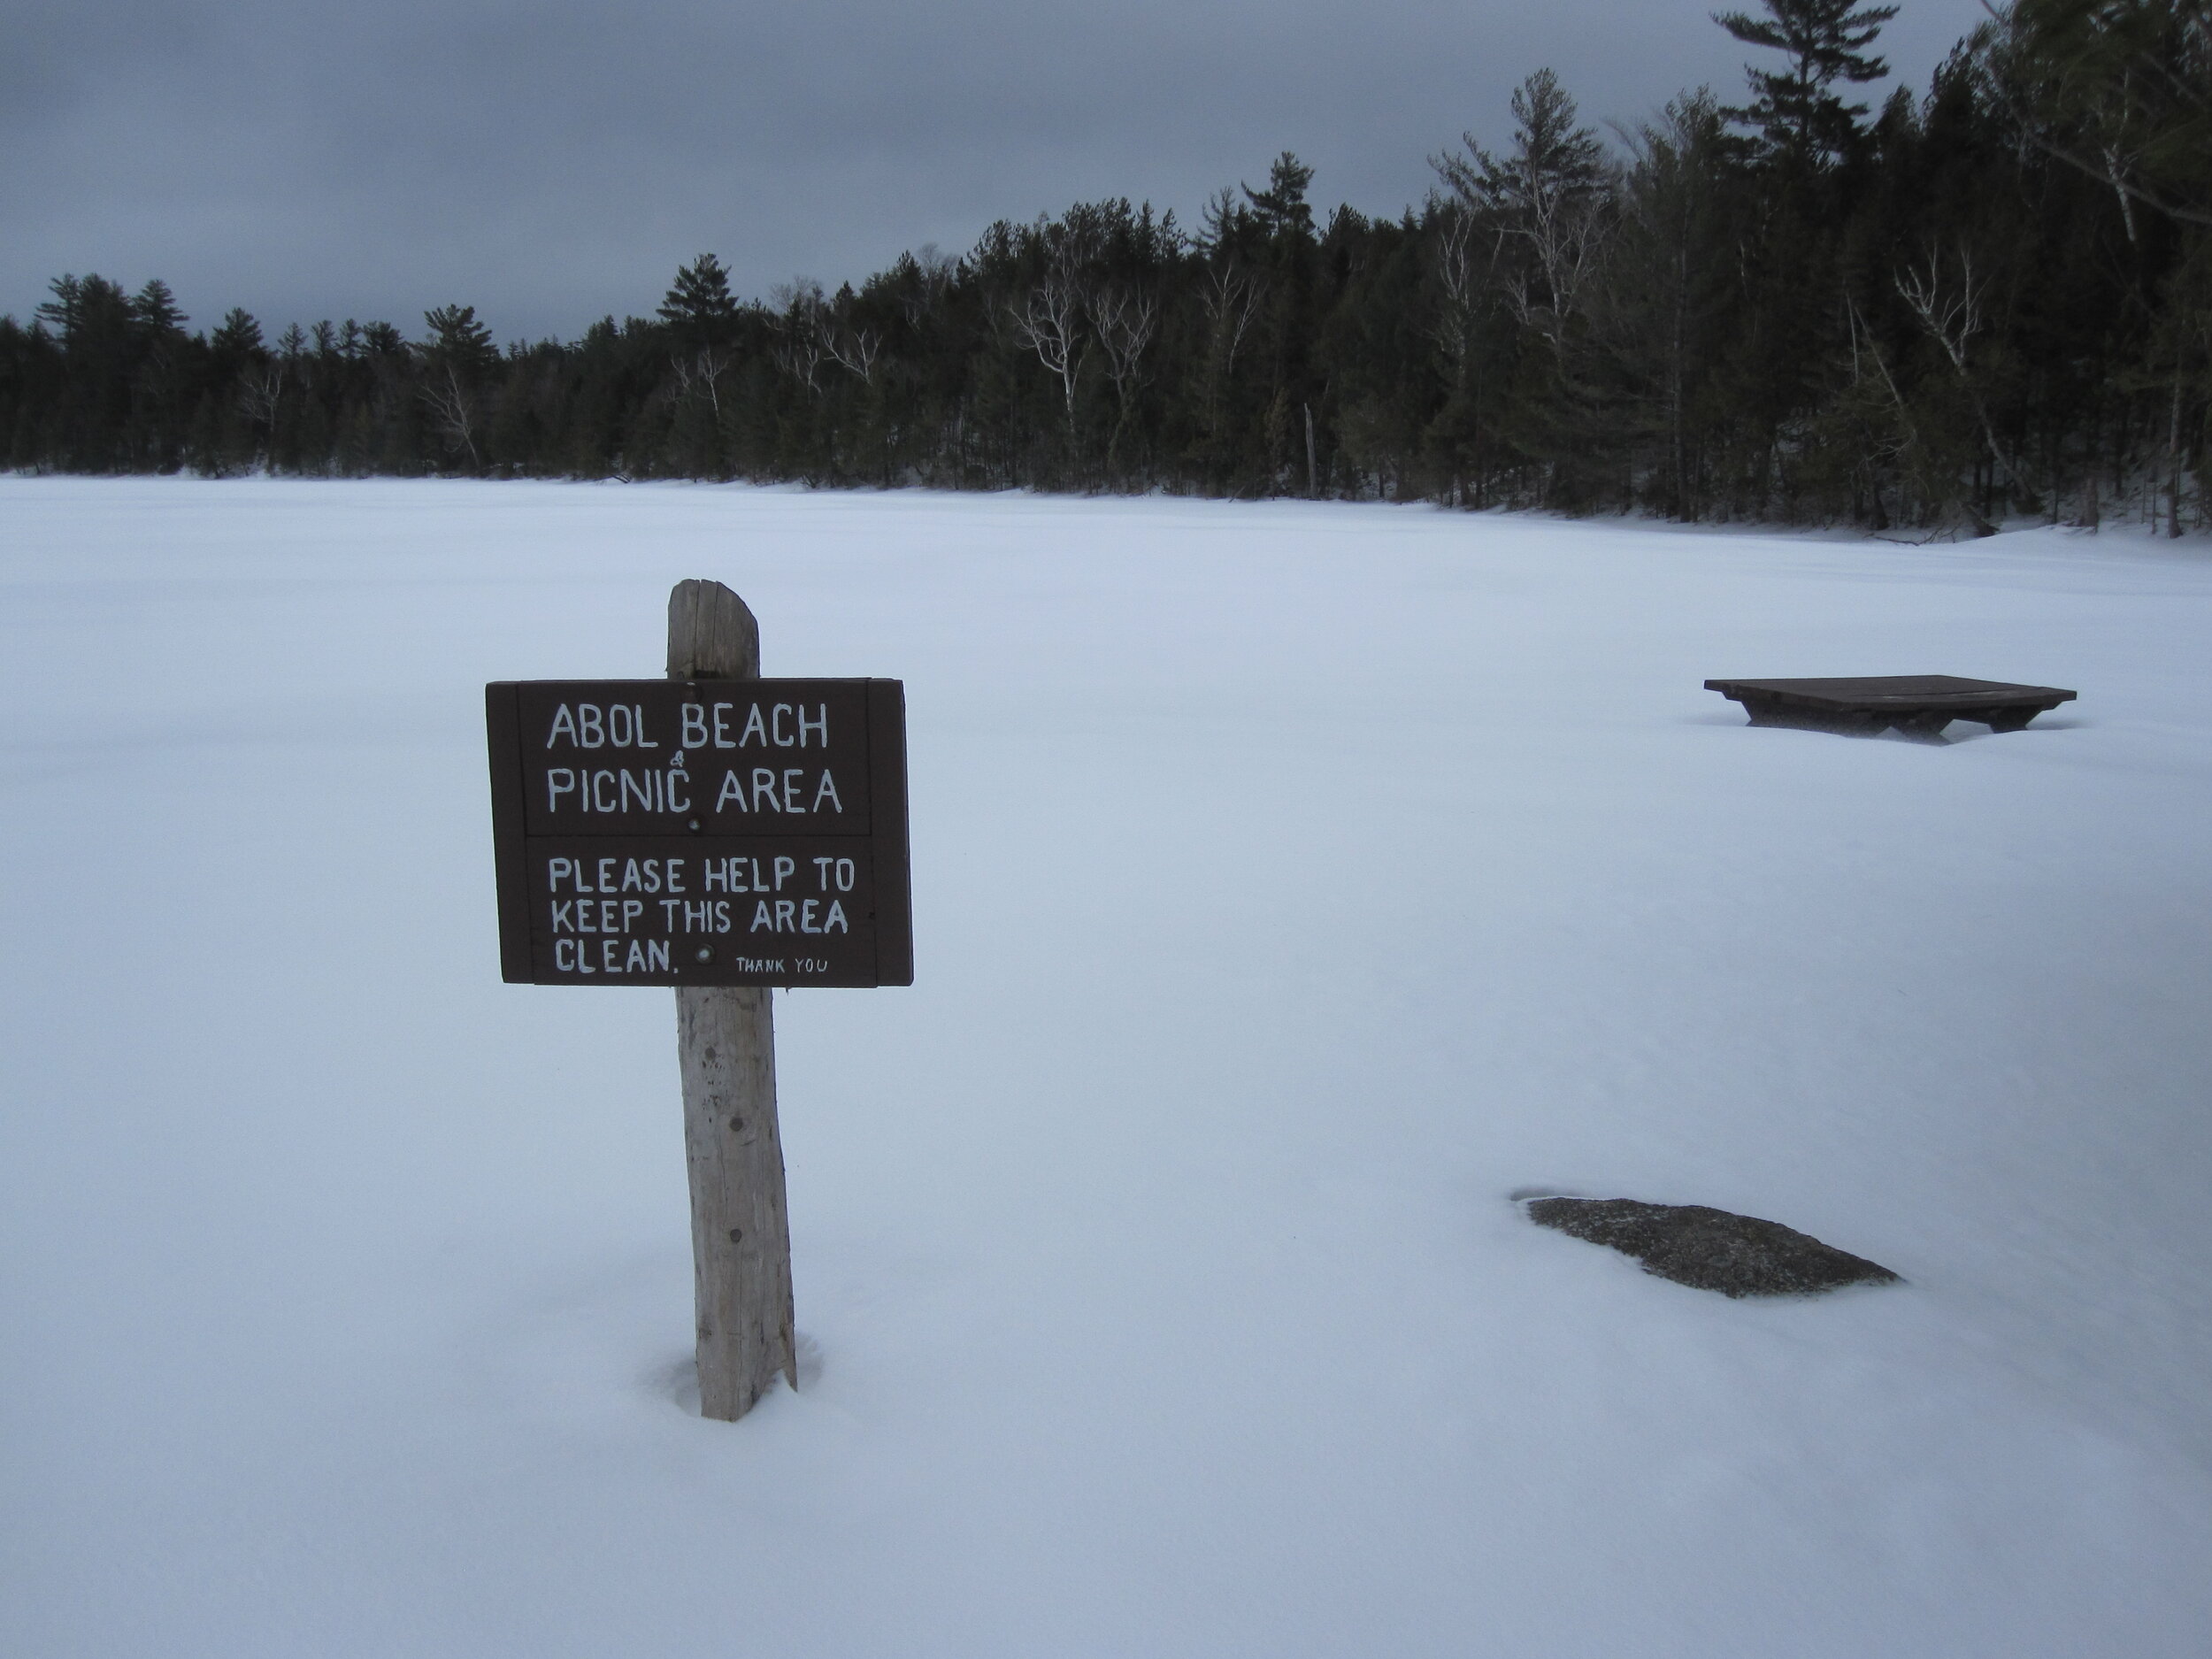
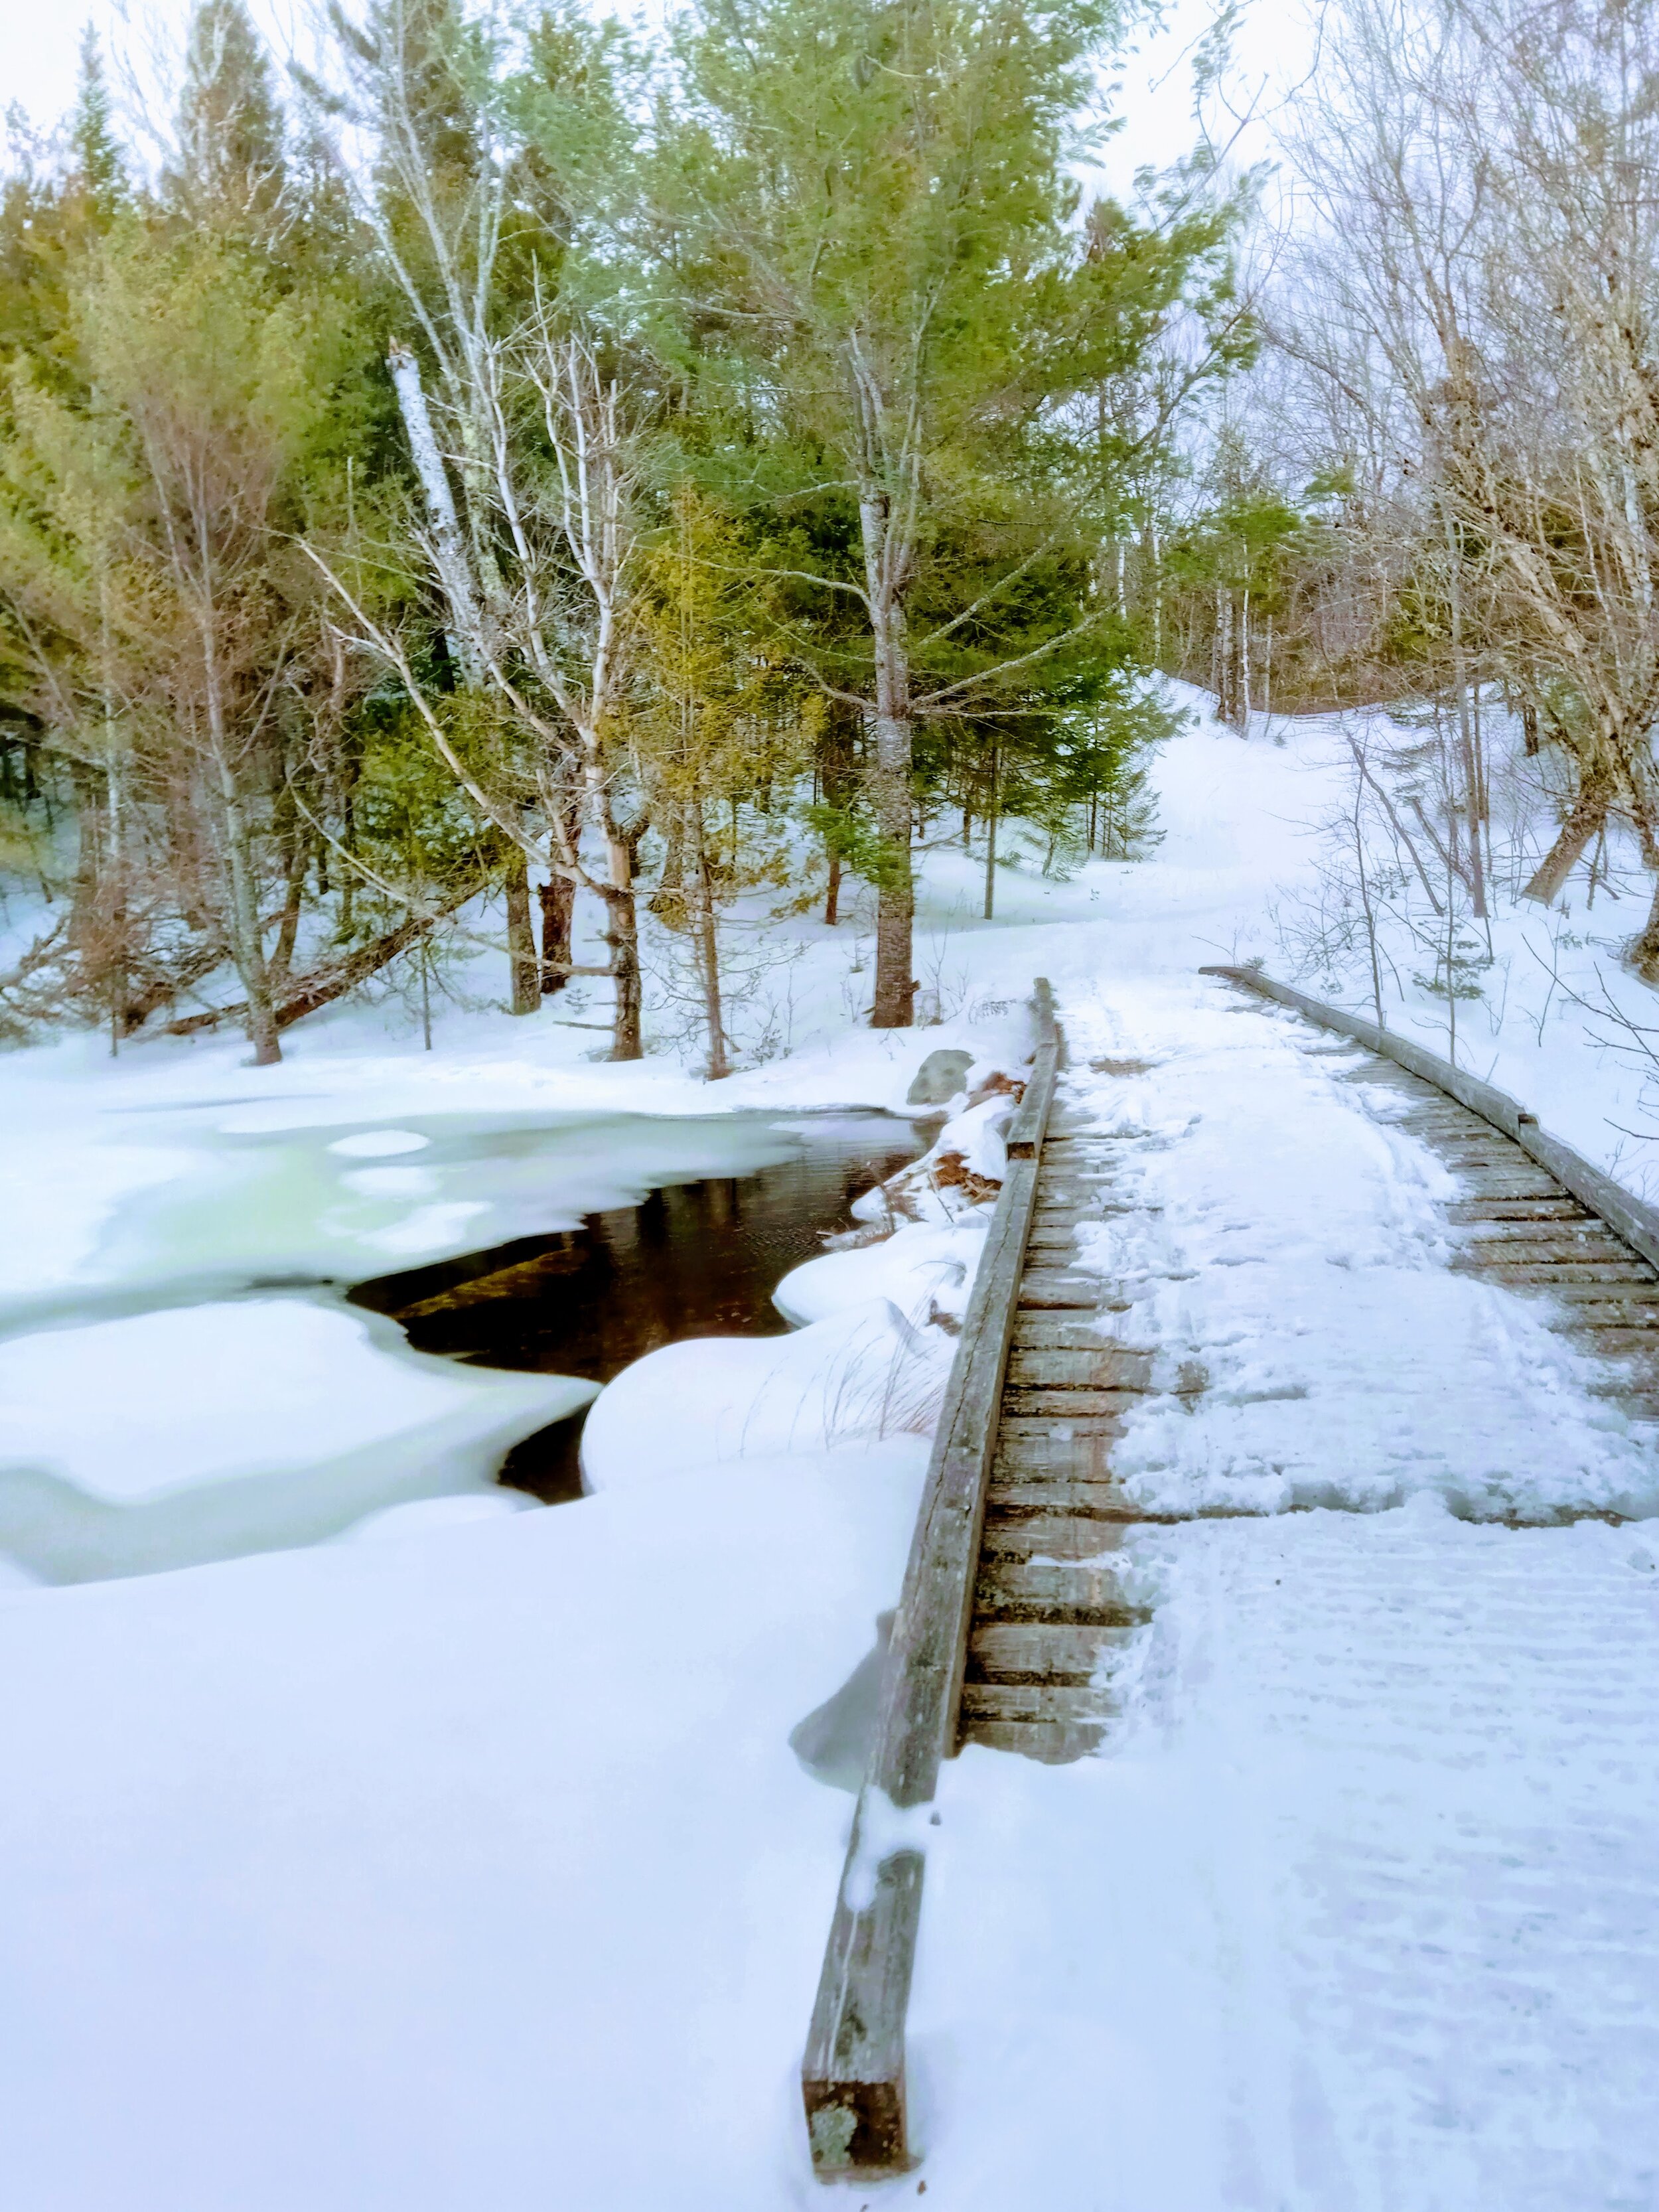
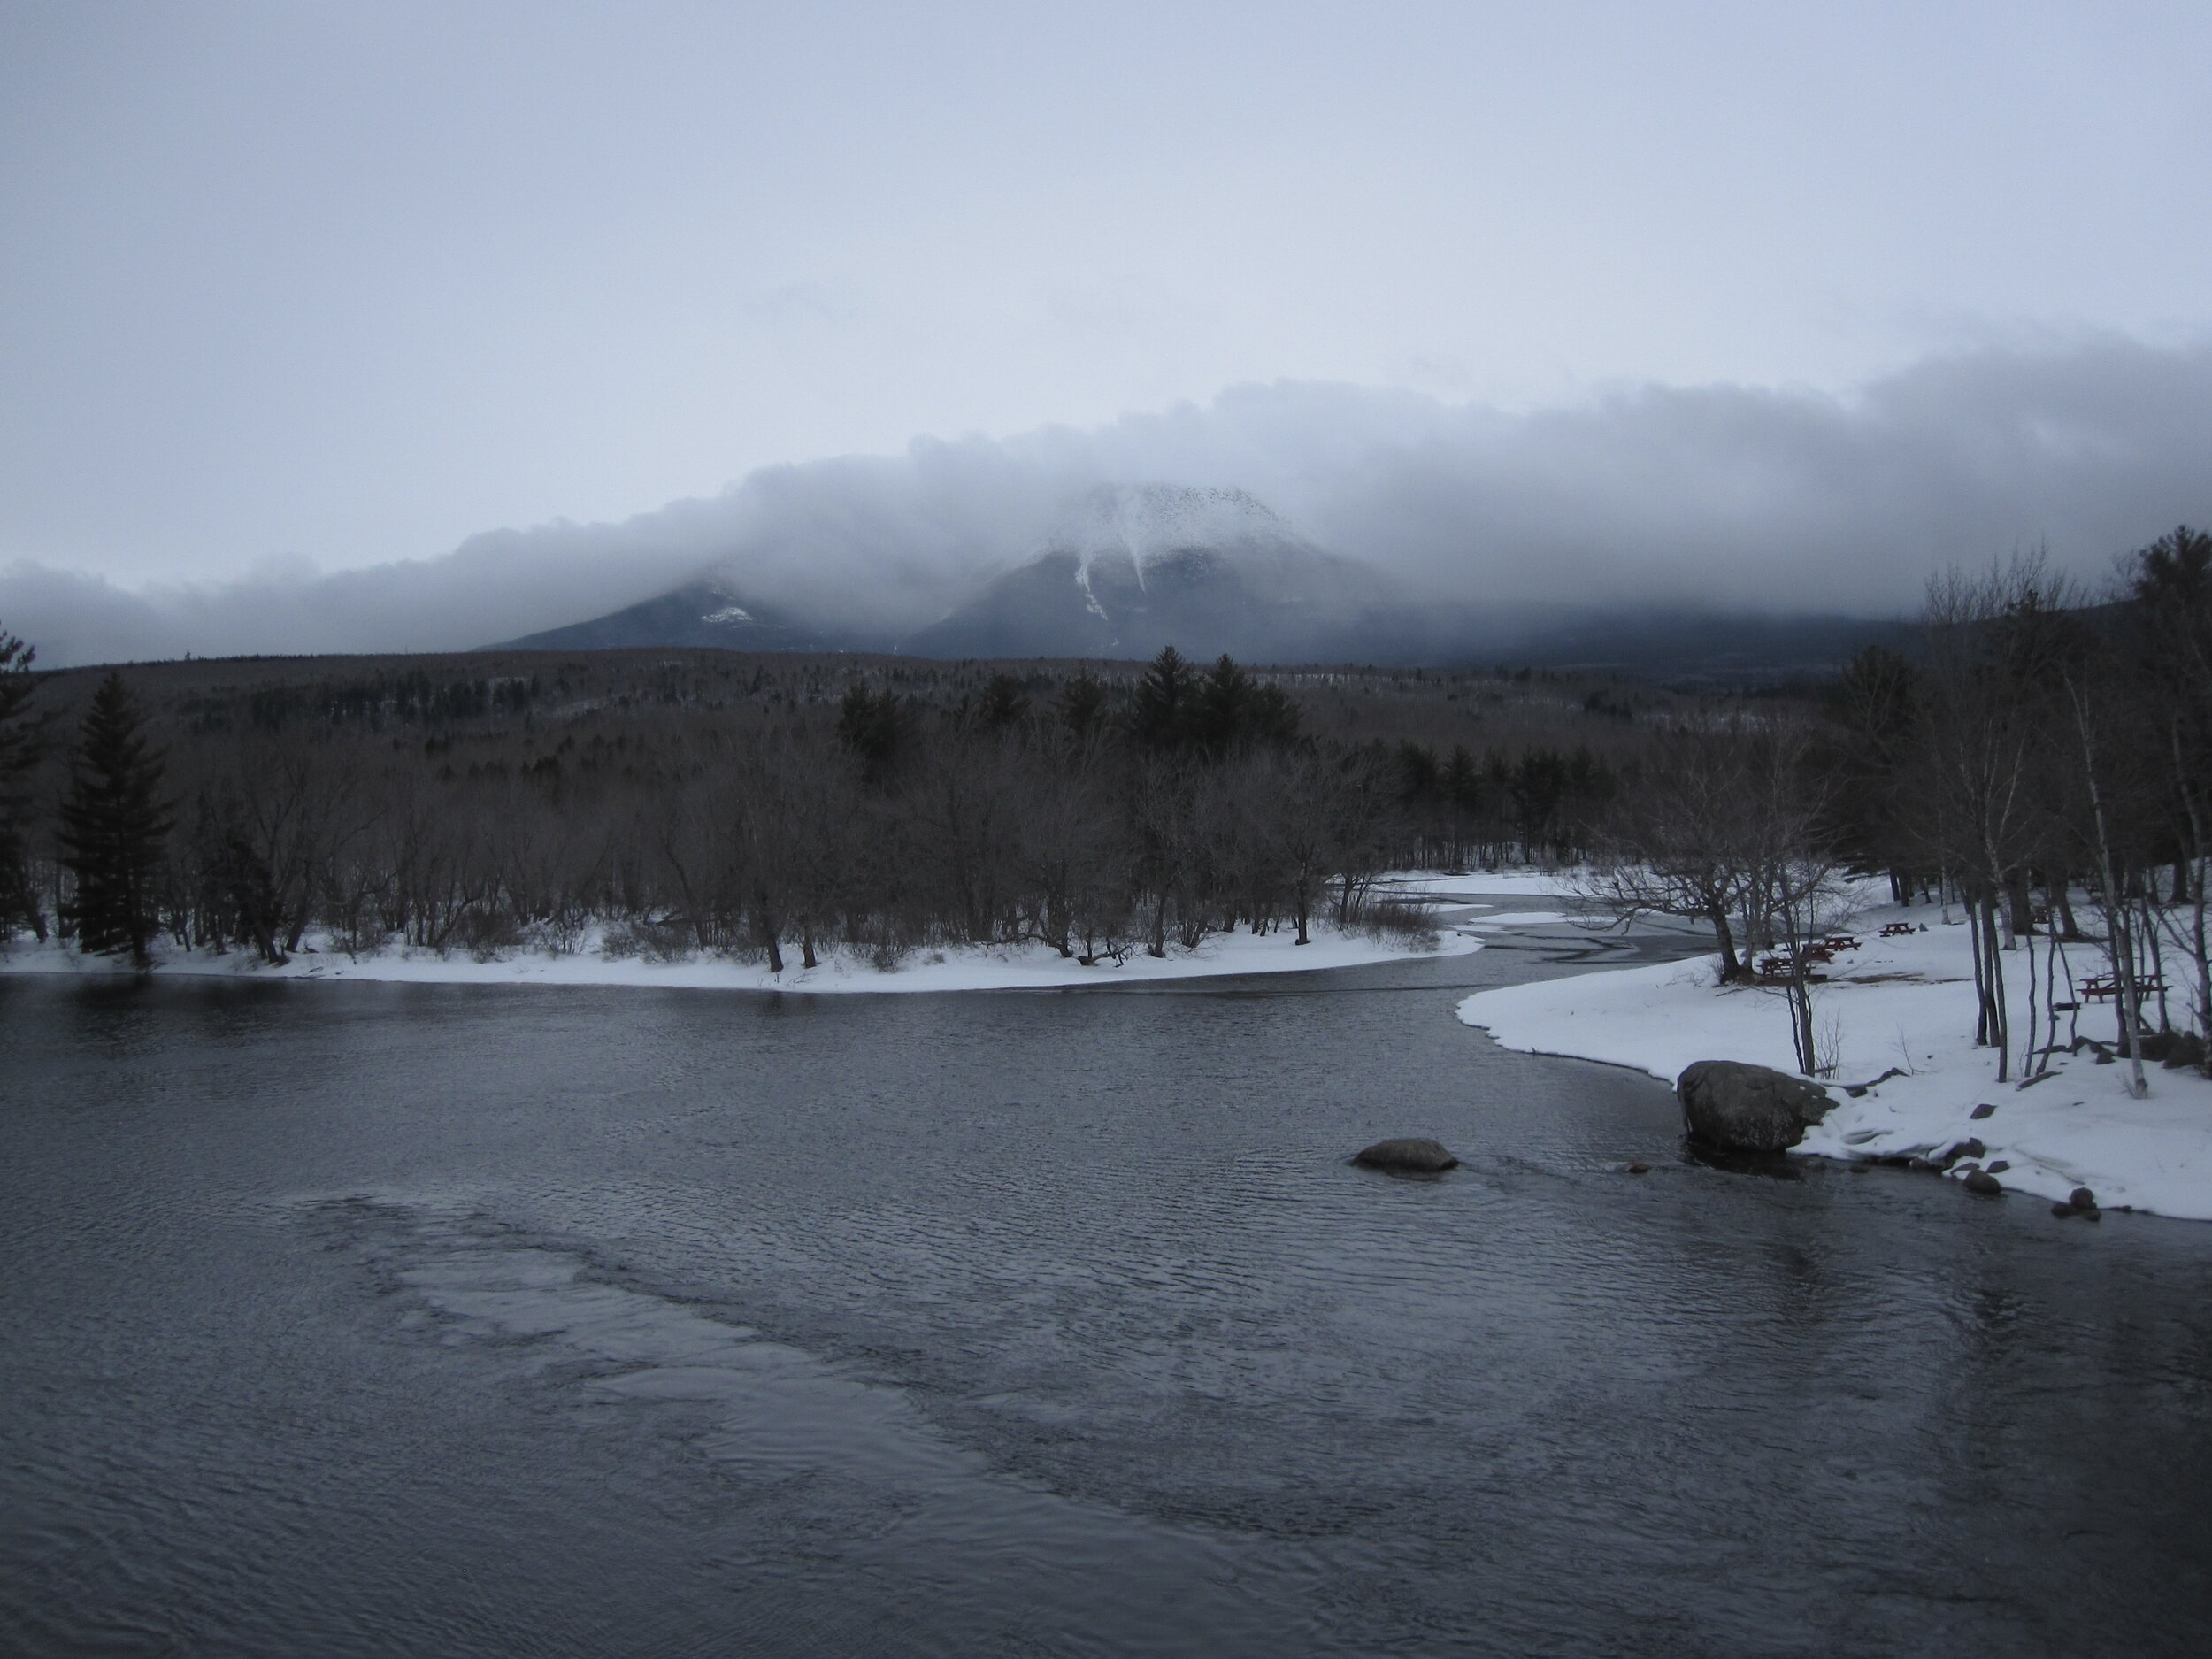
Day 1: Day 1 was spent towing our gear to Abol Campground. We parked in the large parking lot across from Abol Bridge, which is off the Golden Road, and we took our time getting our gear ready and packing up. The cross-country skiing is on a wide groomed trail on the Tote Road (which is also shared by snowmobiles), although you do have to travel on a few narrower trails to get to the Tote Road. I am a fairly novice skier and did not have any issues. The distance from Abol parking to the Abol campground is 4.7 miles with 720 feet of elevation gain. This certainly did not take us the entire day to do, but it wasn’t a fast journey since we were towing our sleds and there was some elevation gain. We got to the campsite at a decent hour and set up our gear in our lean-tos. We comfortably slept 4 people in each lean-to. That night, we ate some warm food, kept warm by the fire, and went to bed early for summit day.


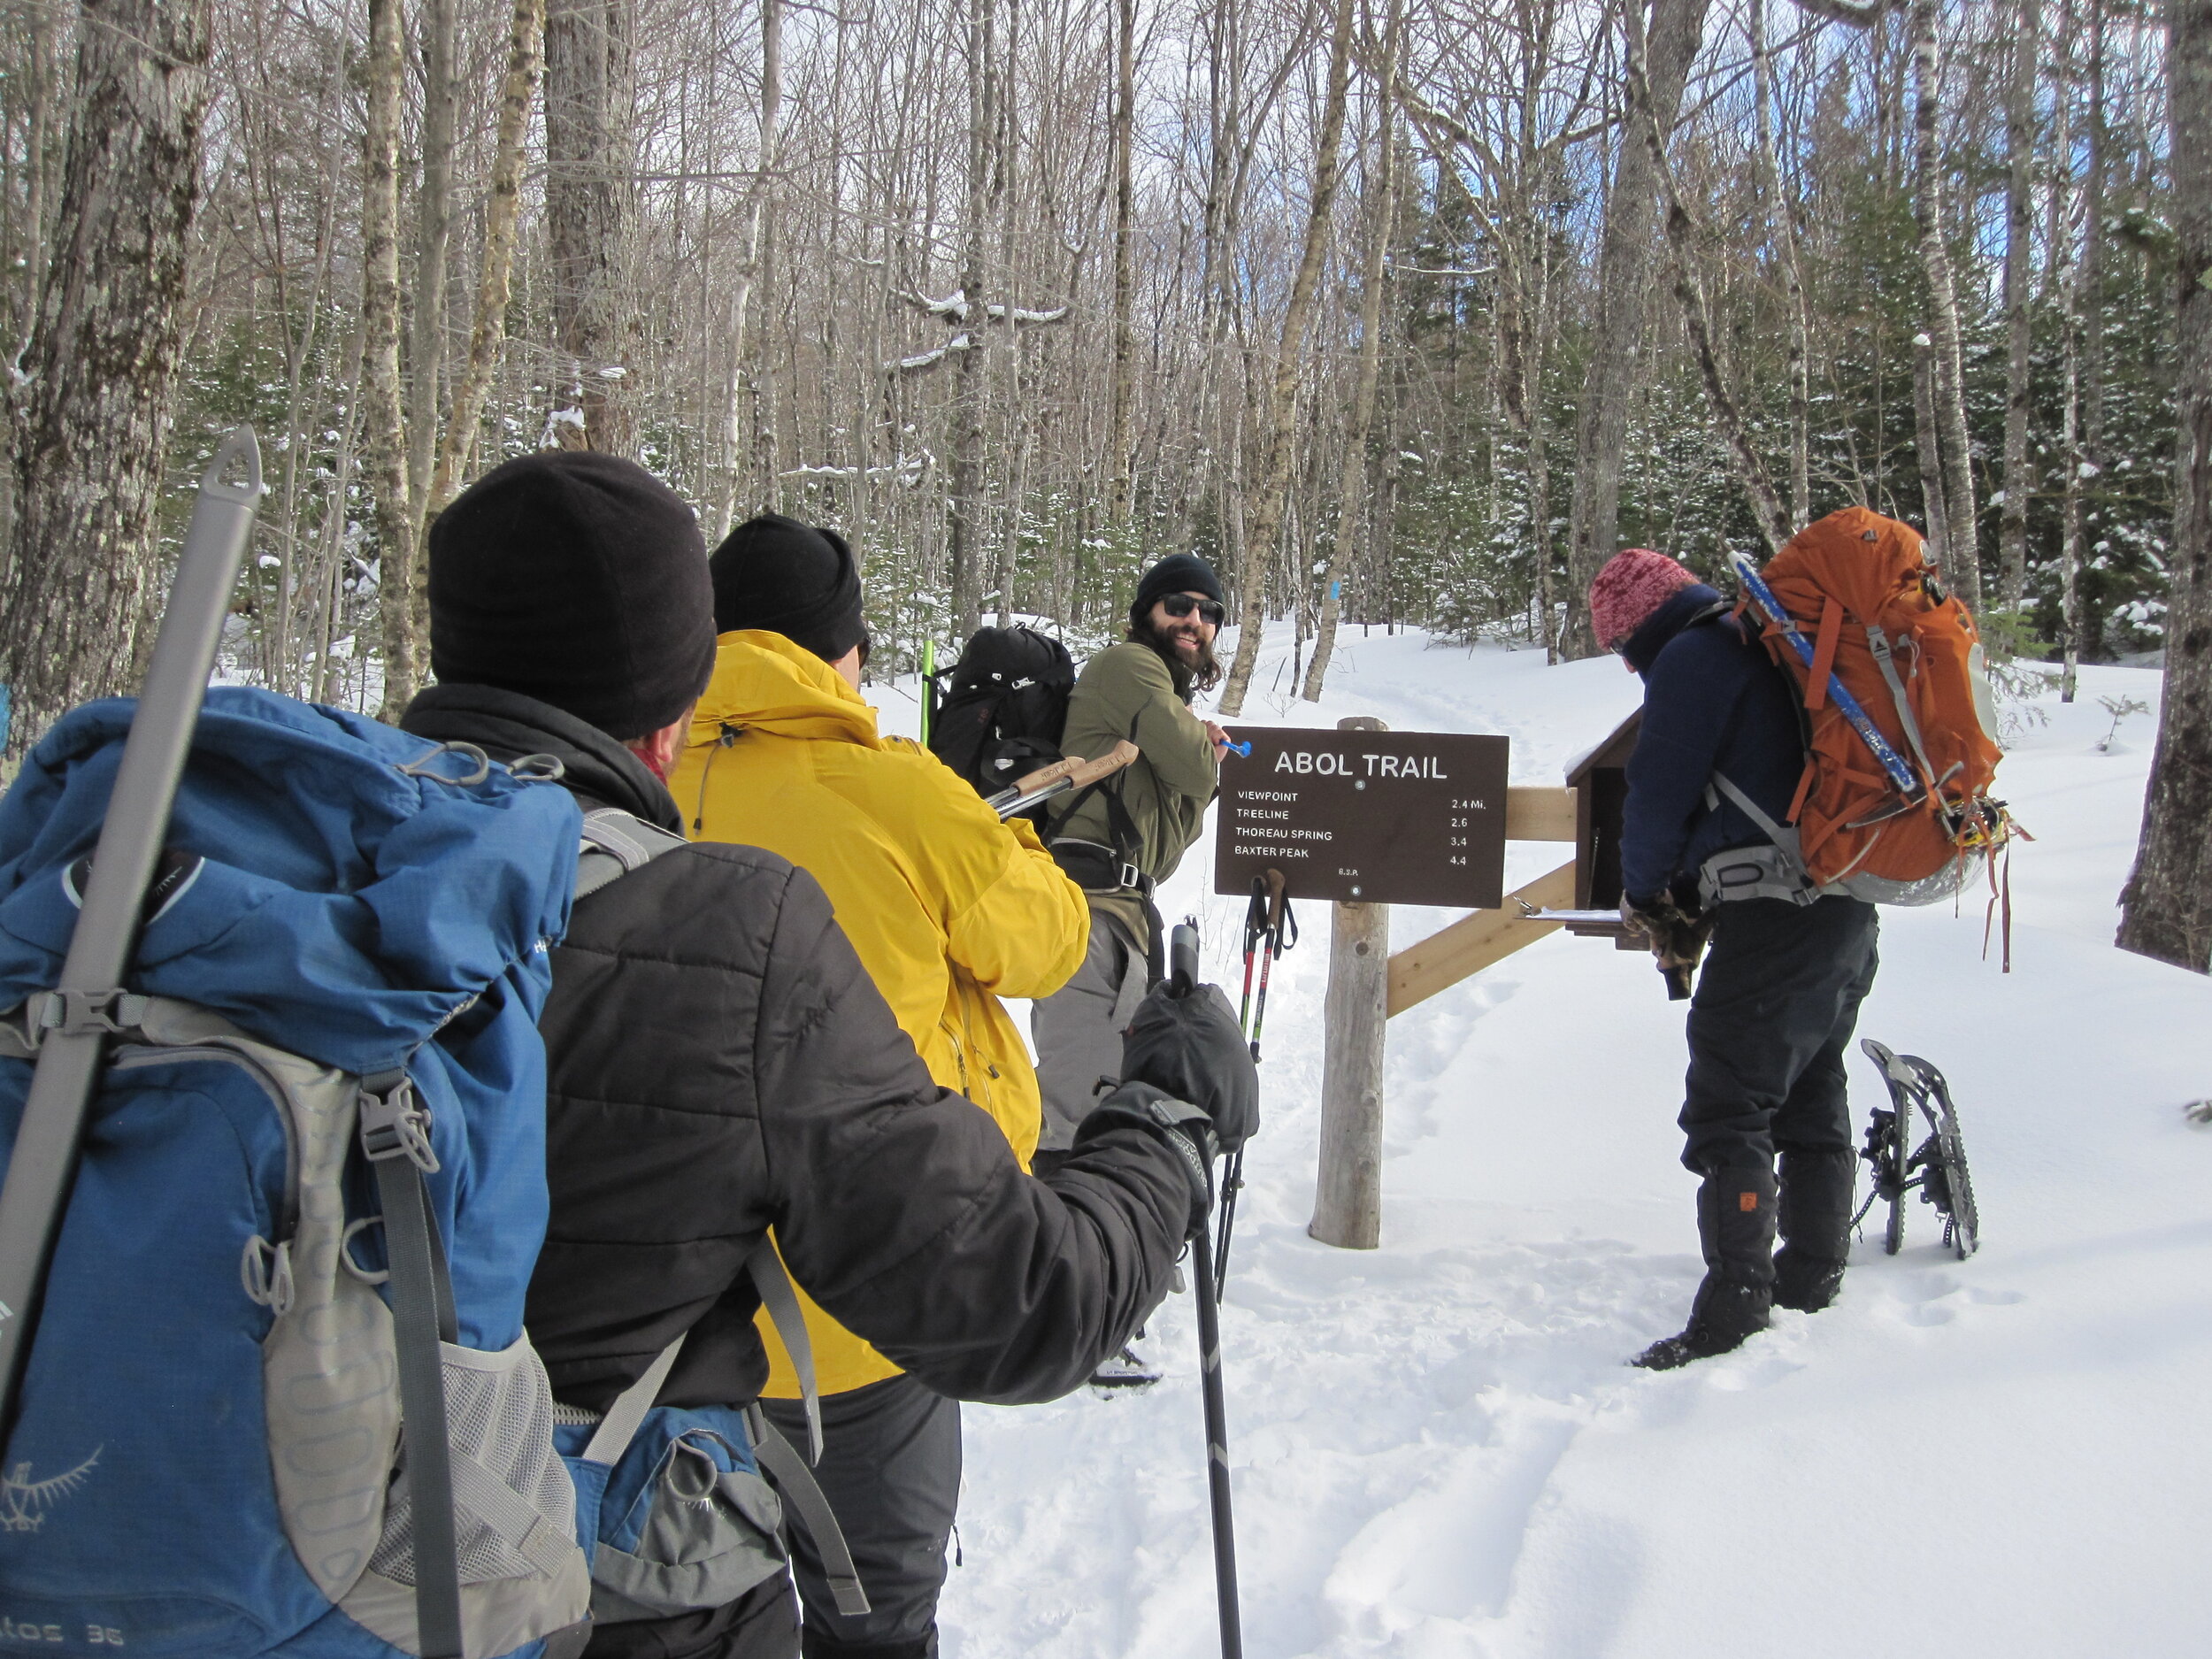
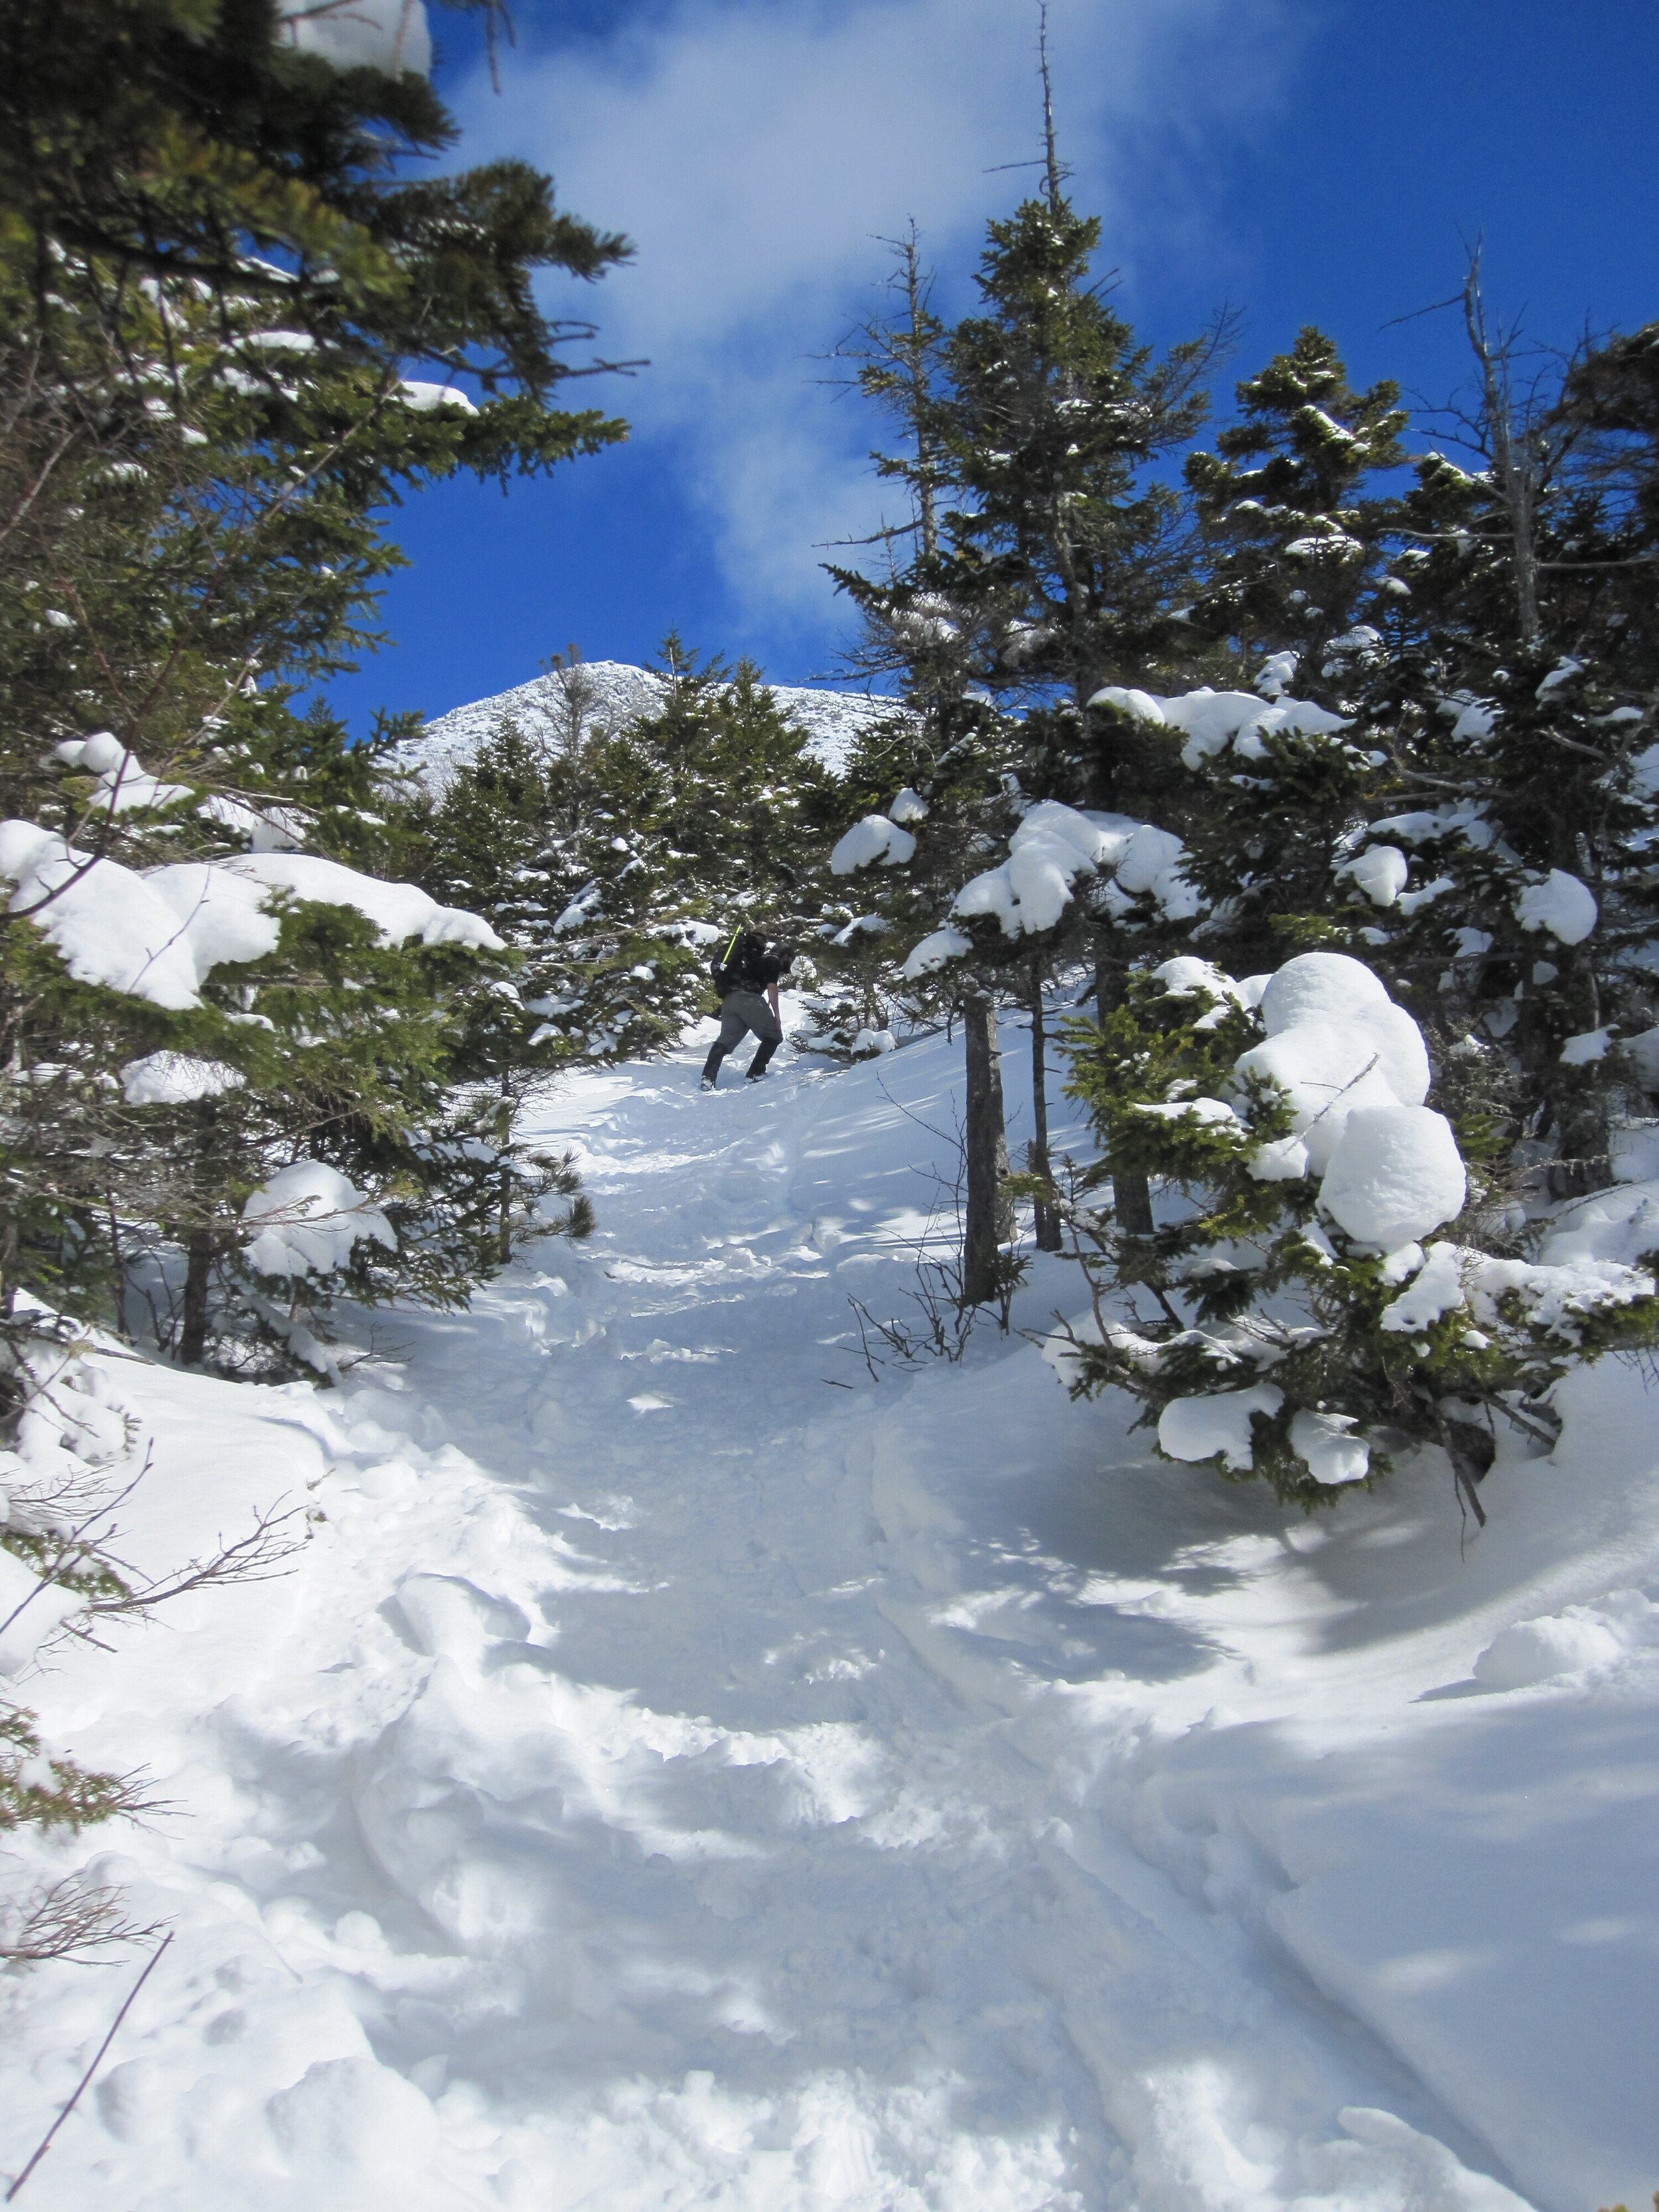
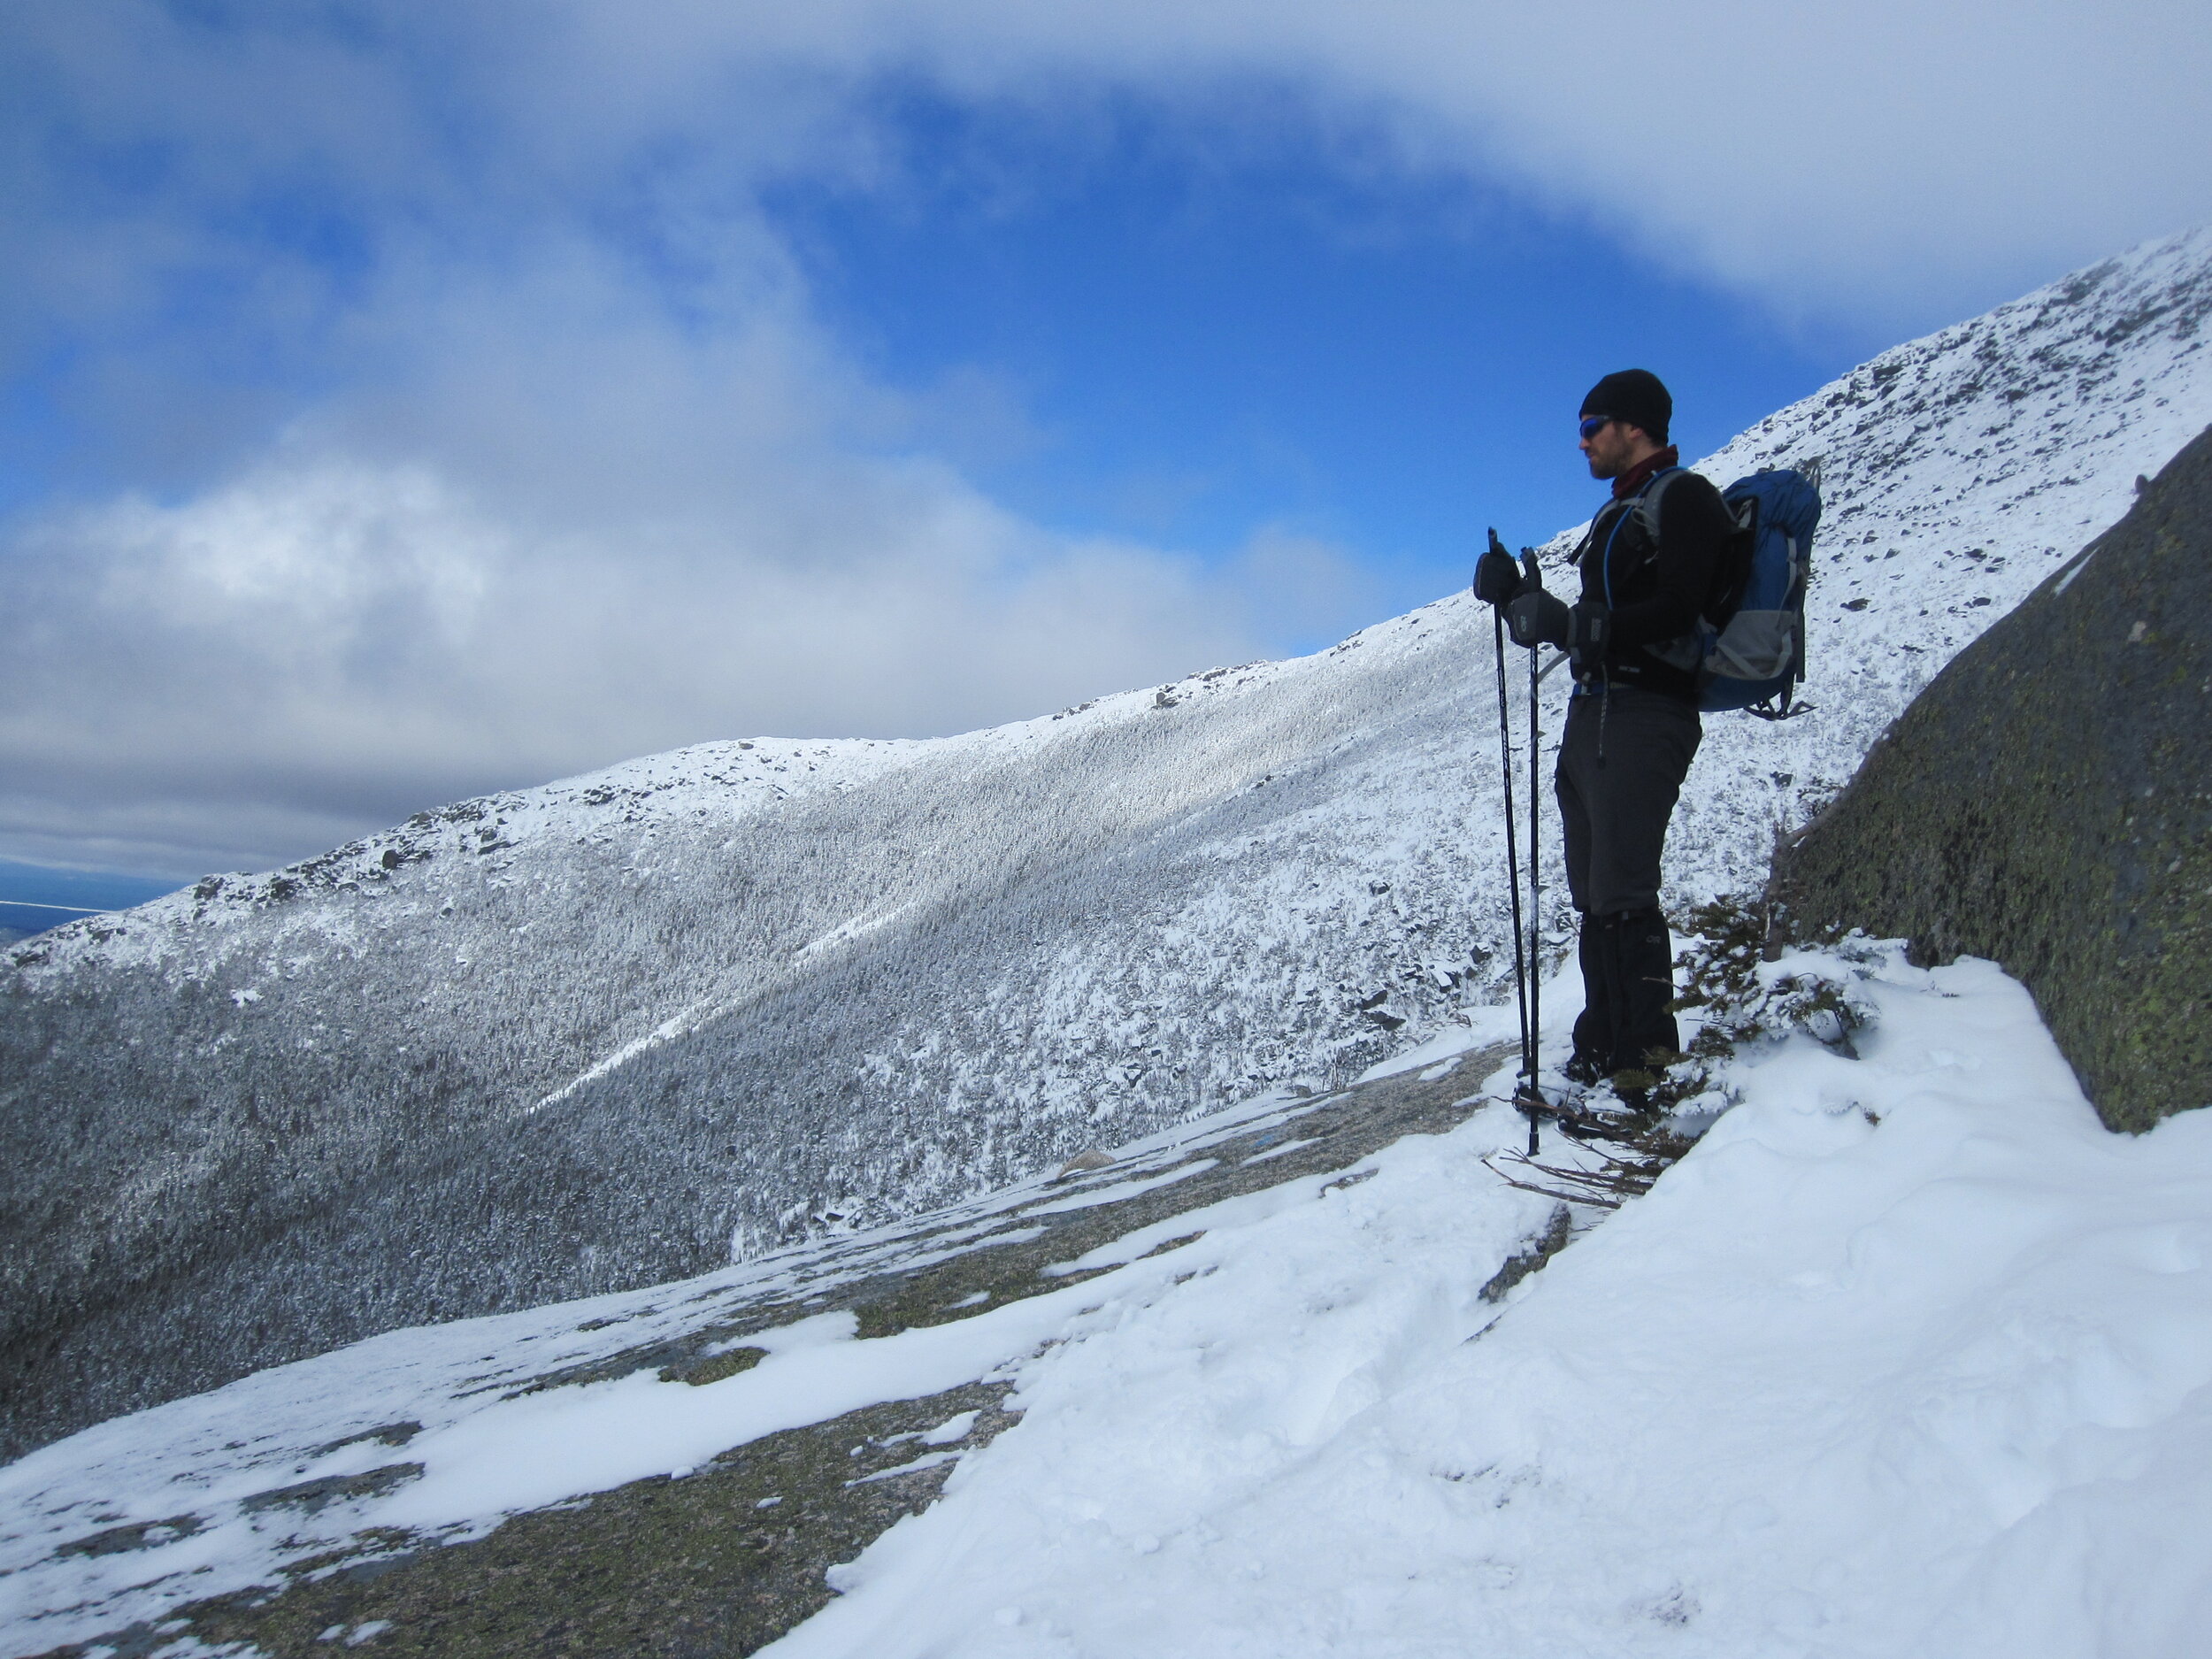
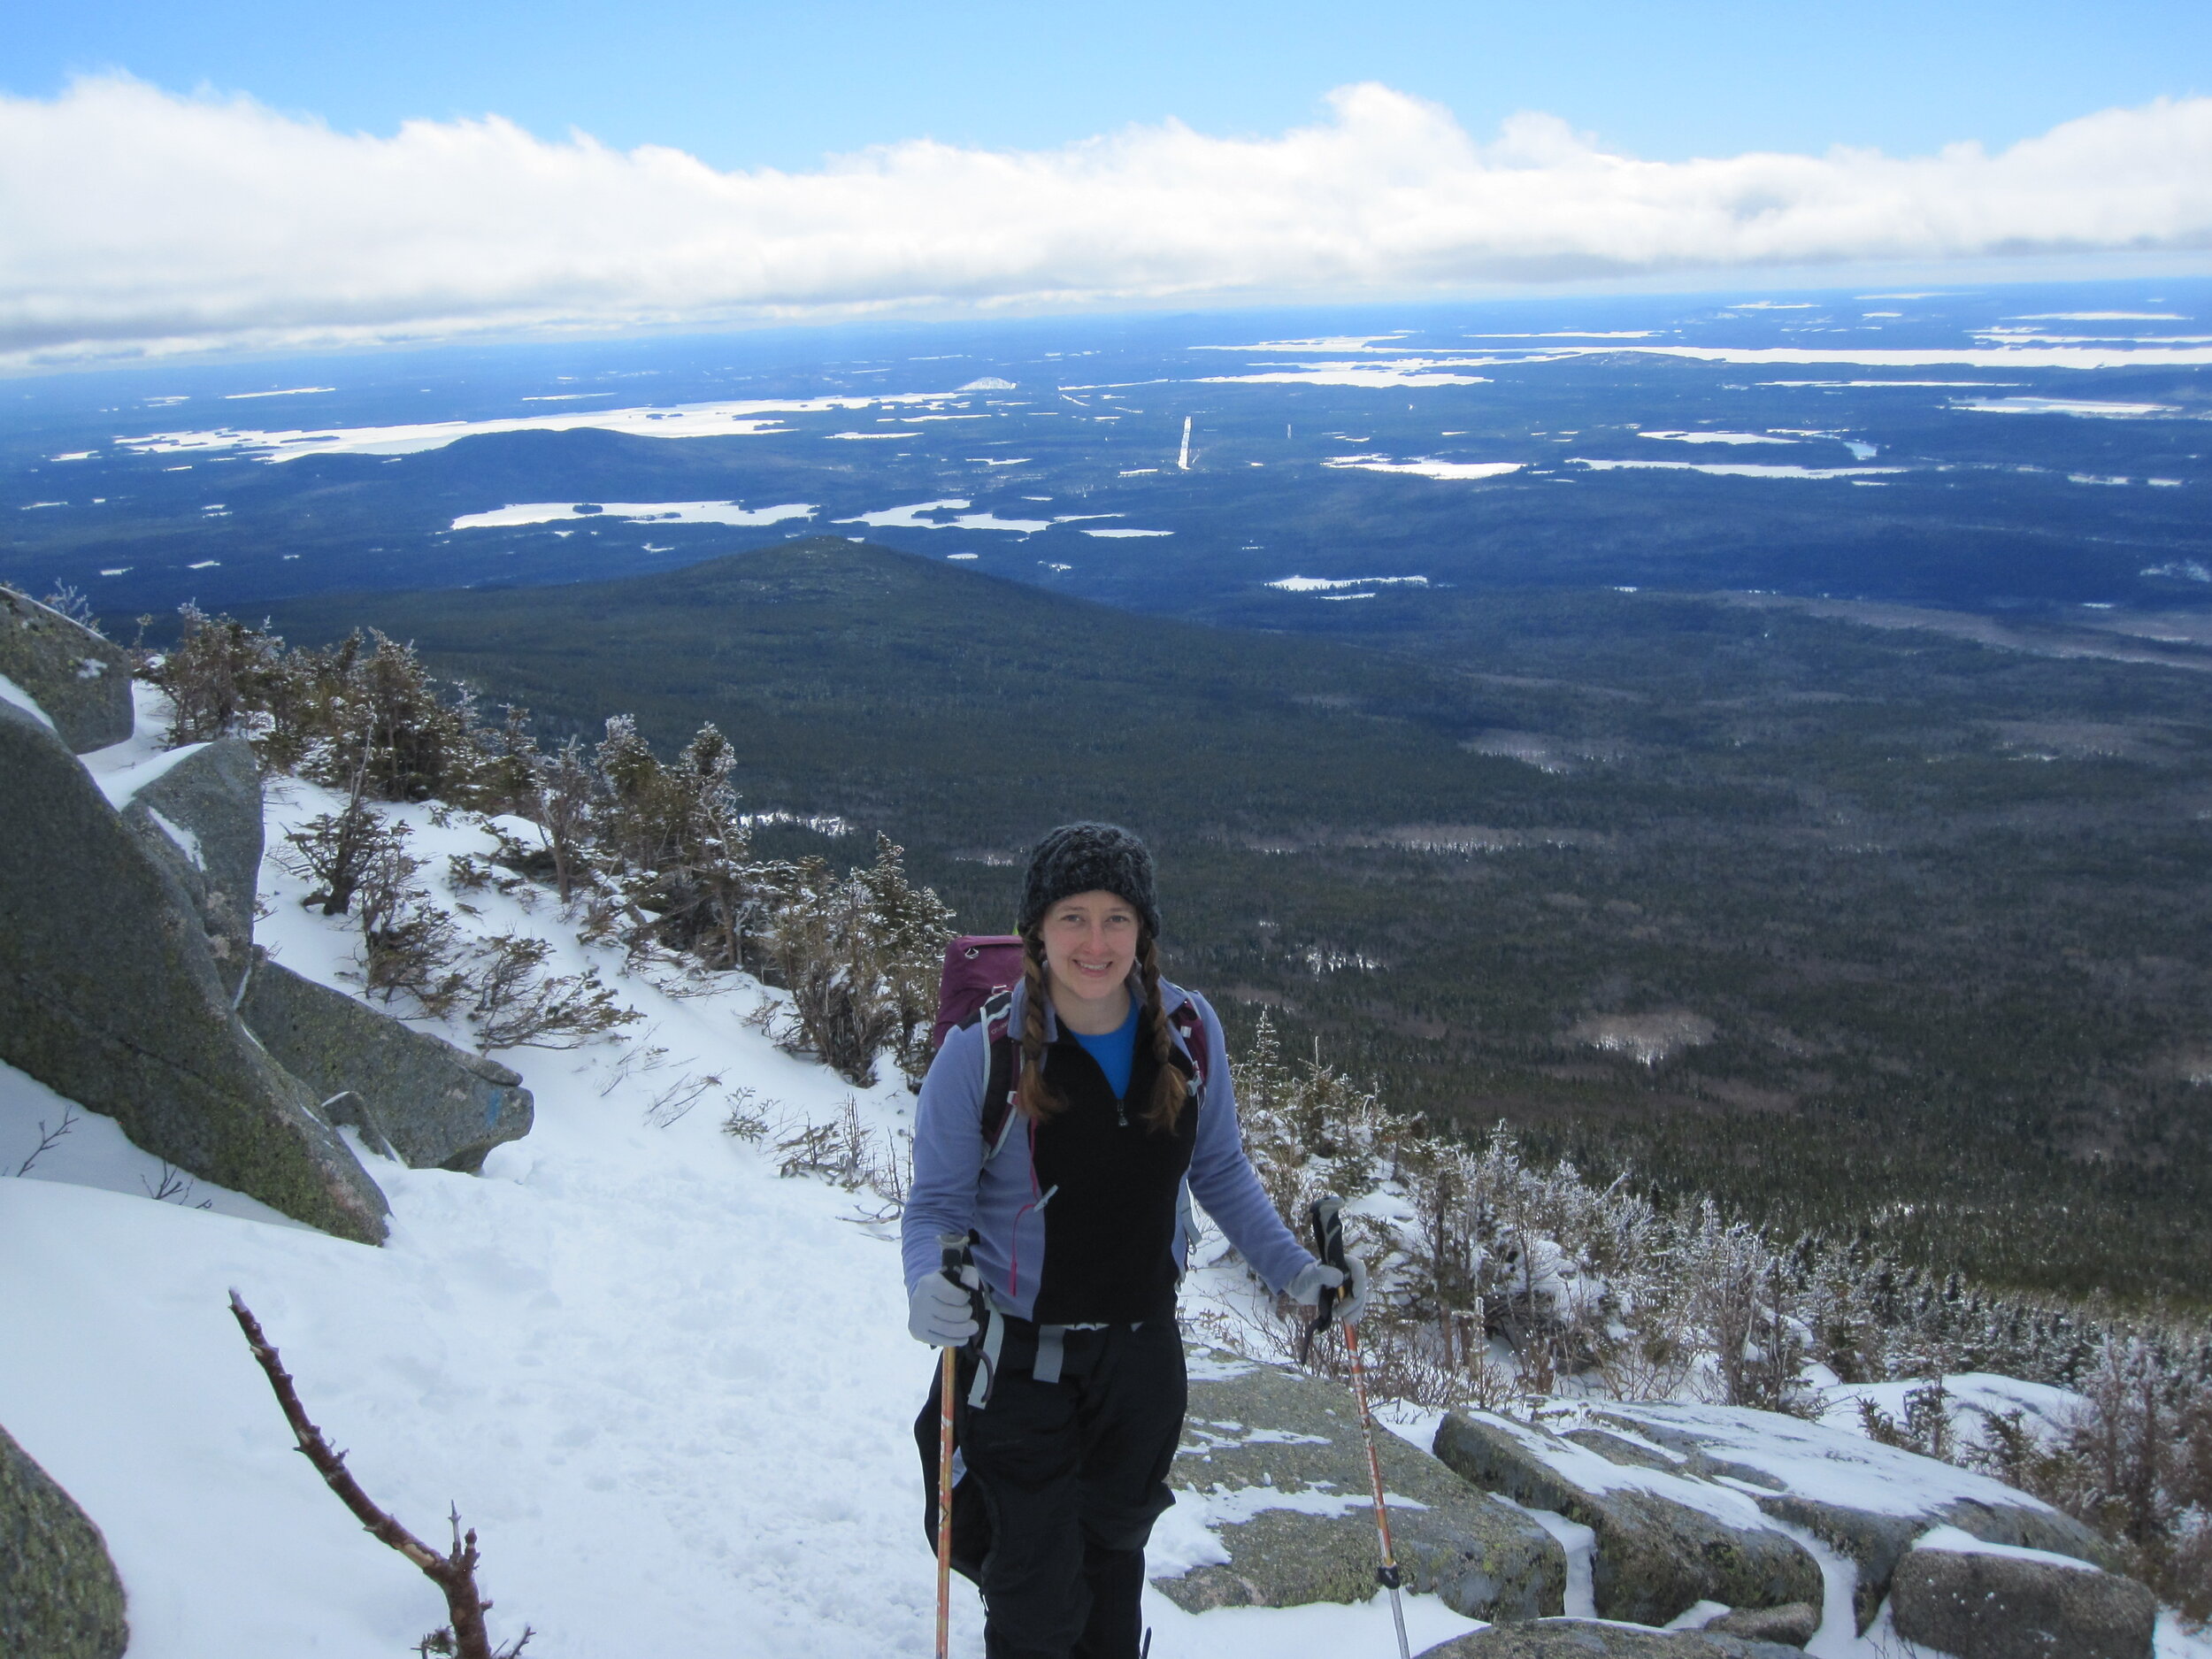
Day 2 (summit day): We got up nice and early for our climb the next morning. We used the new Abol trail which starts at the same trailhead as the old Abol trail. The old Abol trail was closed in 2014 due to landslide activity (the trail basically went straight up the mountain). The new Abol trail starts about 1 mile into the original Abol trail, where it then bypasses the steep landslide area and has a more gradual ascent. It reconnects with the original trail at mile 1.9. From there, it climbs to the top of the Abol slide where you then reach the tablelands towards the summit.
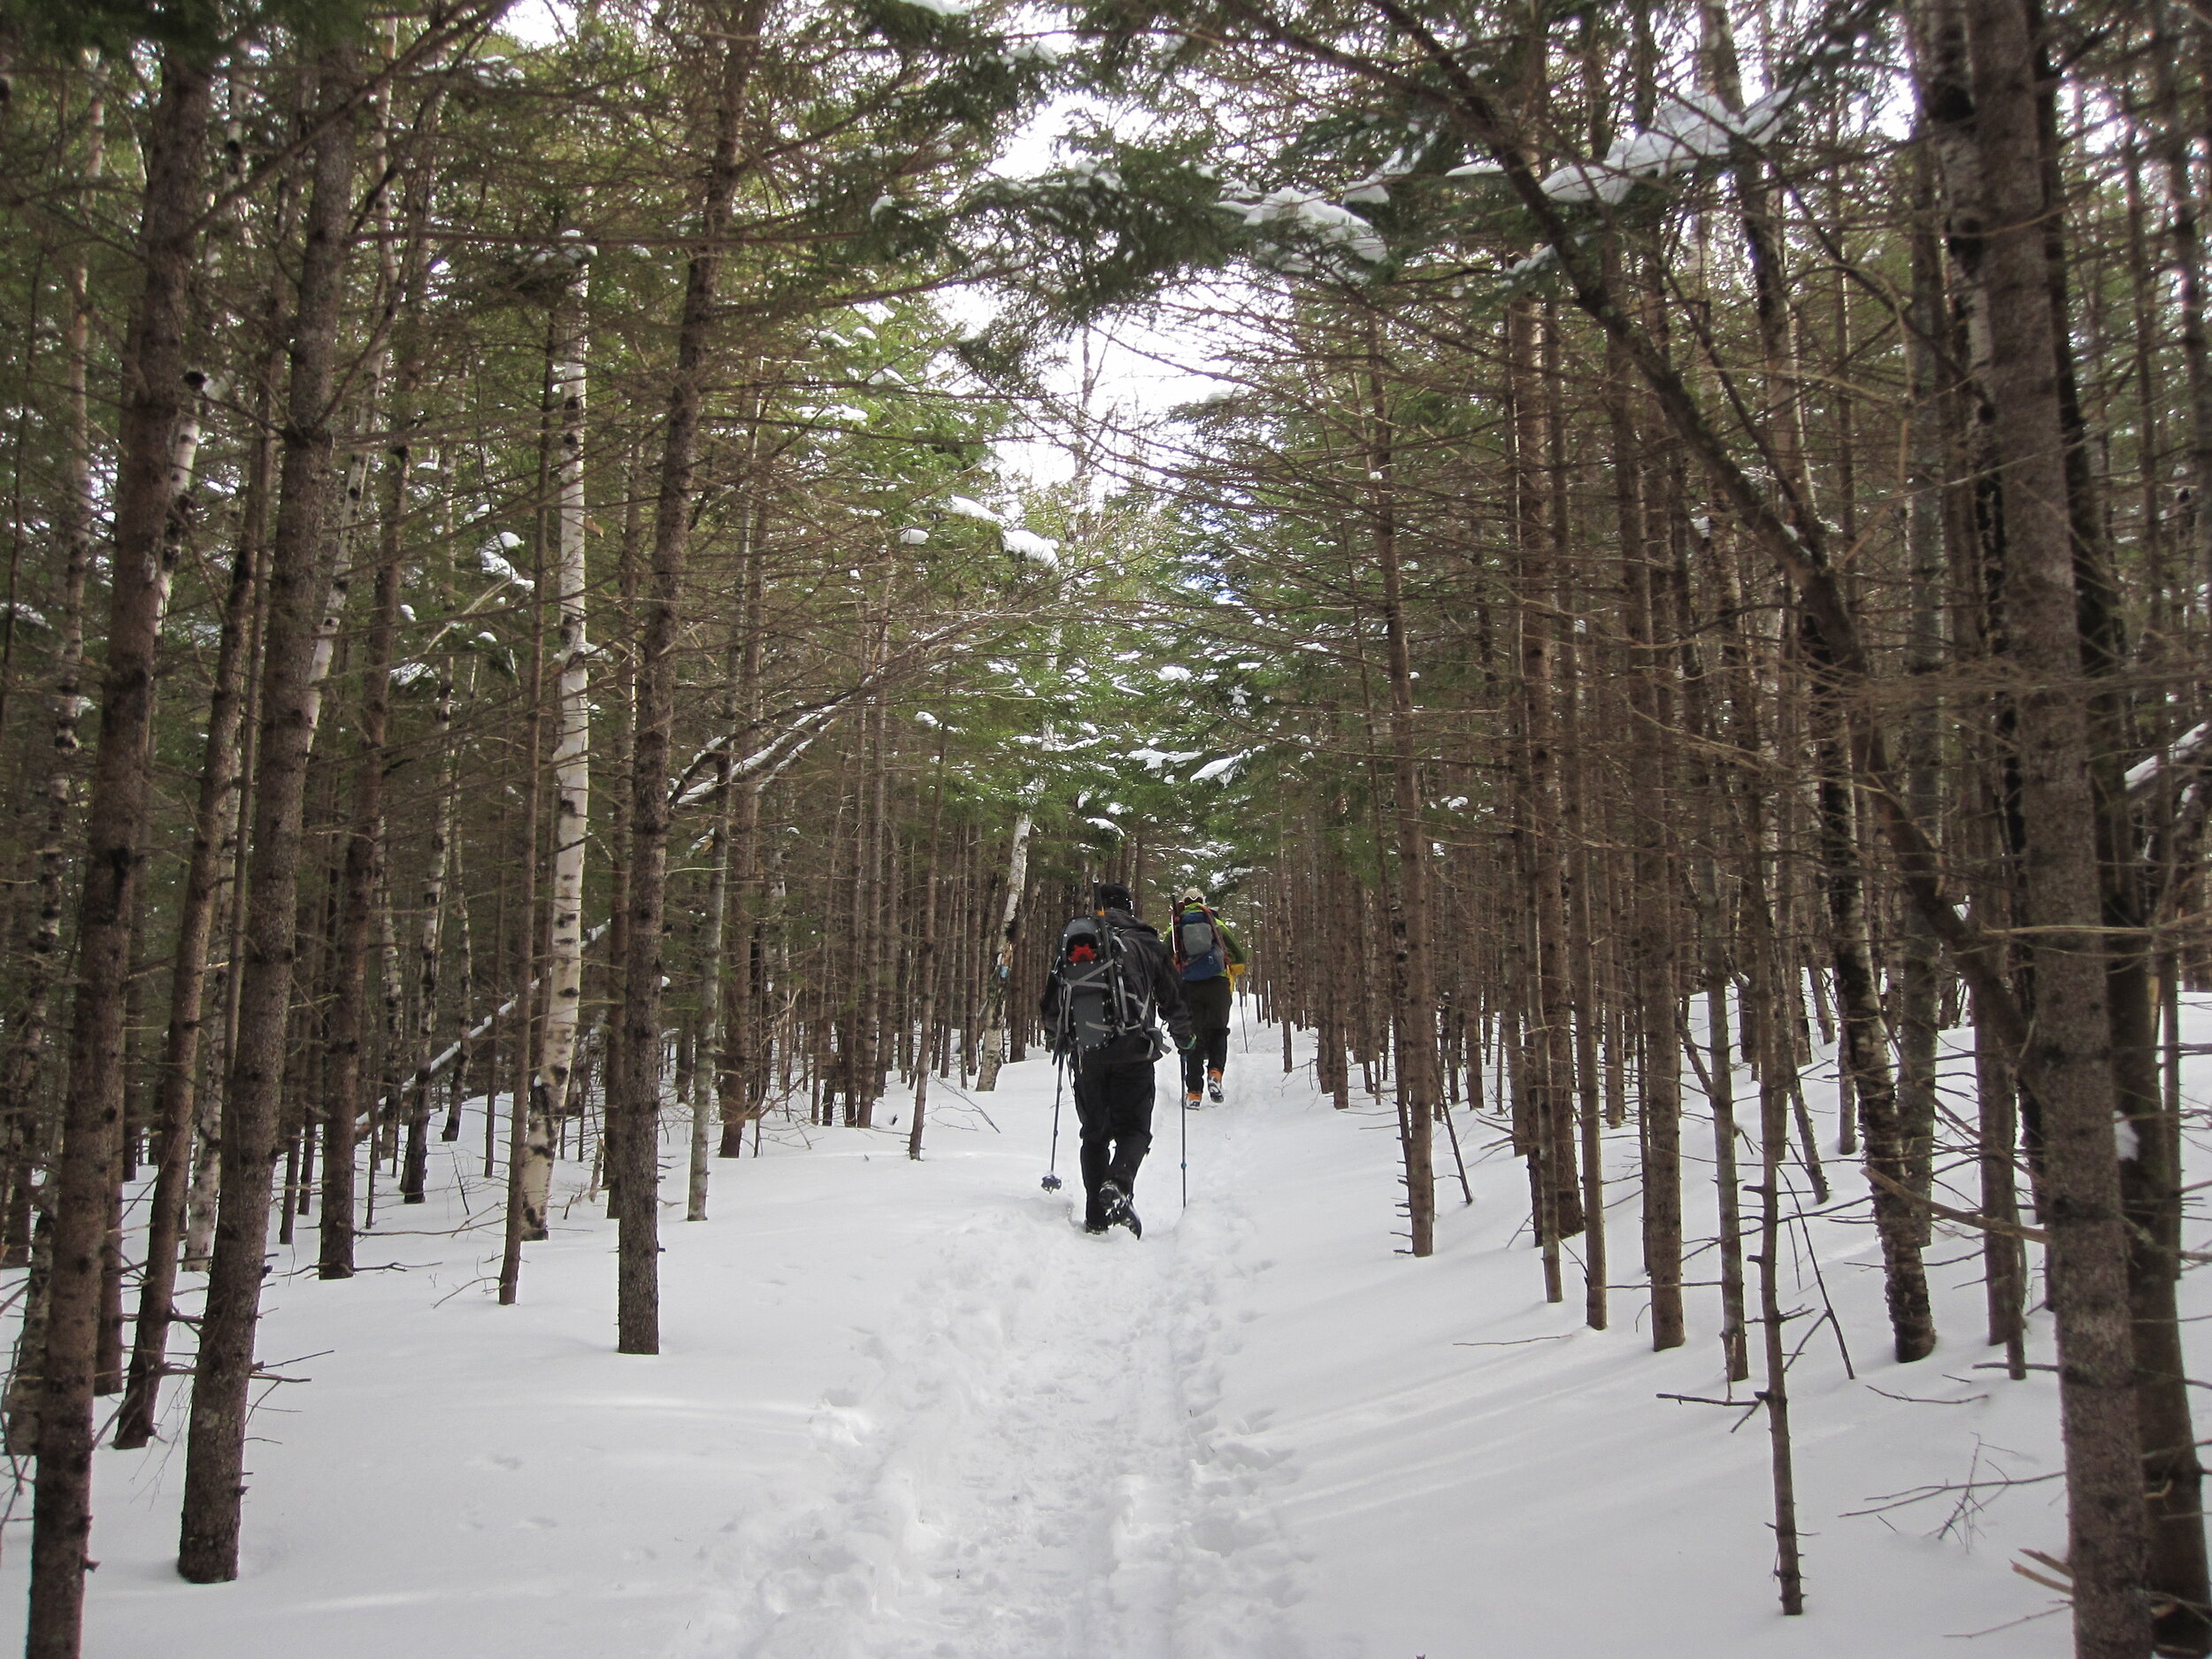
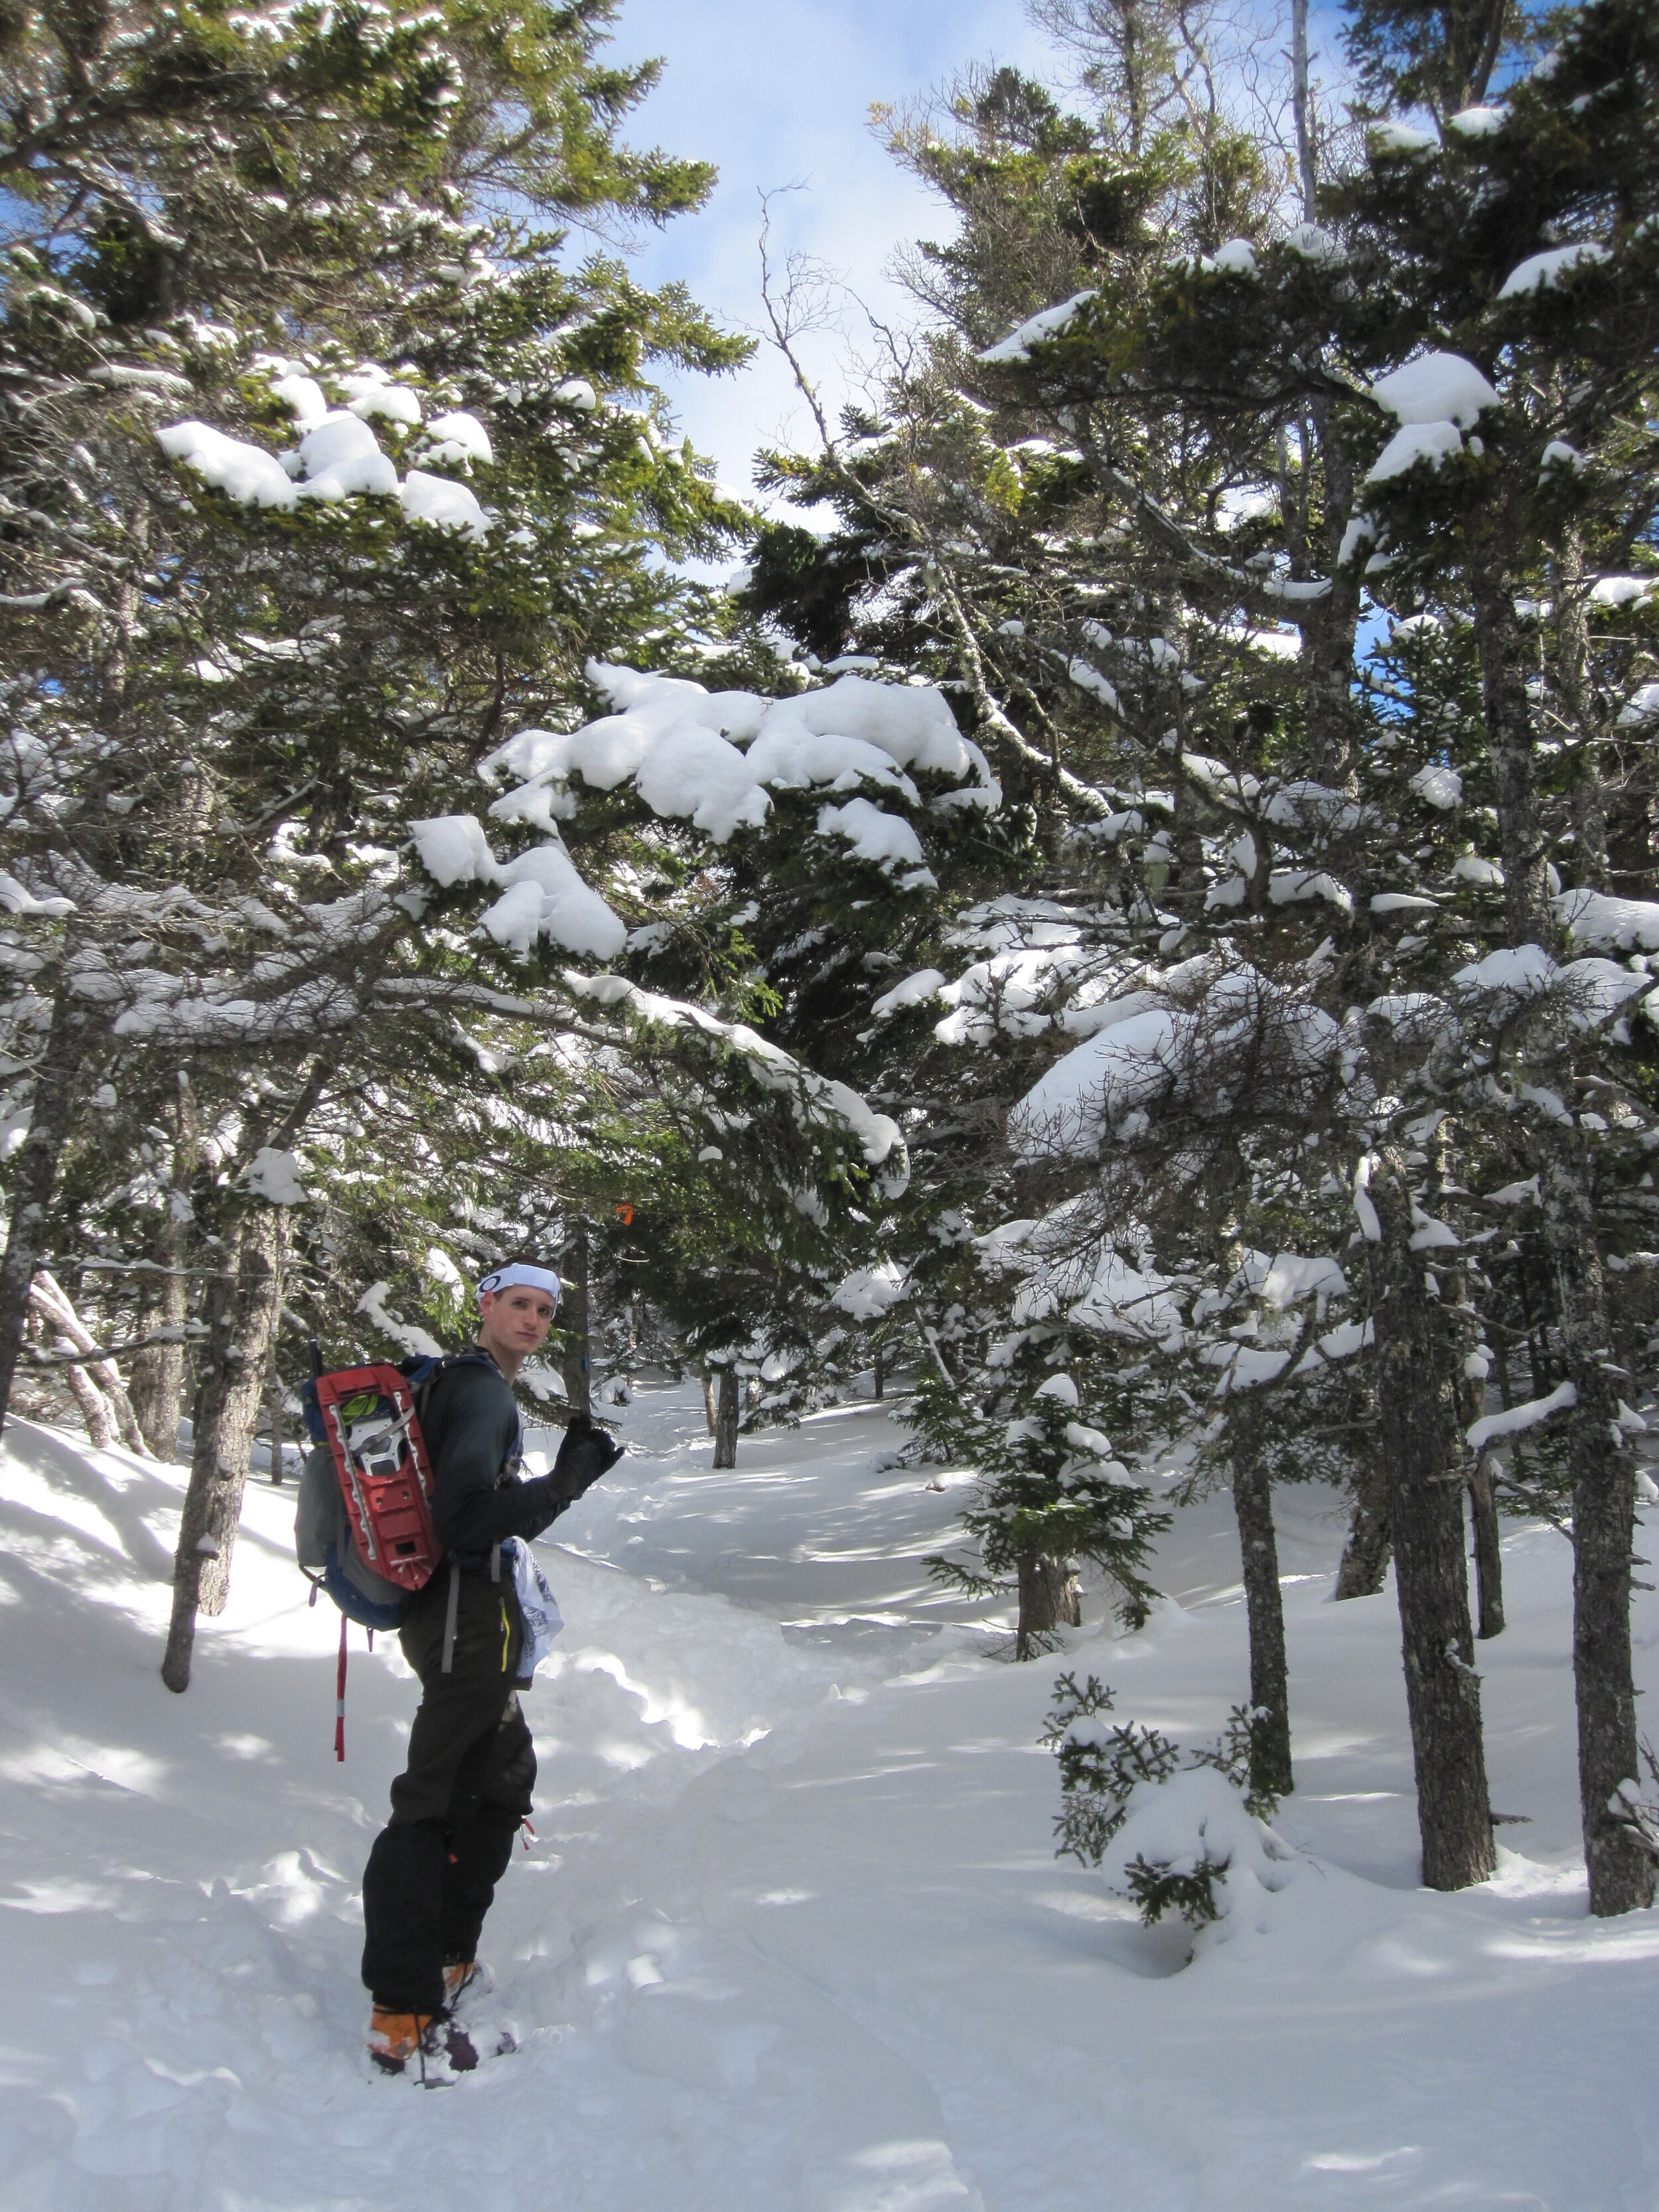
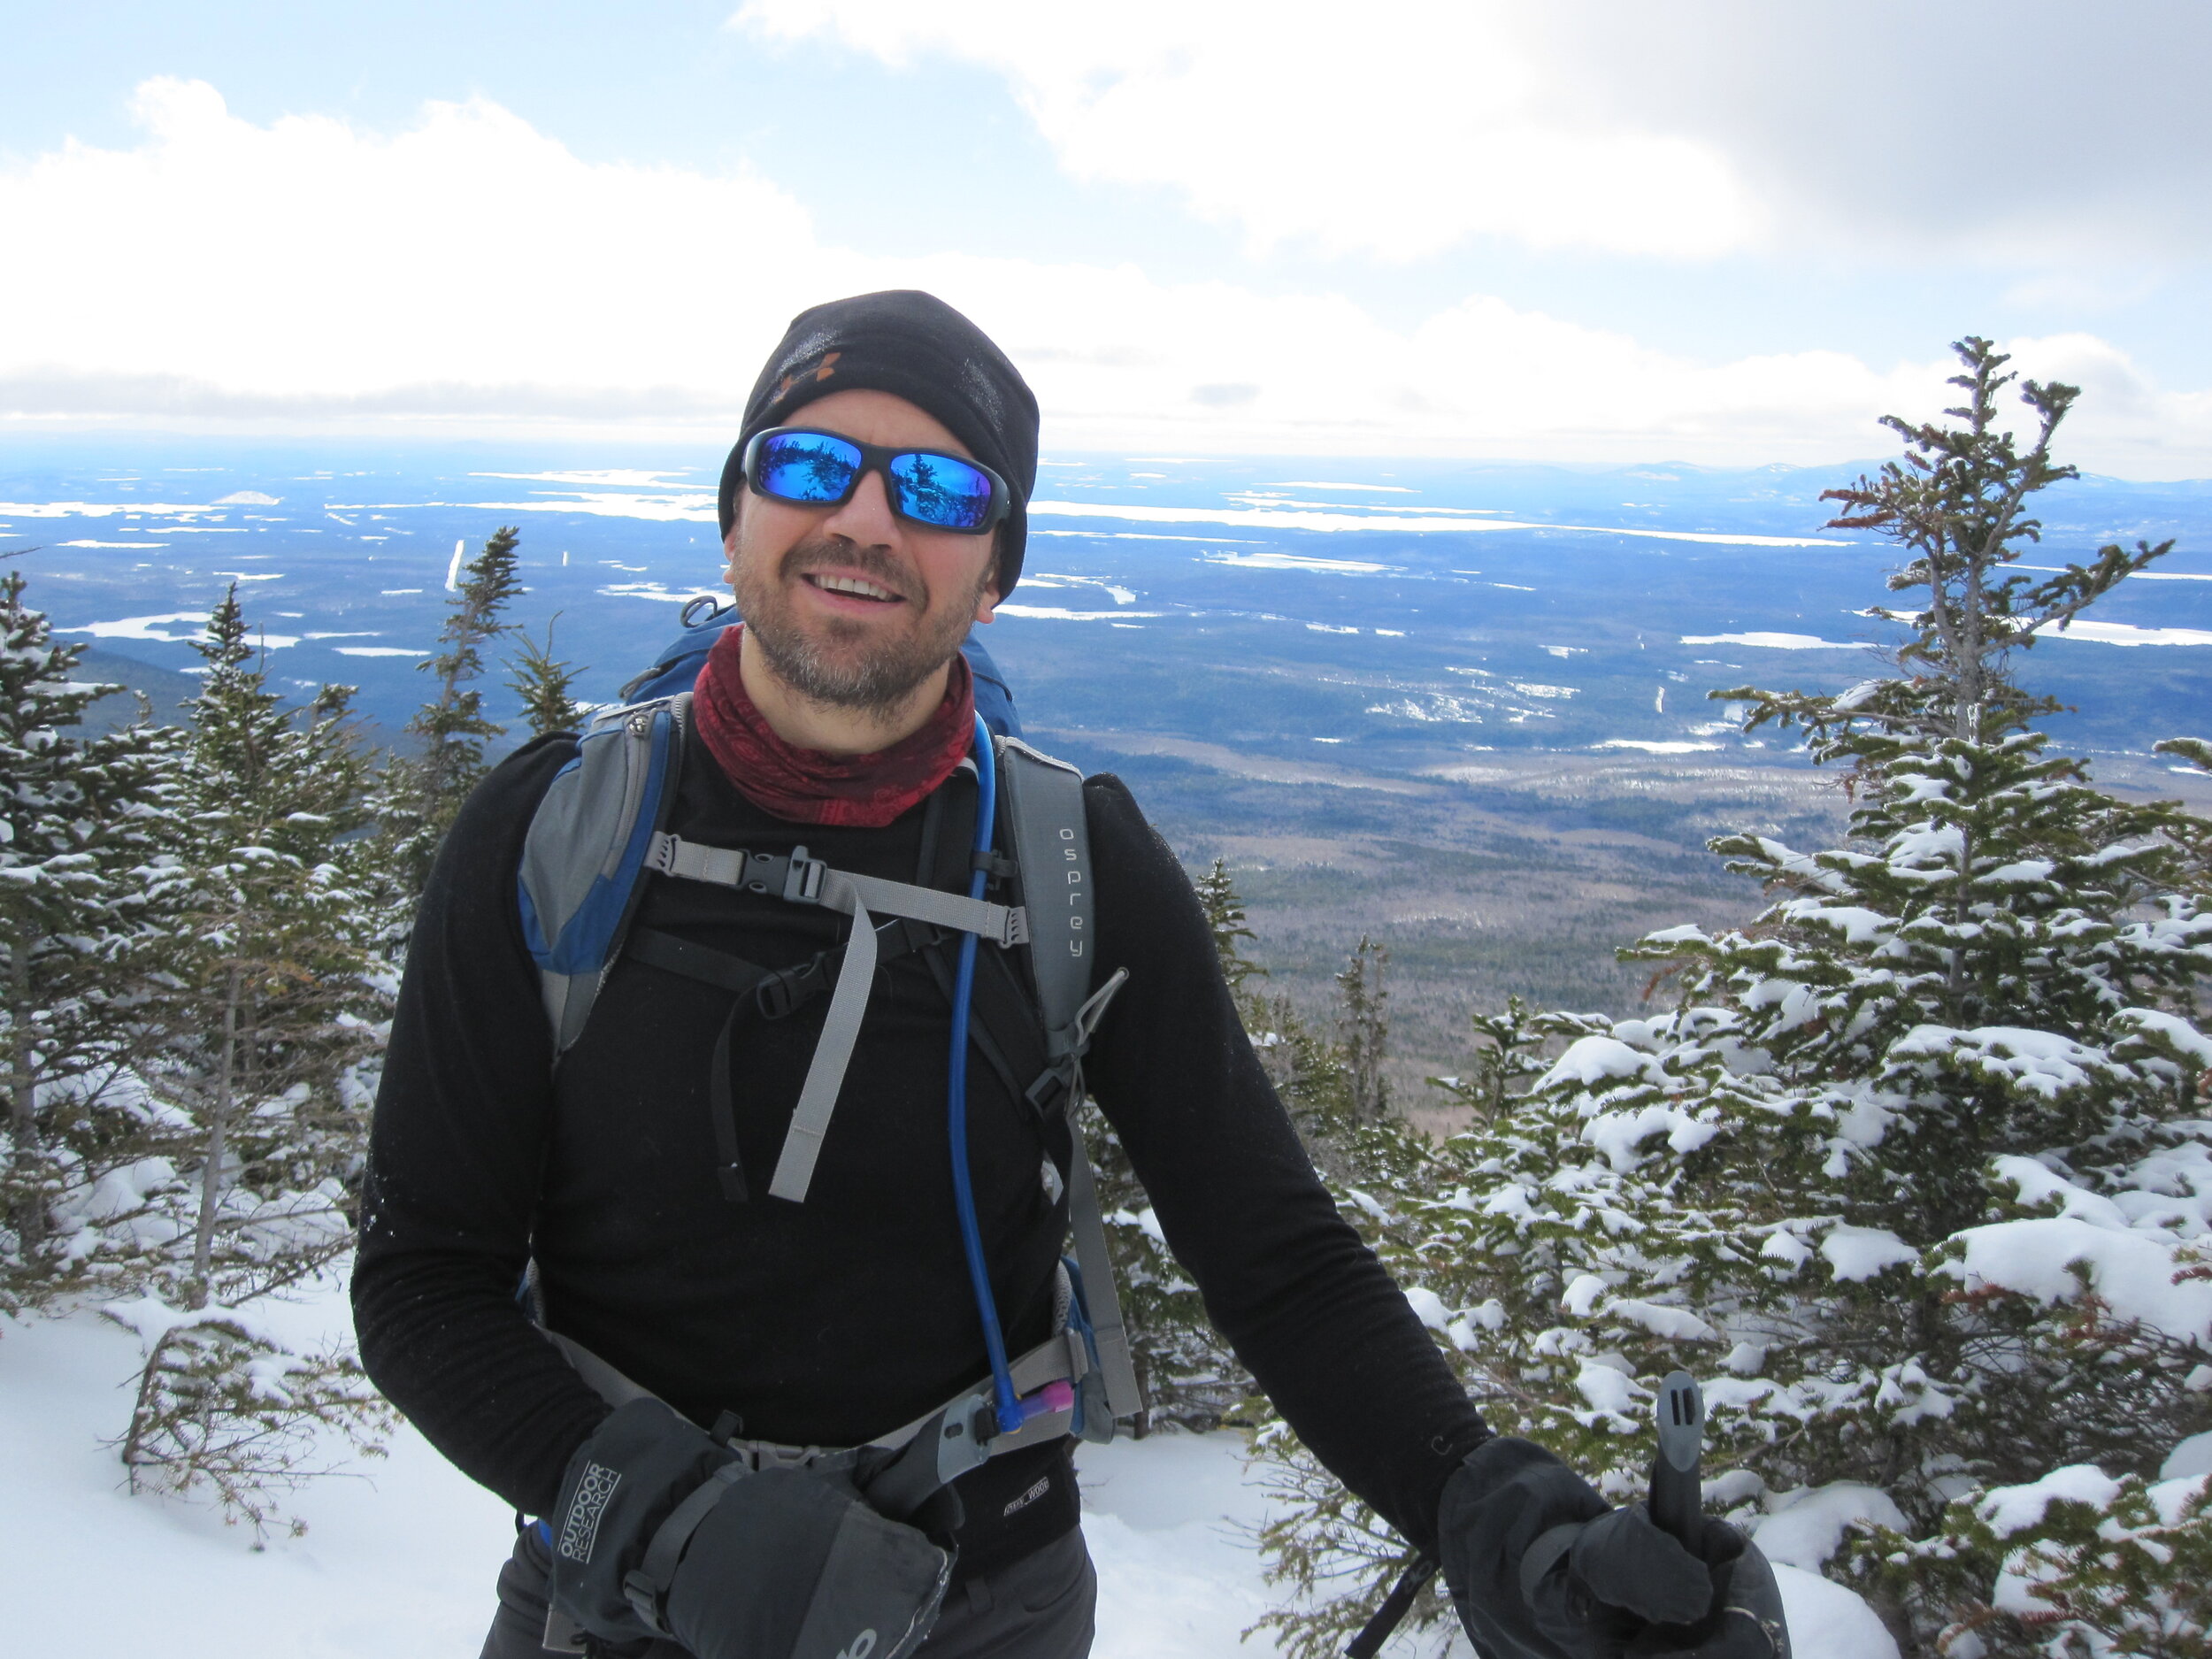
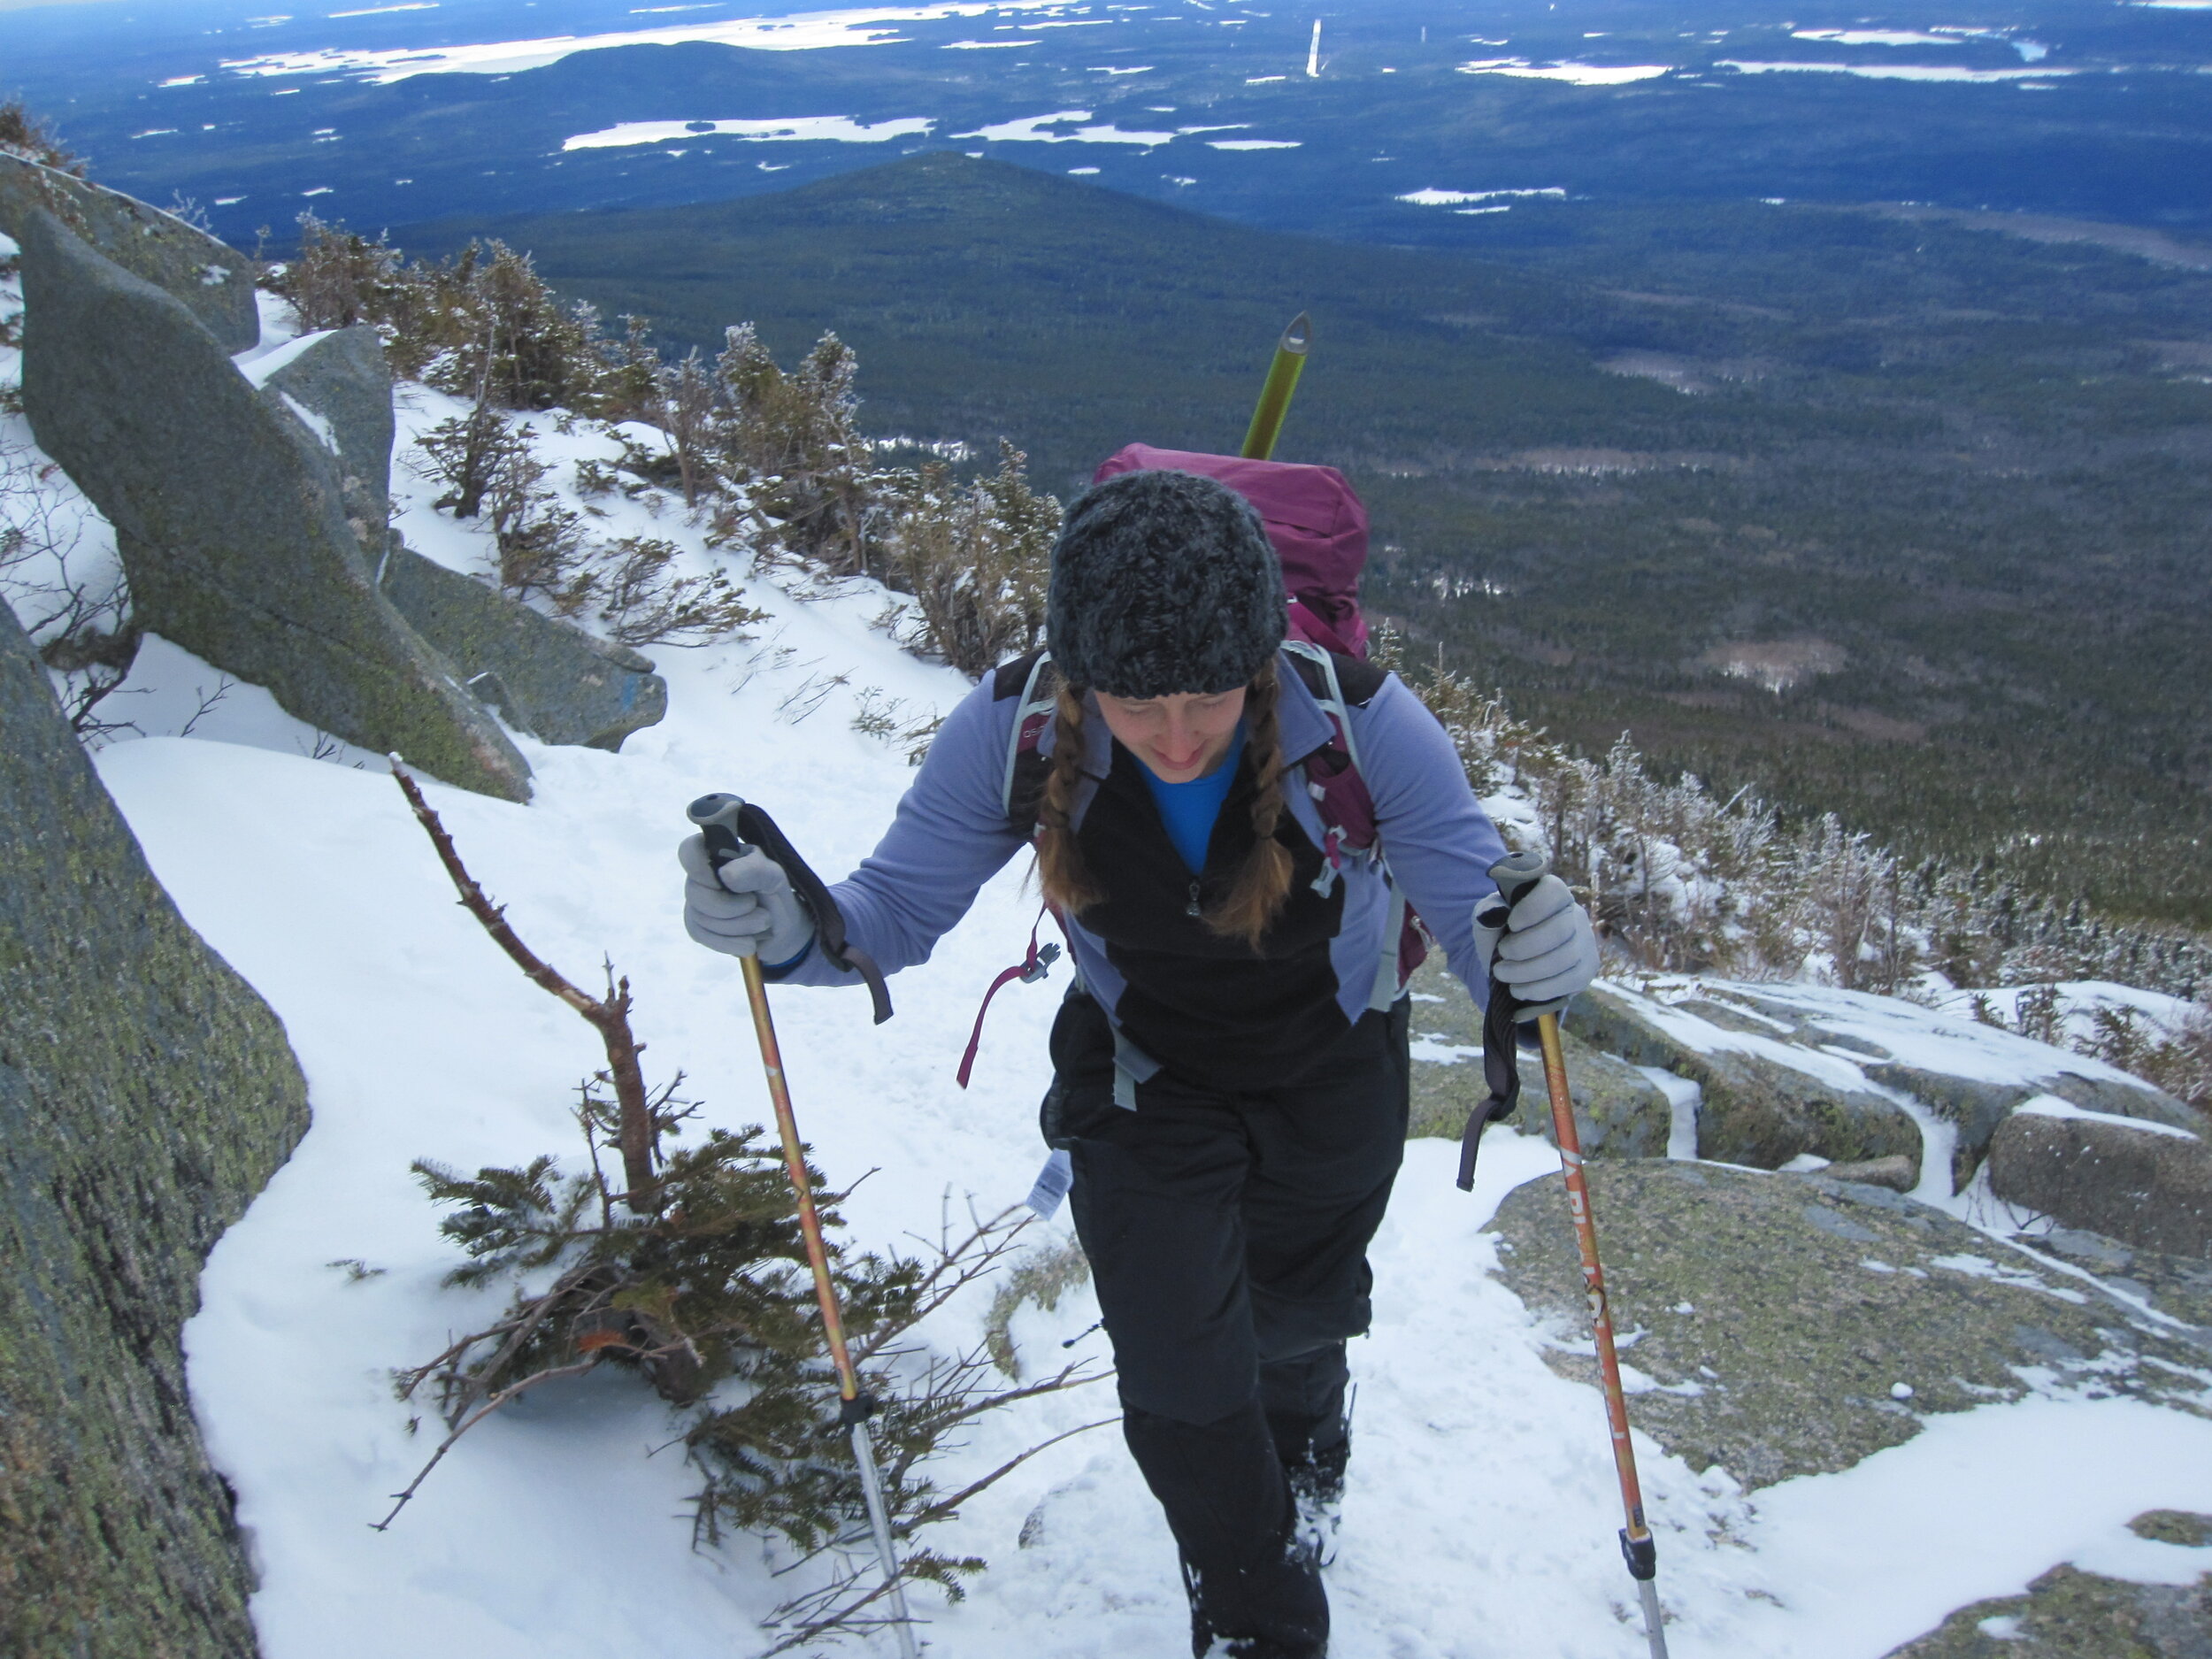
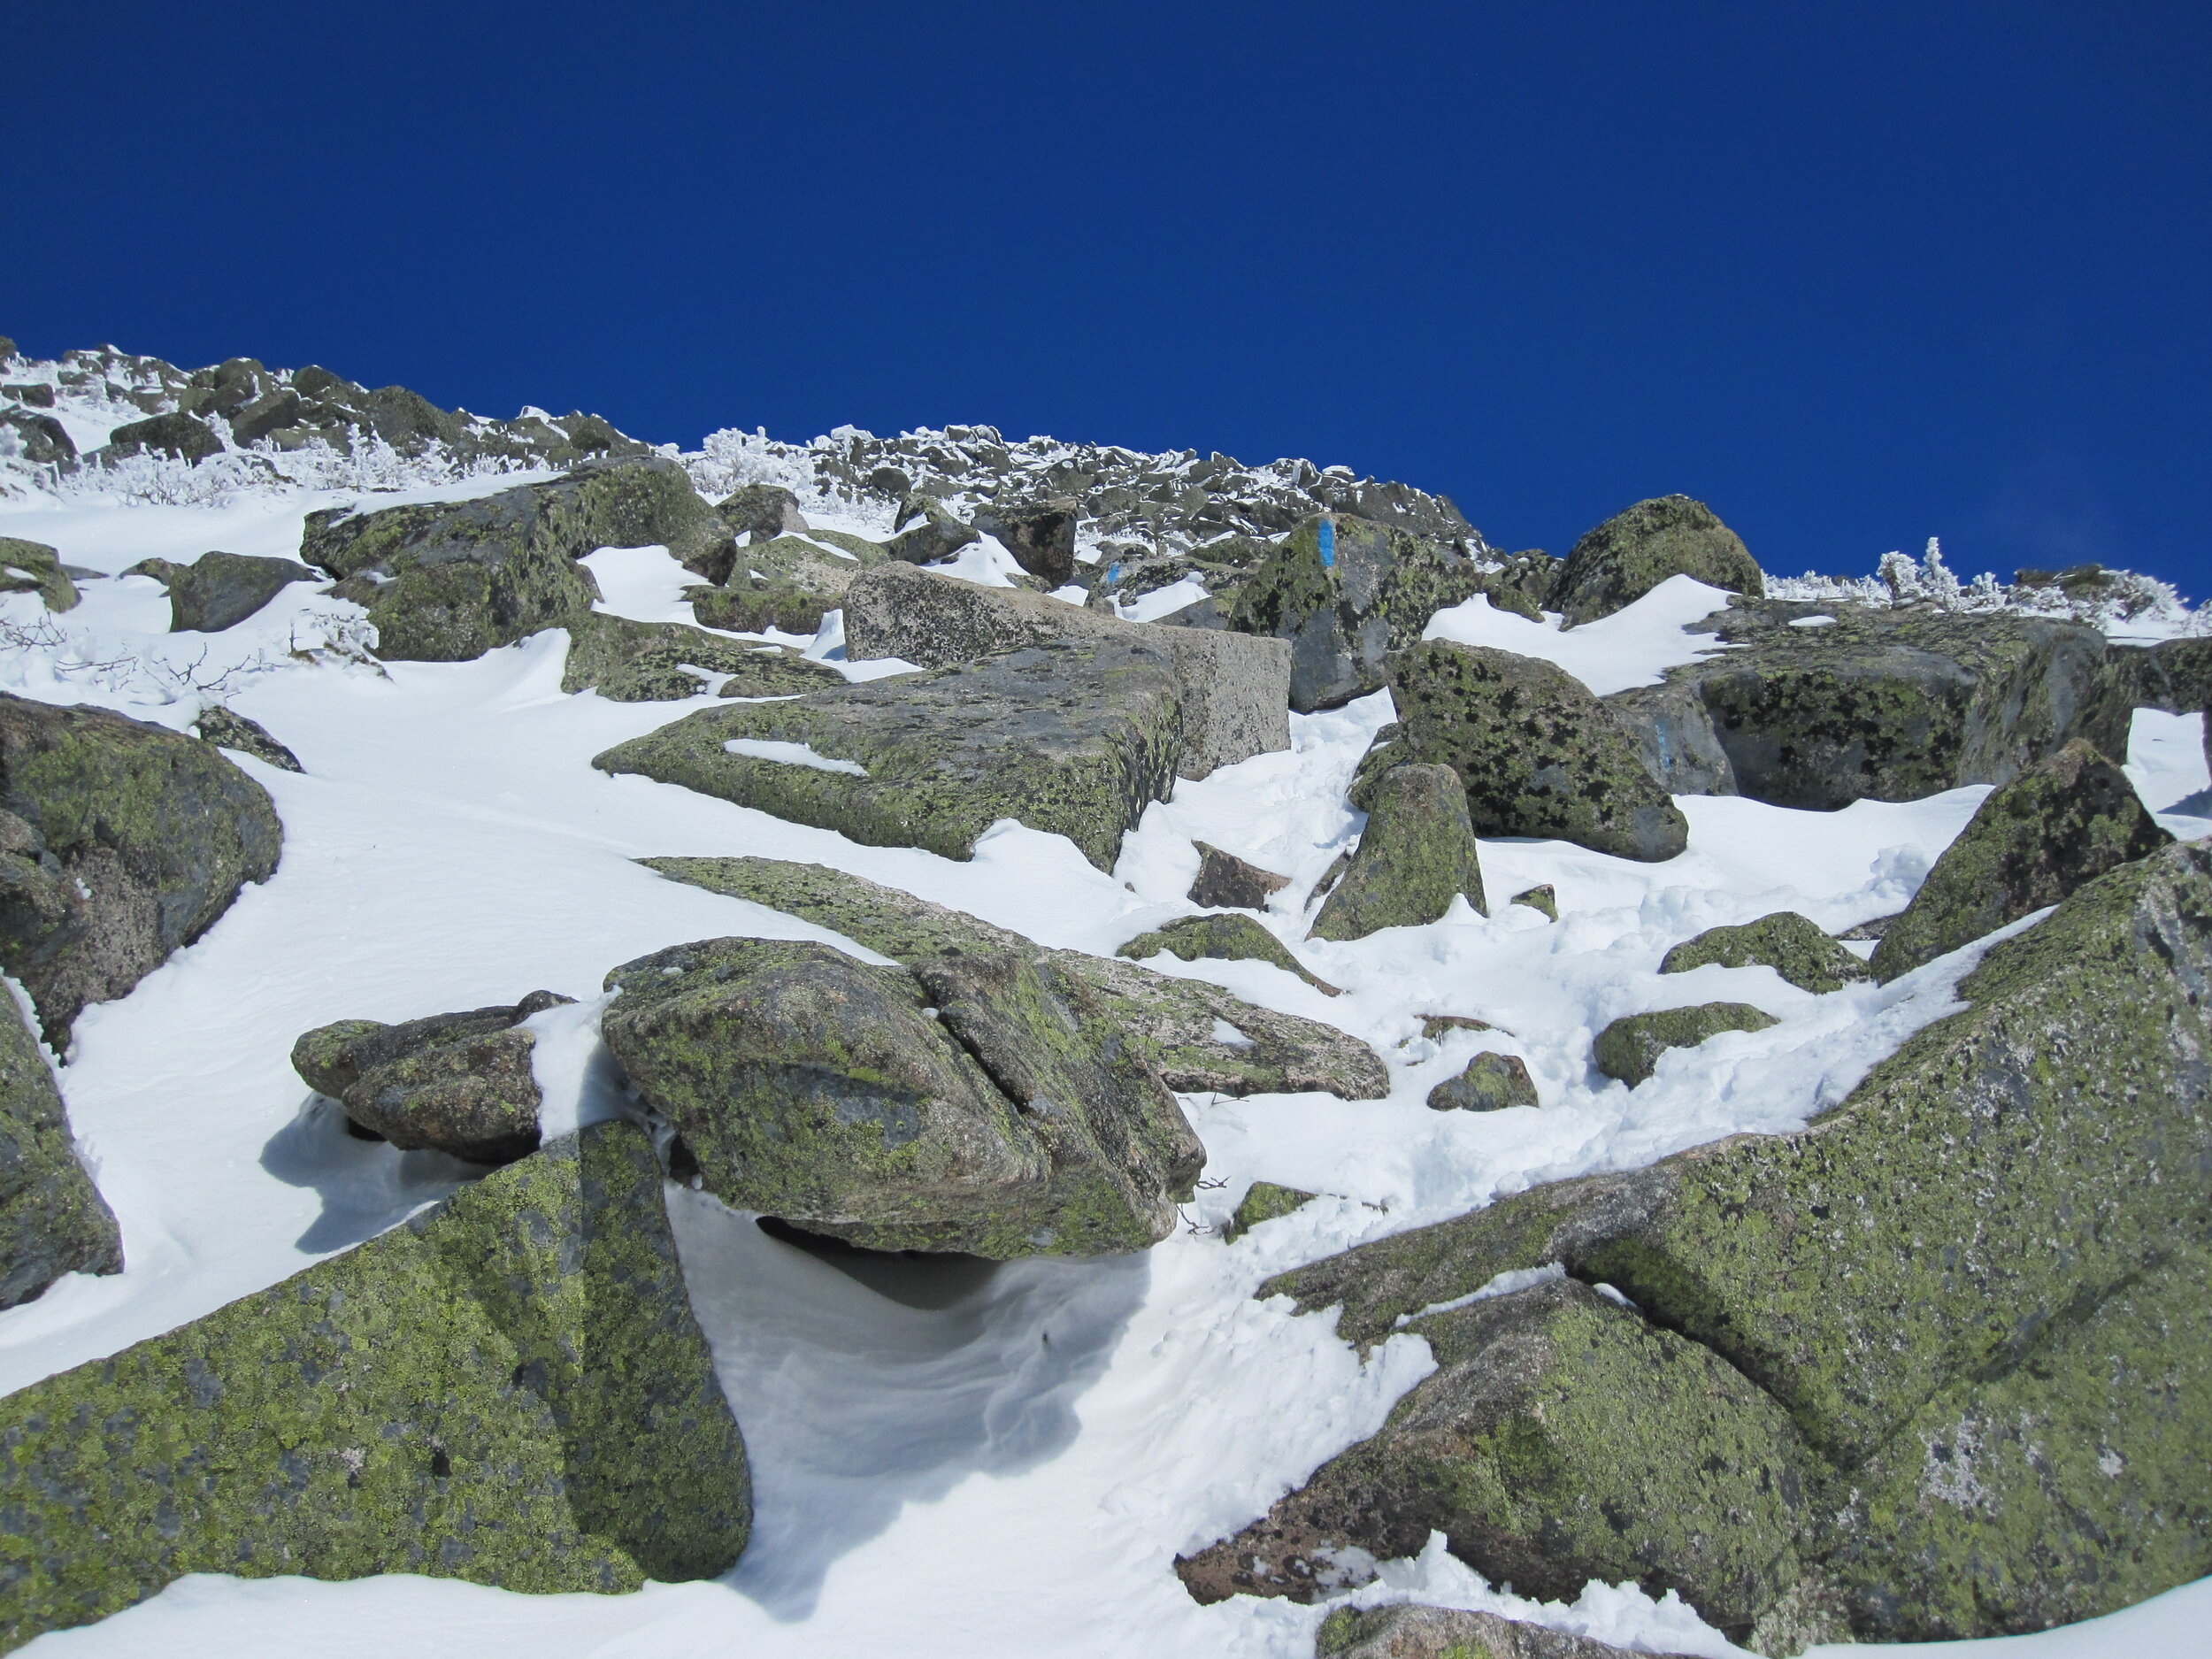
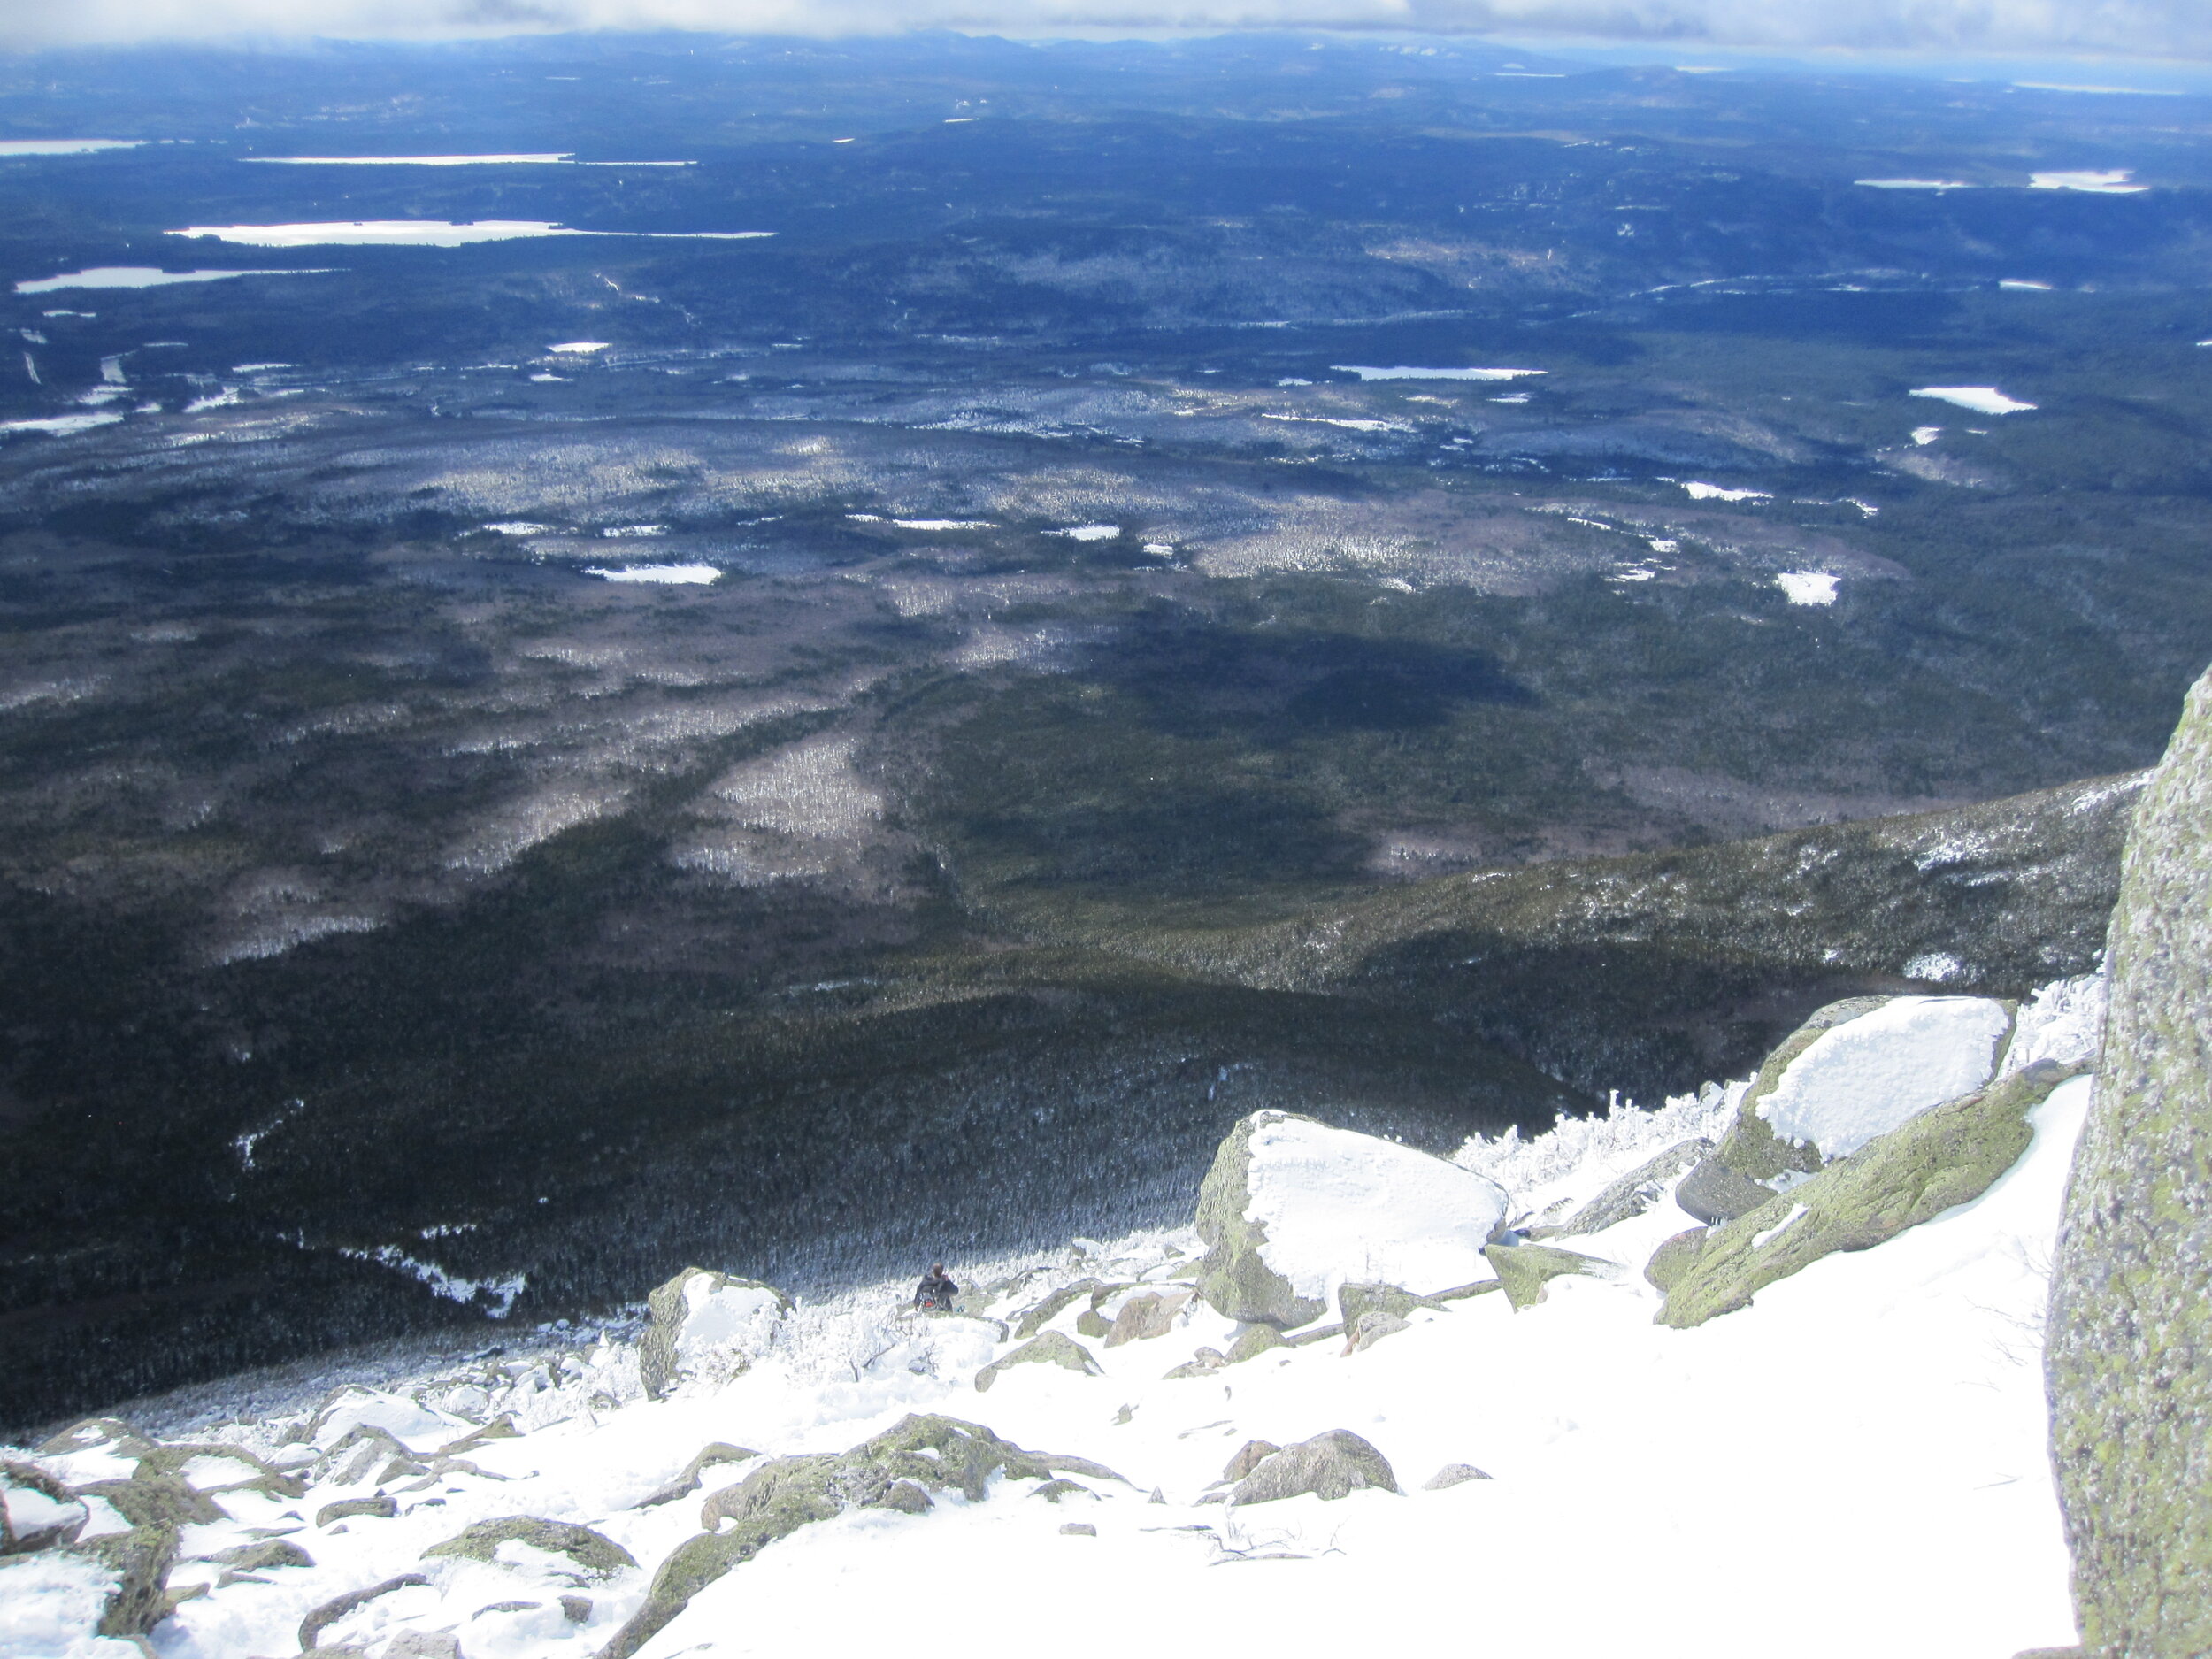
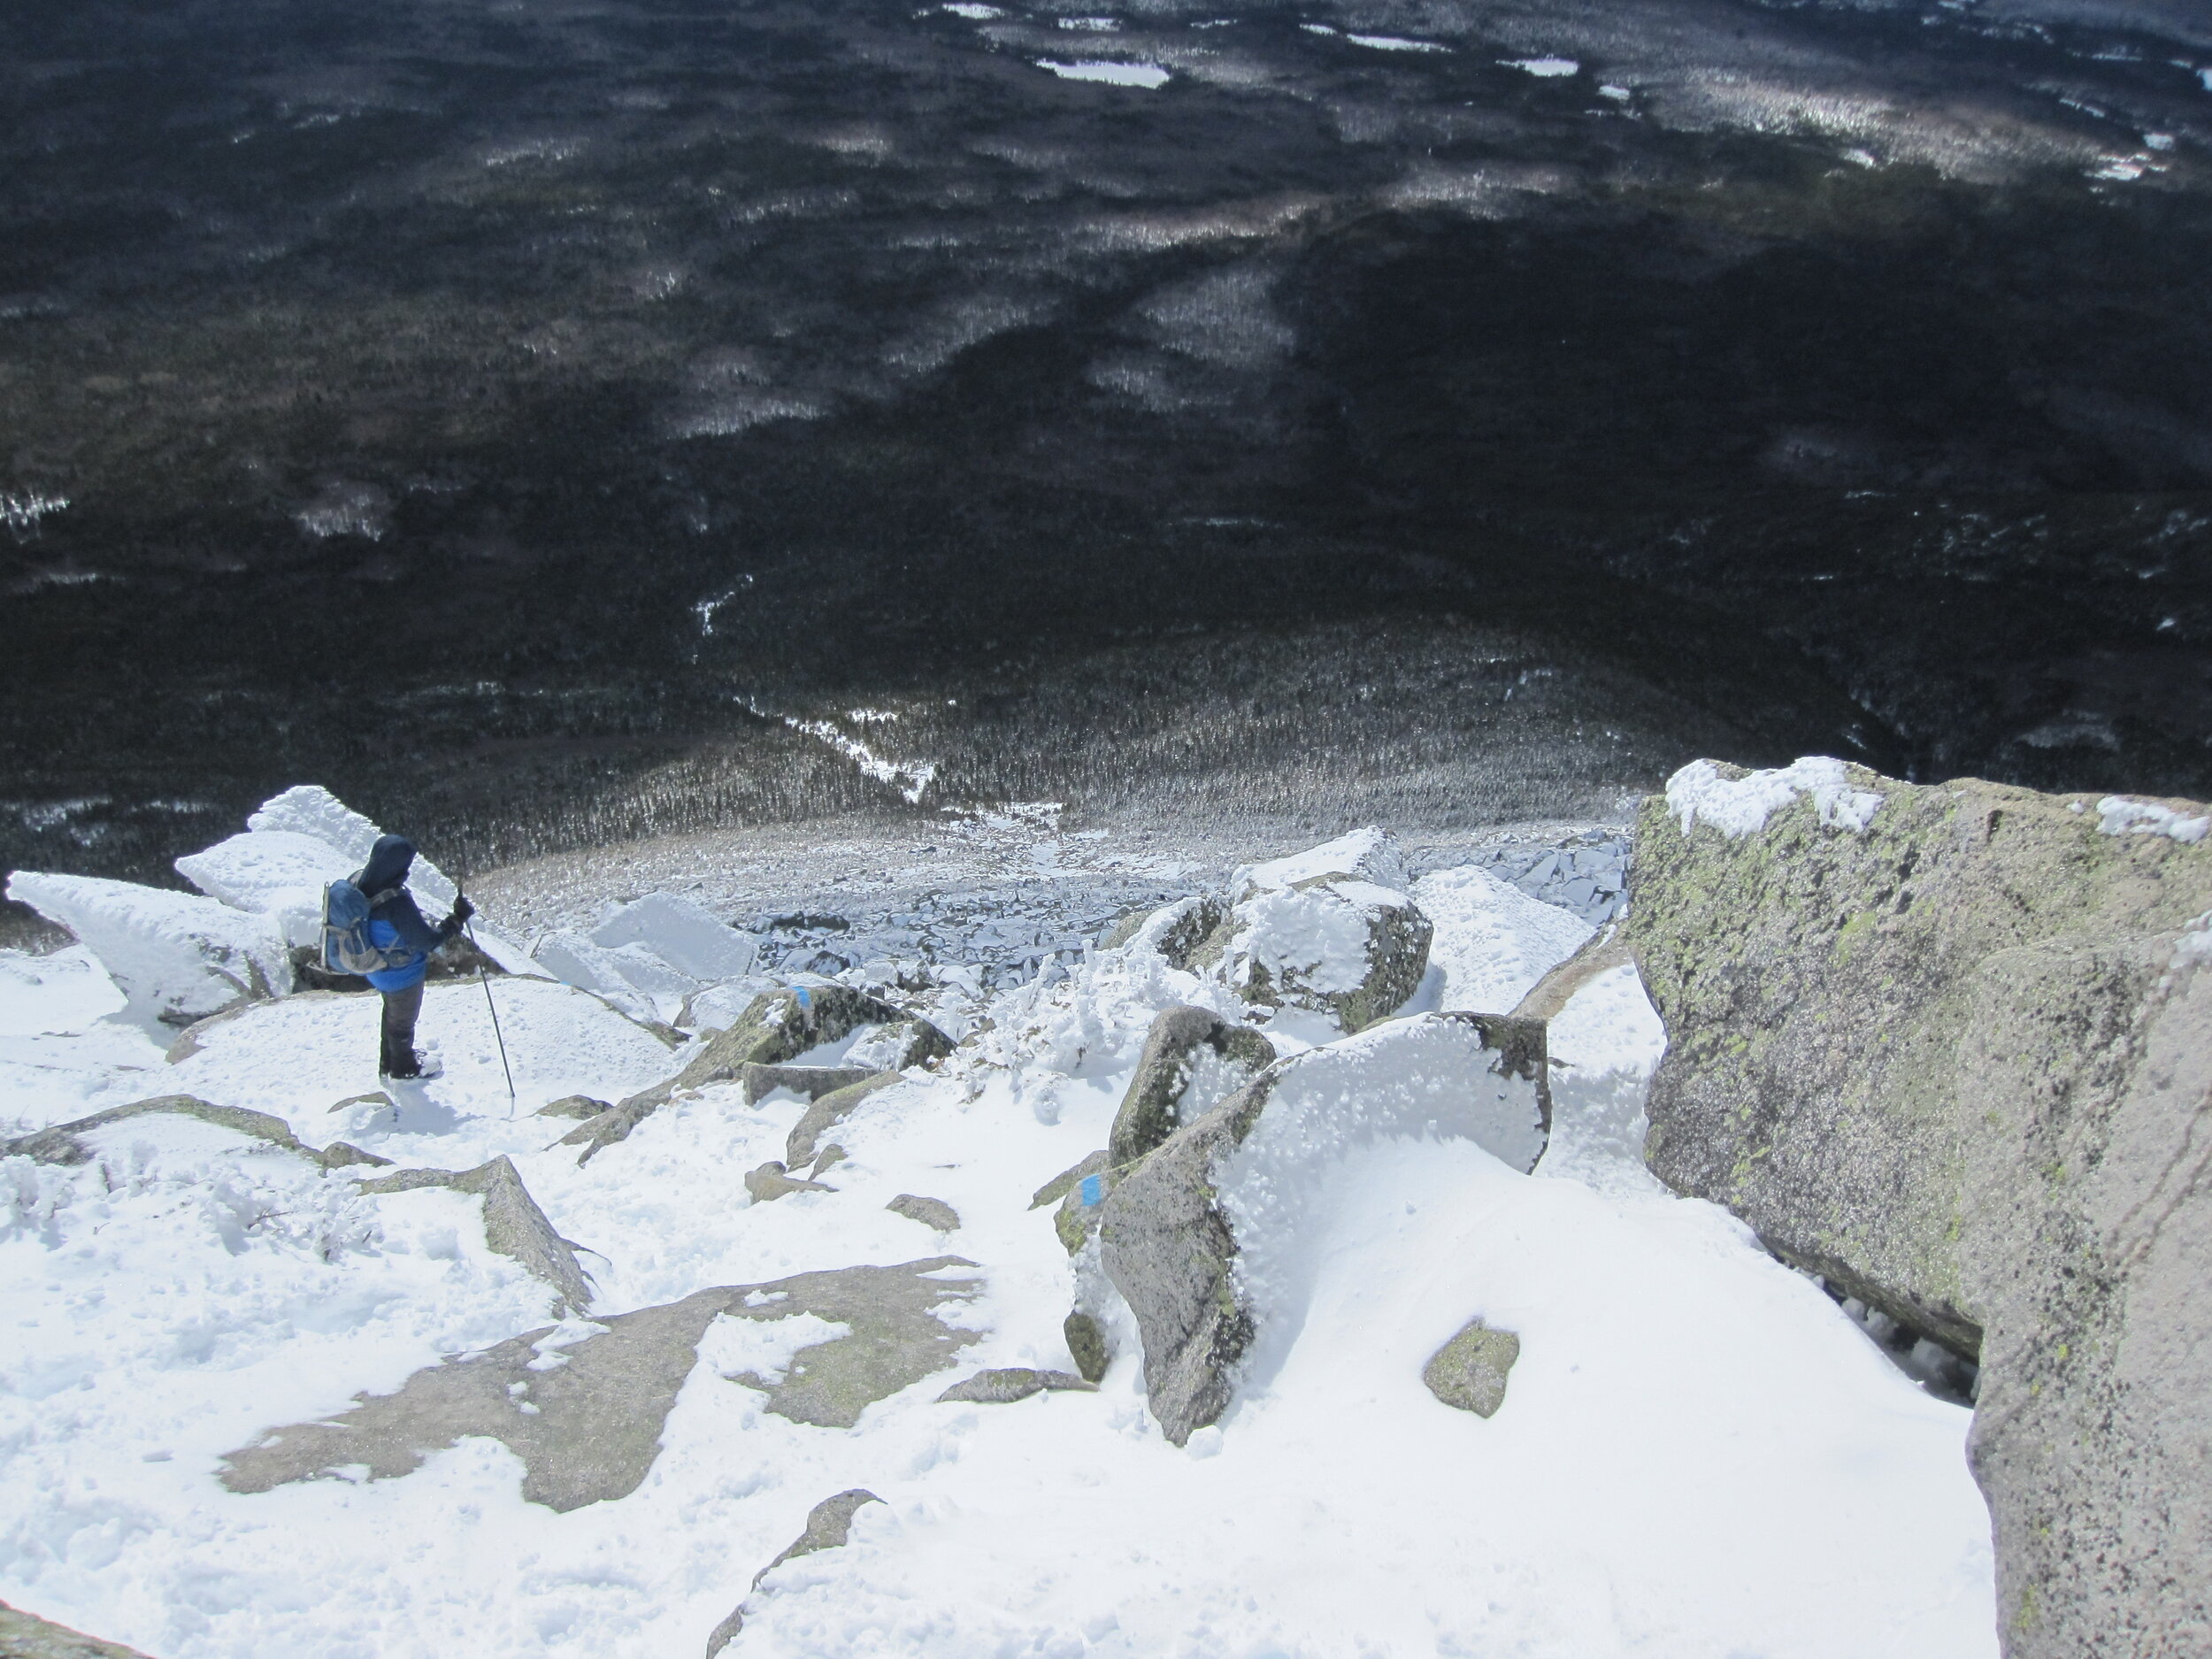
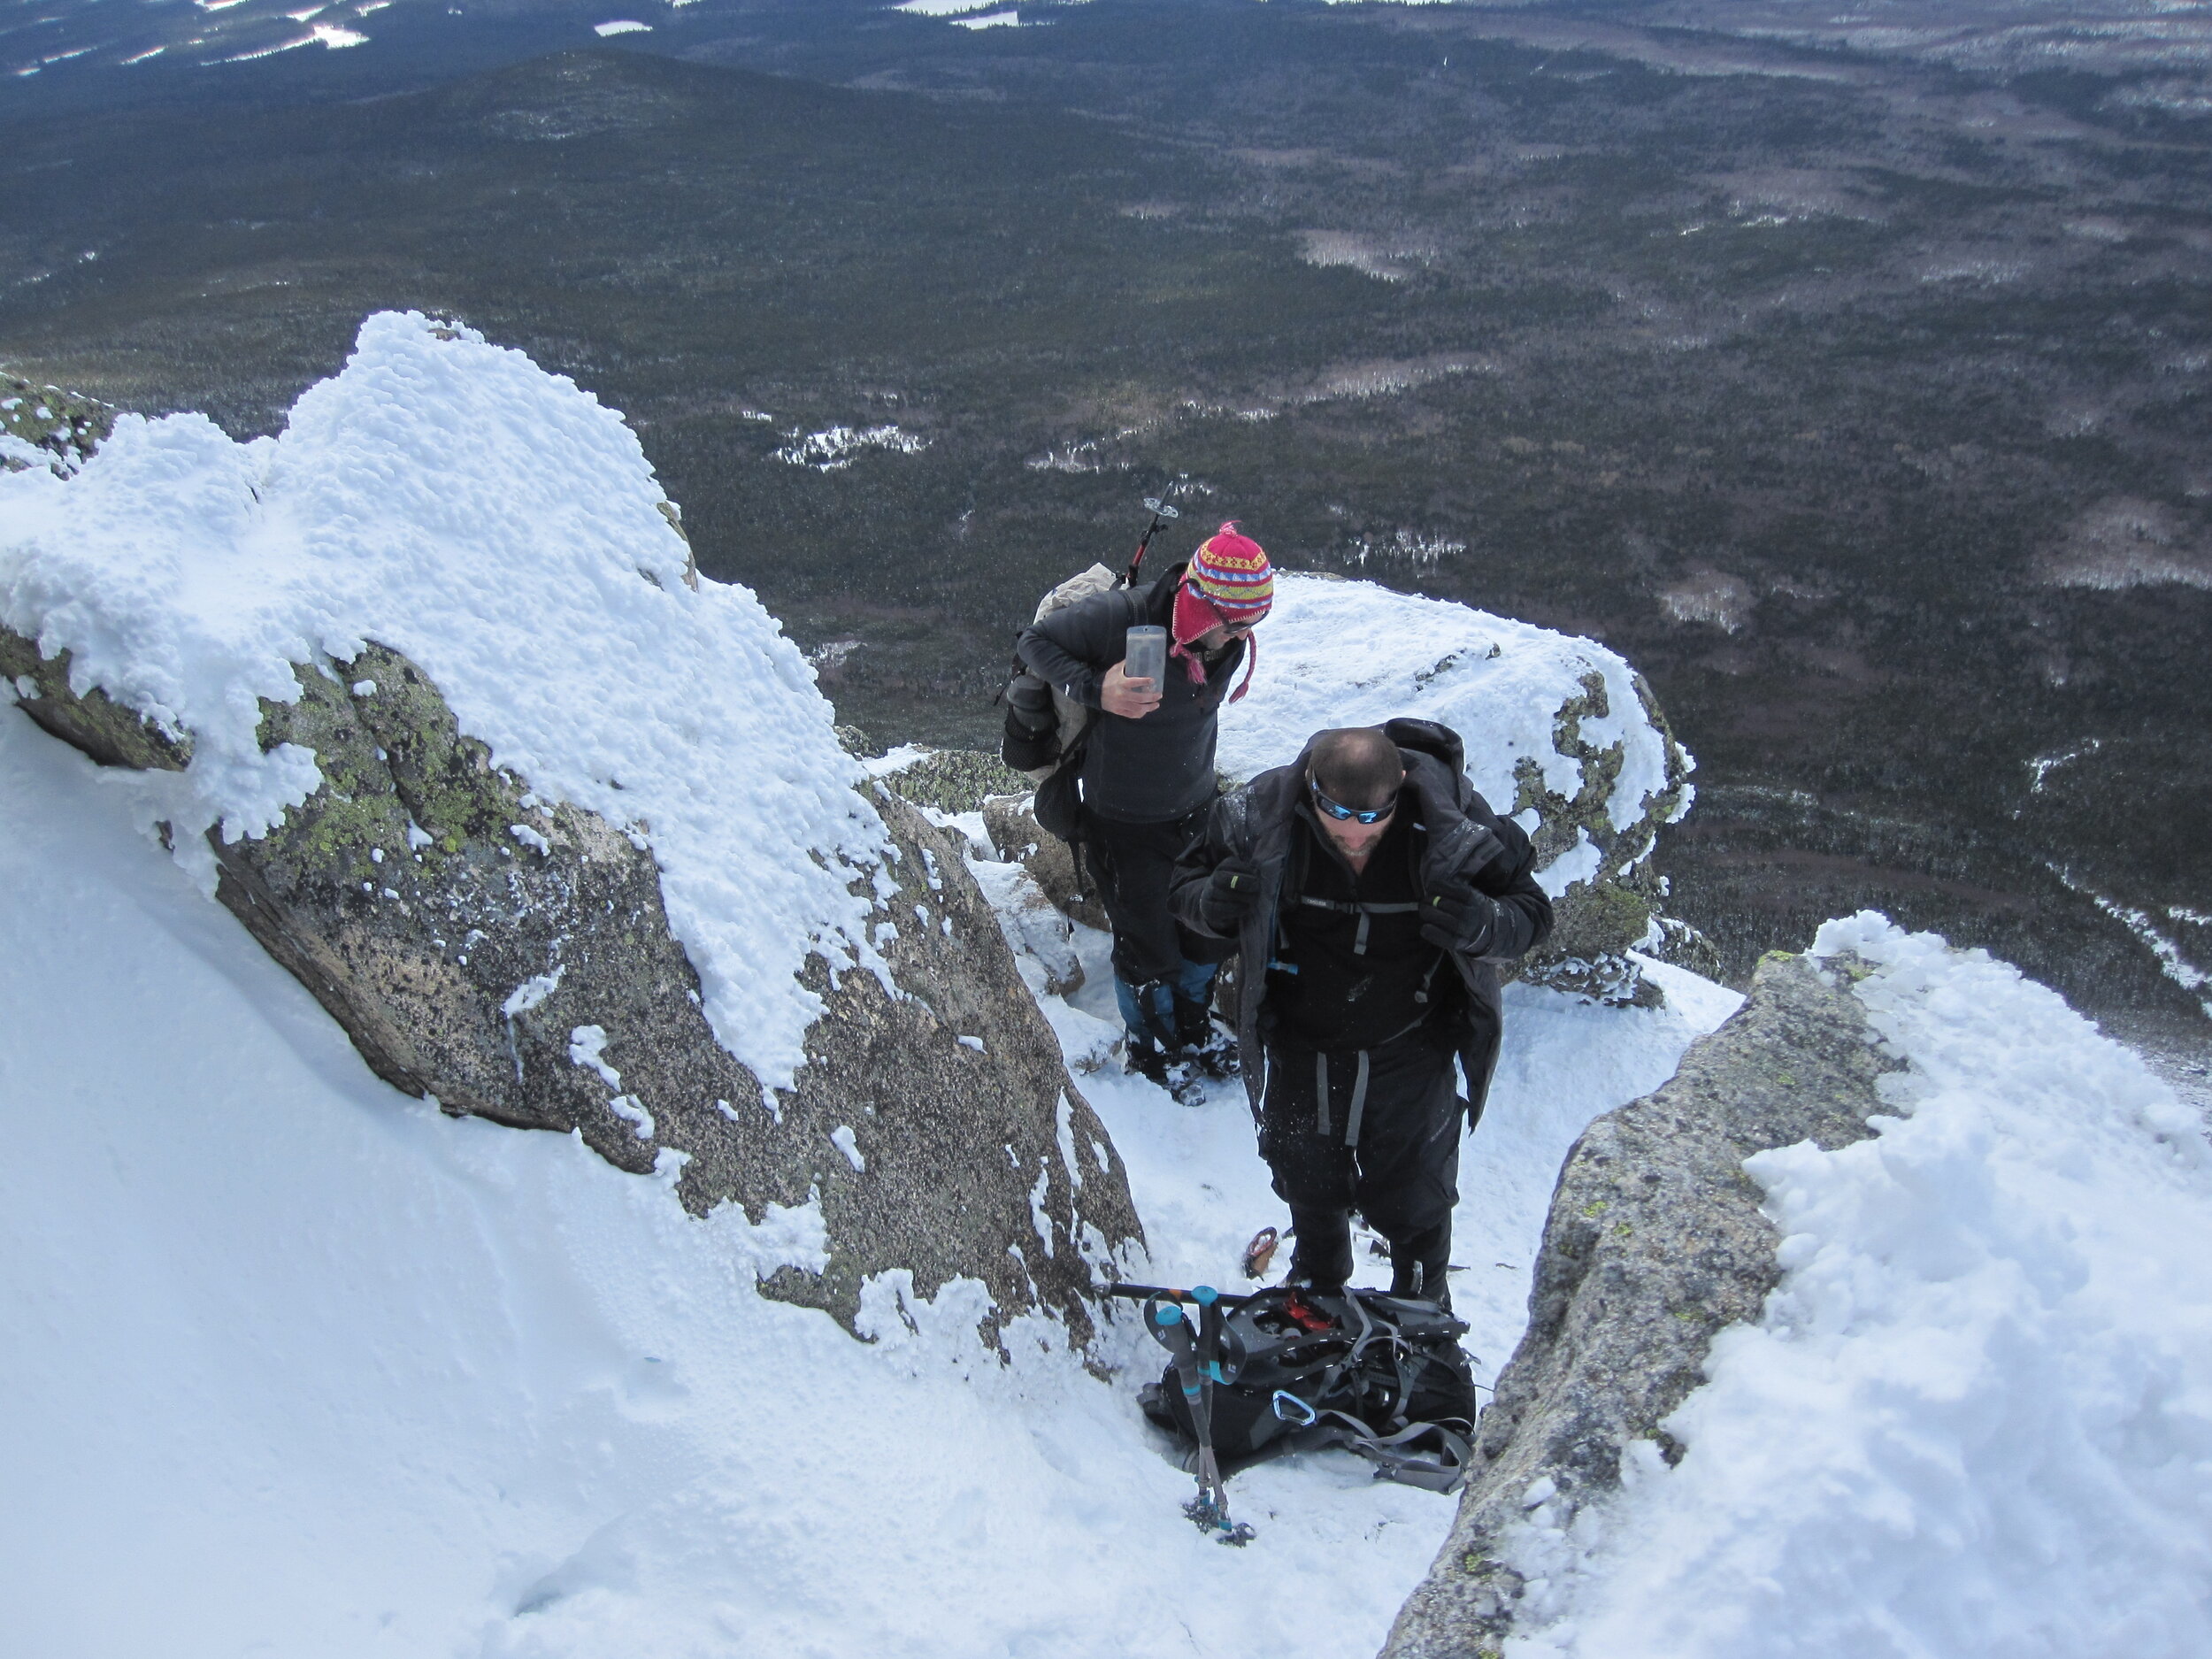
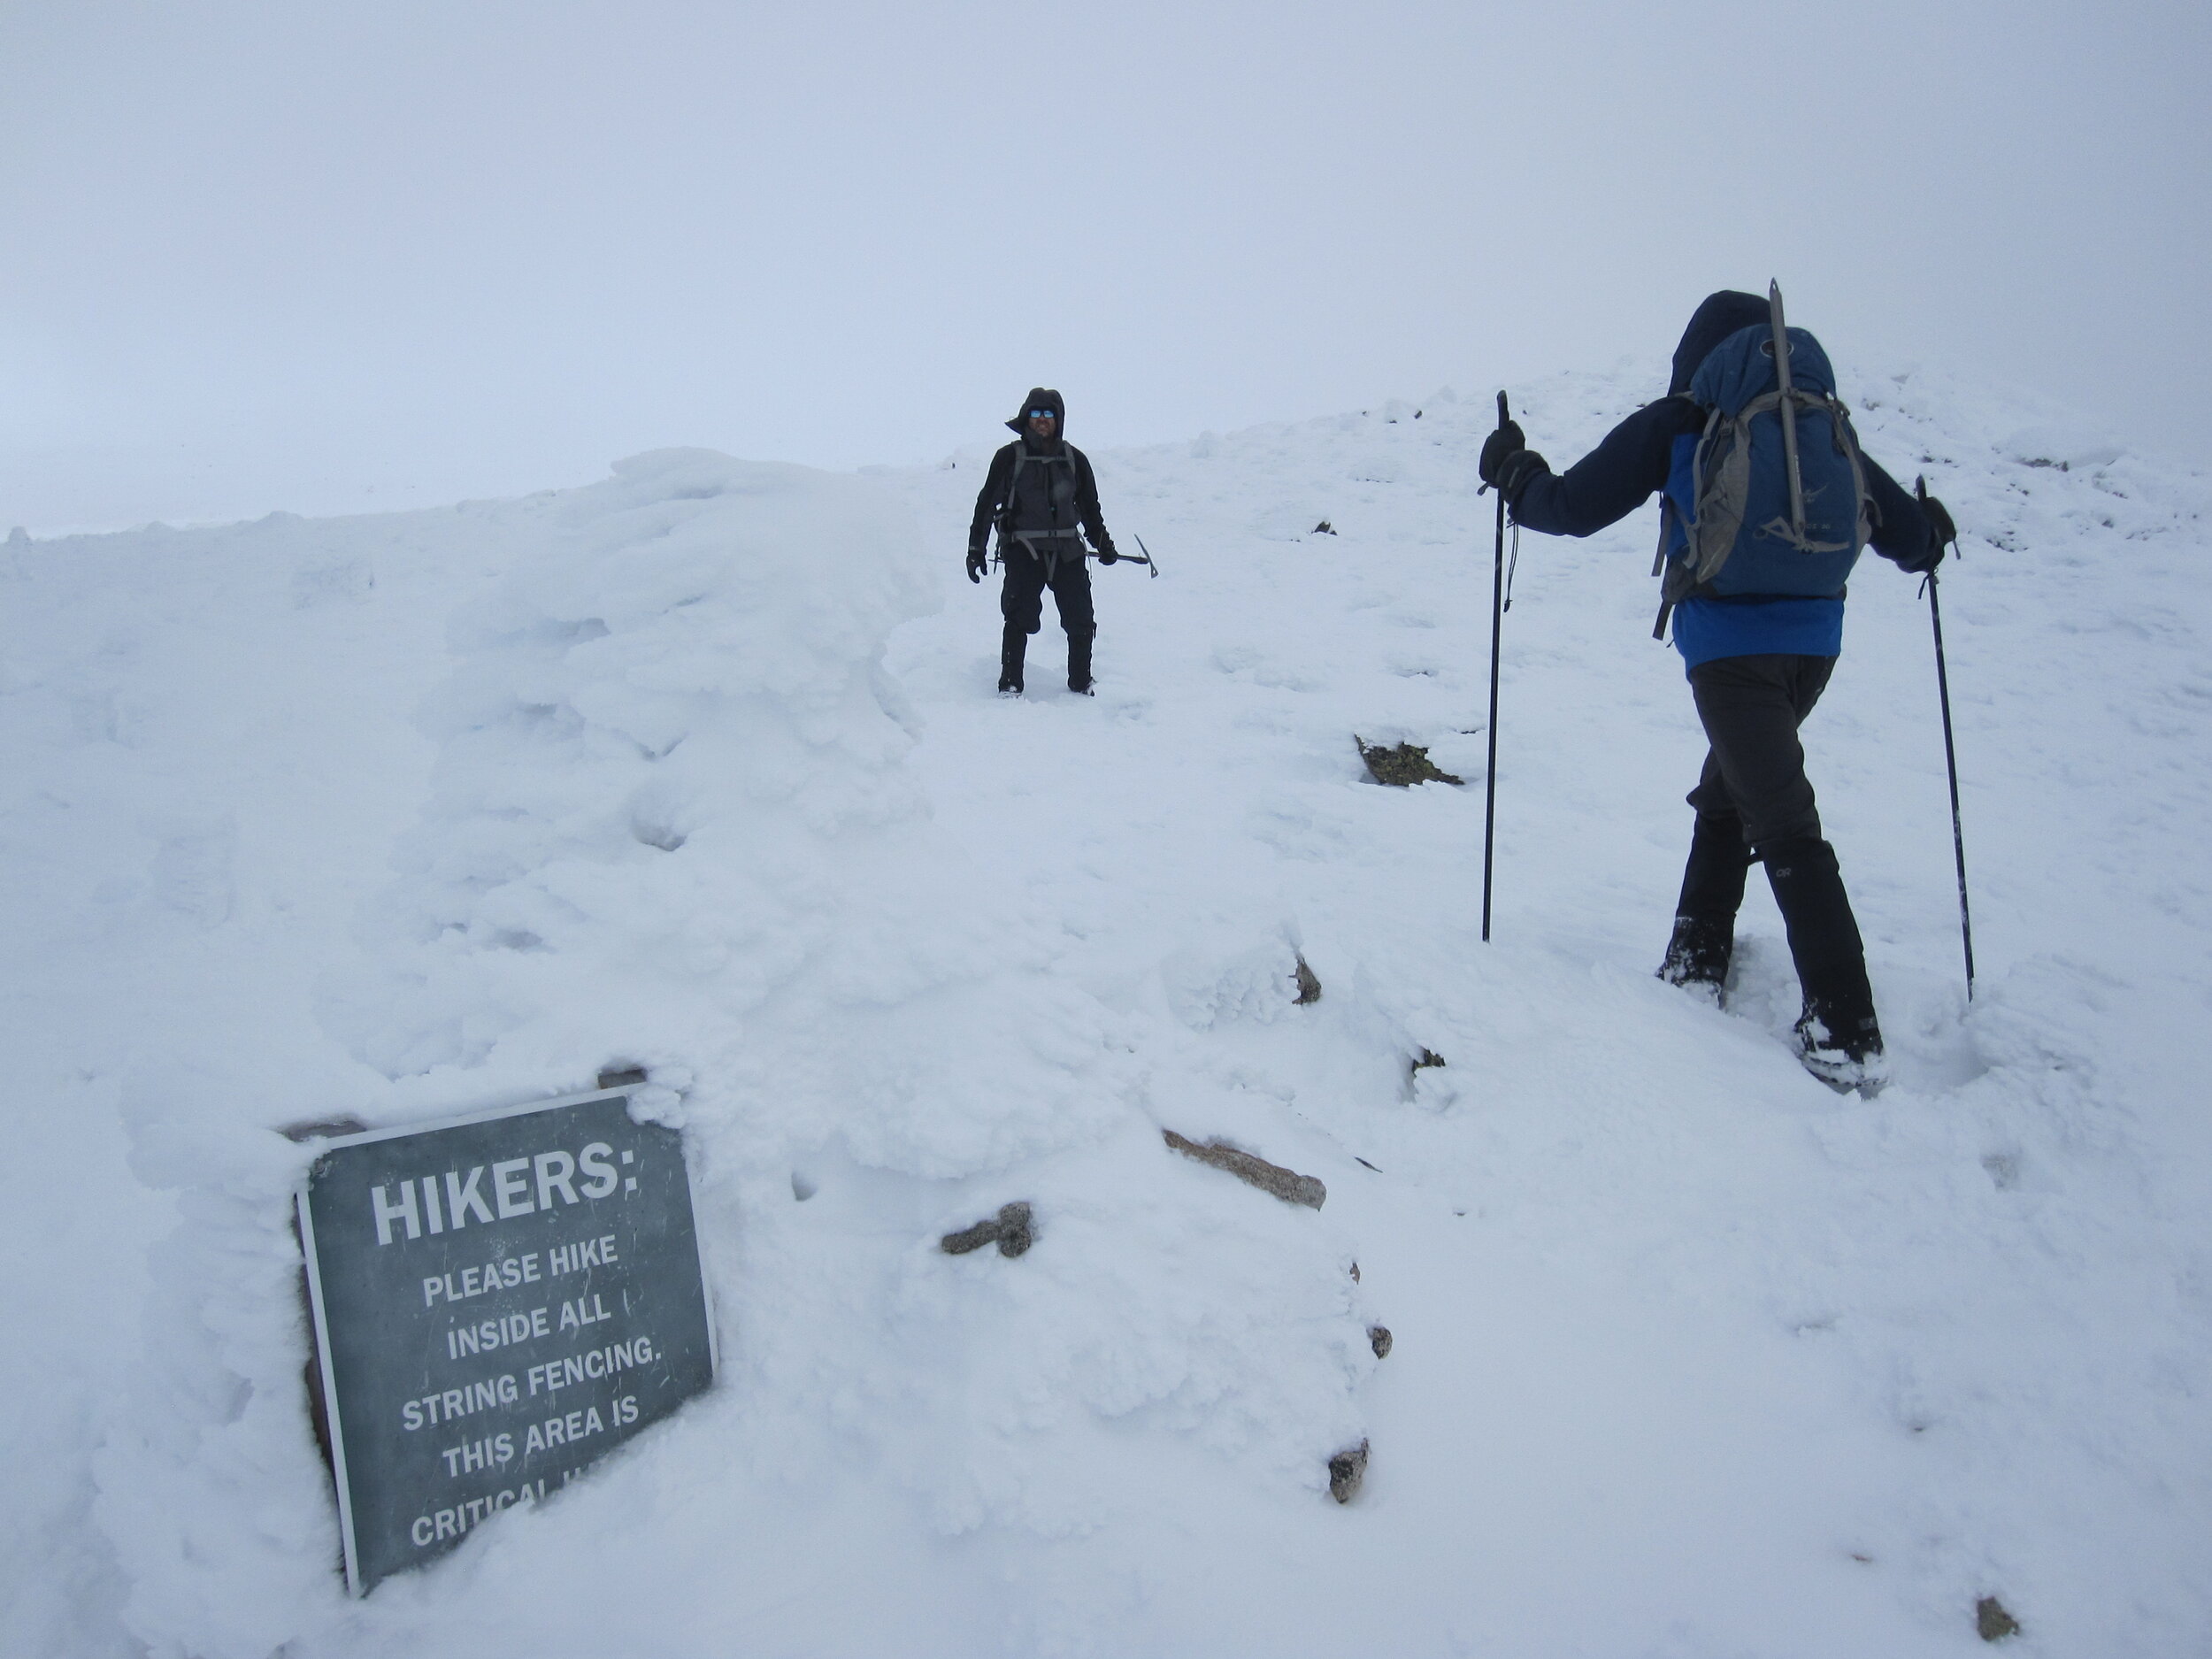
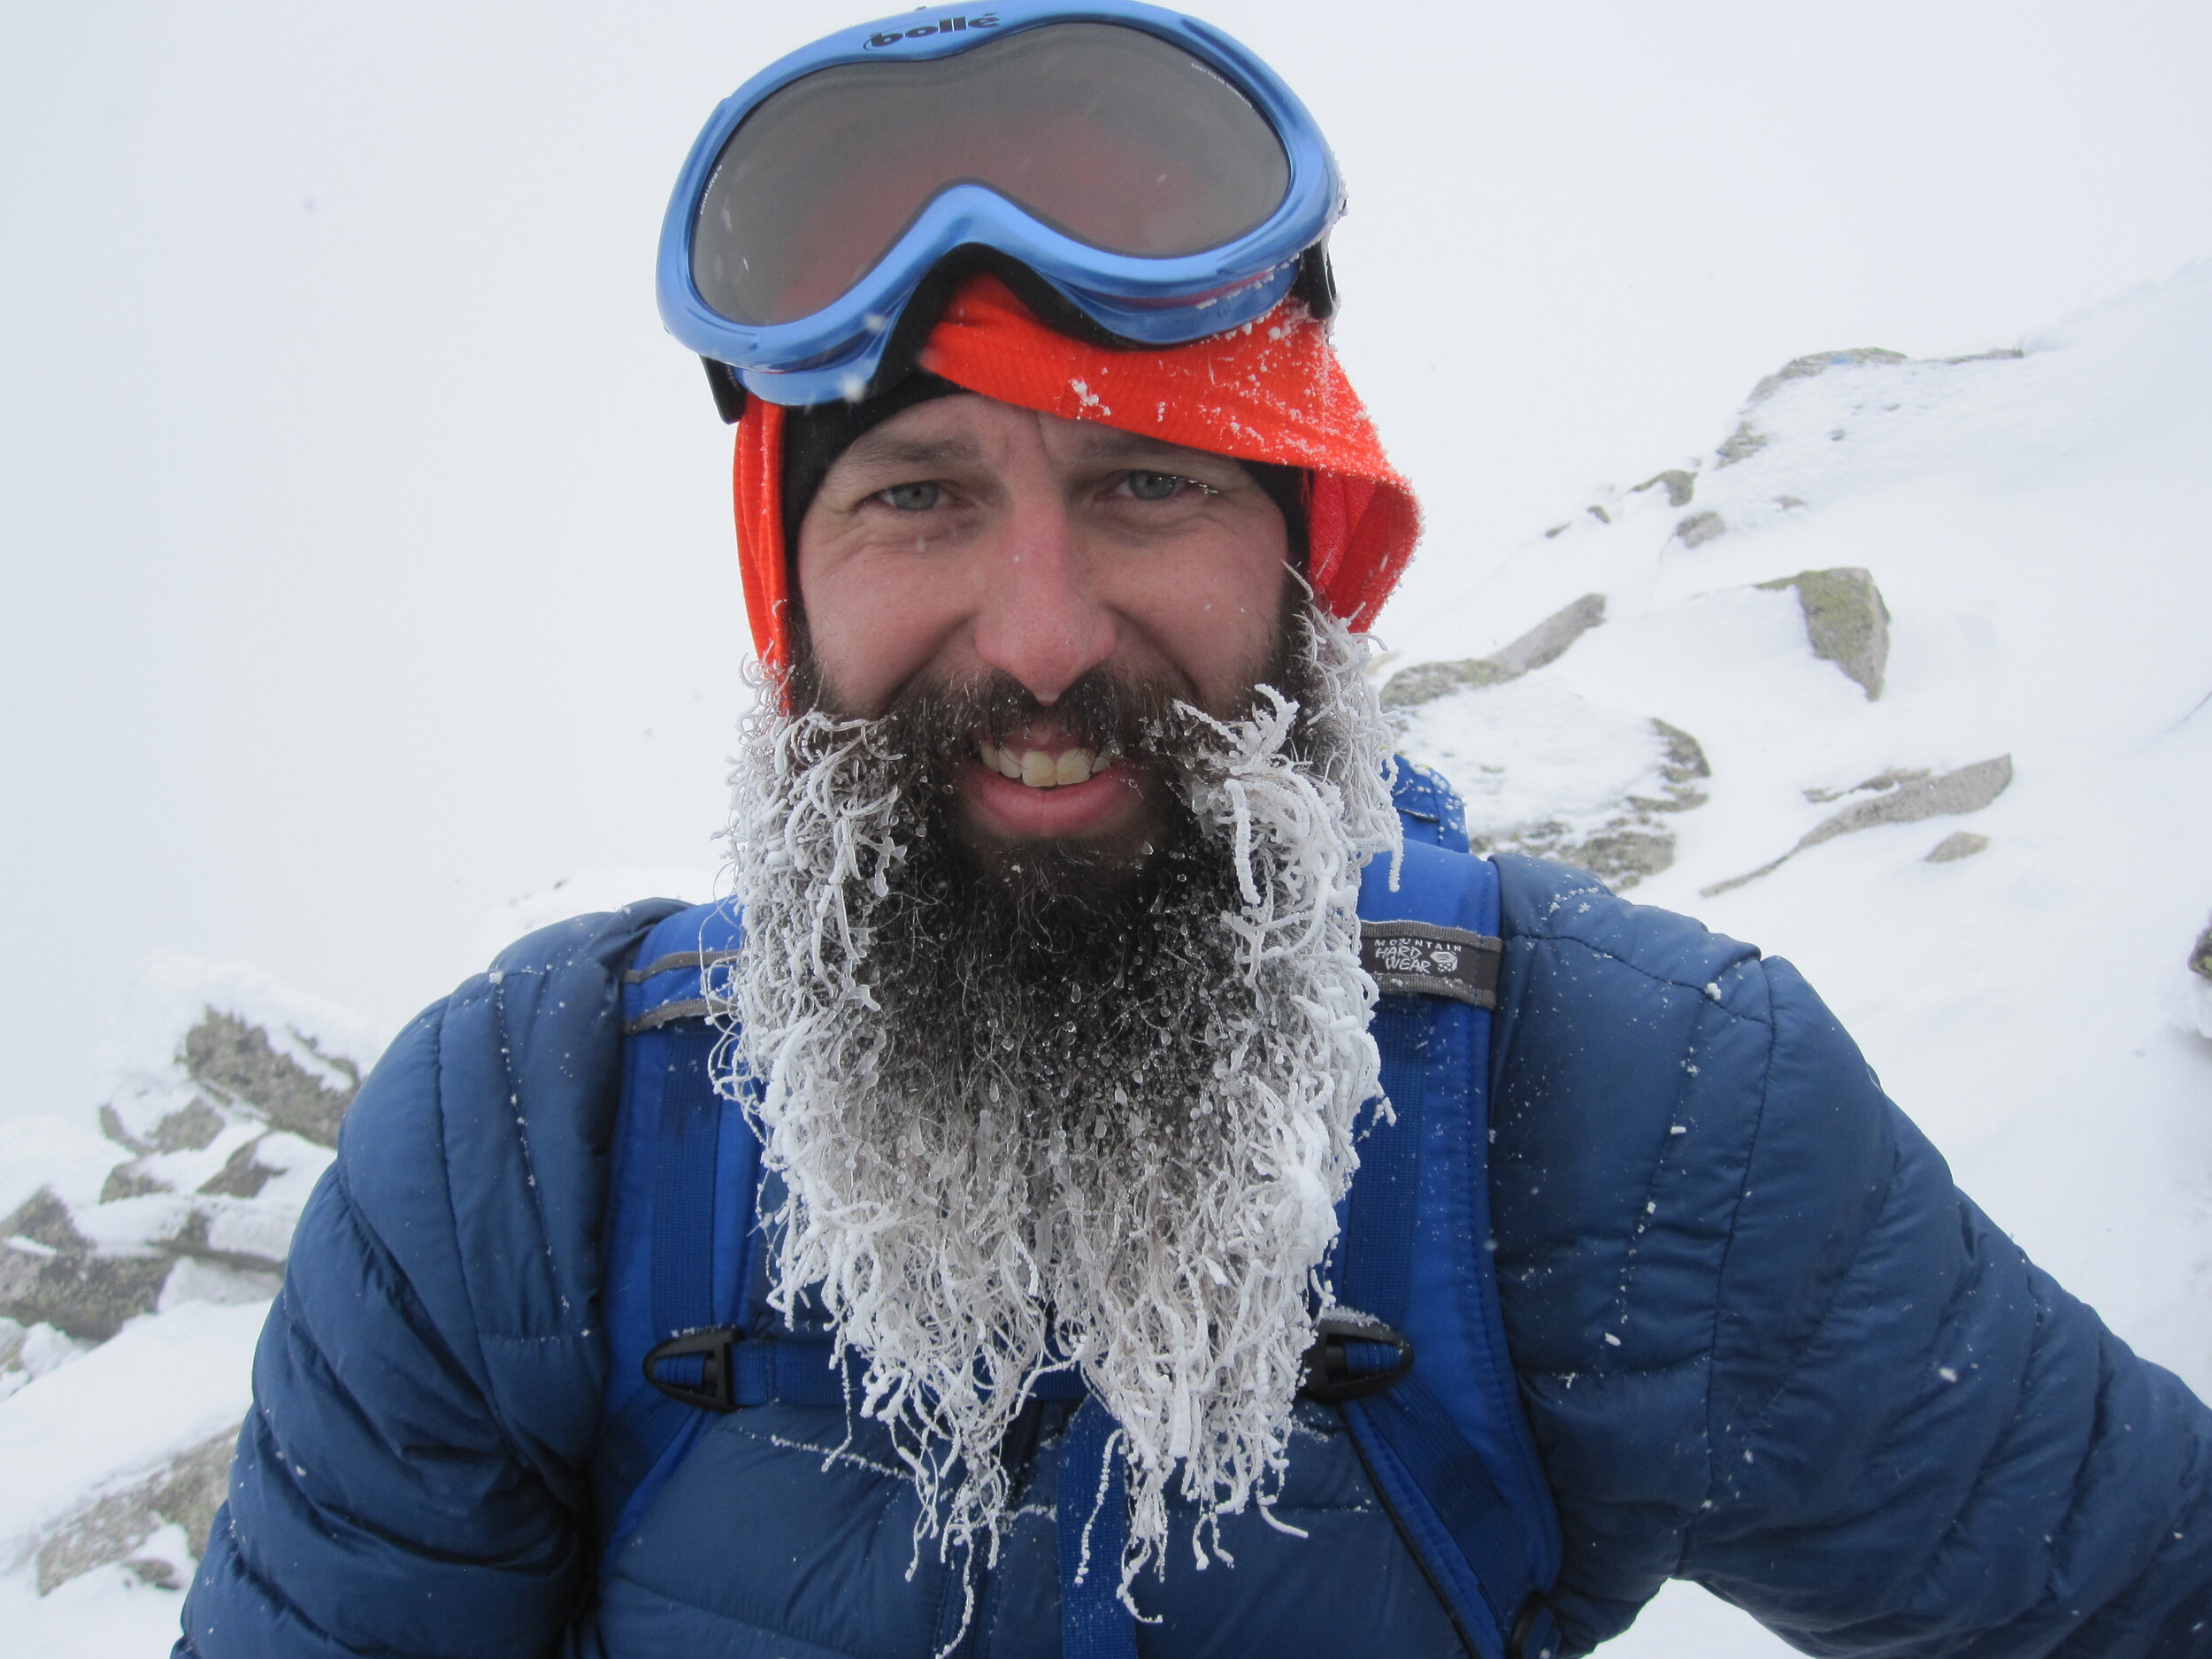
We had great weather and great conditions for our hike. Although I packed crampons and an ice axe with me, I did not need them since there was only a minimal amount of snow/ice in the areas that would have required them. The trail conditions varied from snowy covered trails to exposed rocky/bouldery areas that can be seen in better detail in the photos. I wore my NANOspikes the entire hike, and they were perfect for me. However, on another day, this may not have been adequate, so make sure you are prepared for the worst possible conditions.
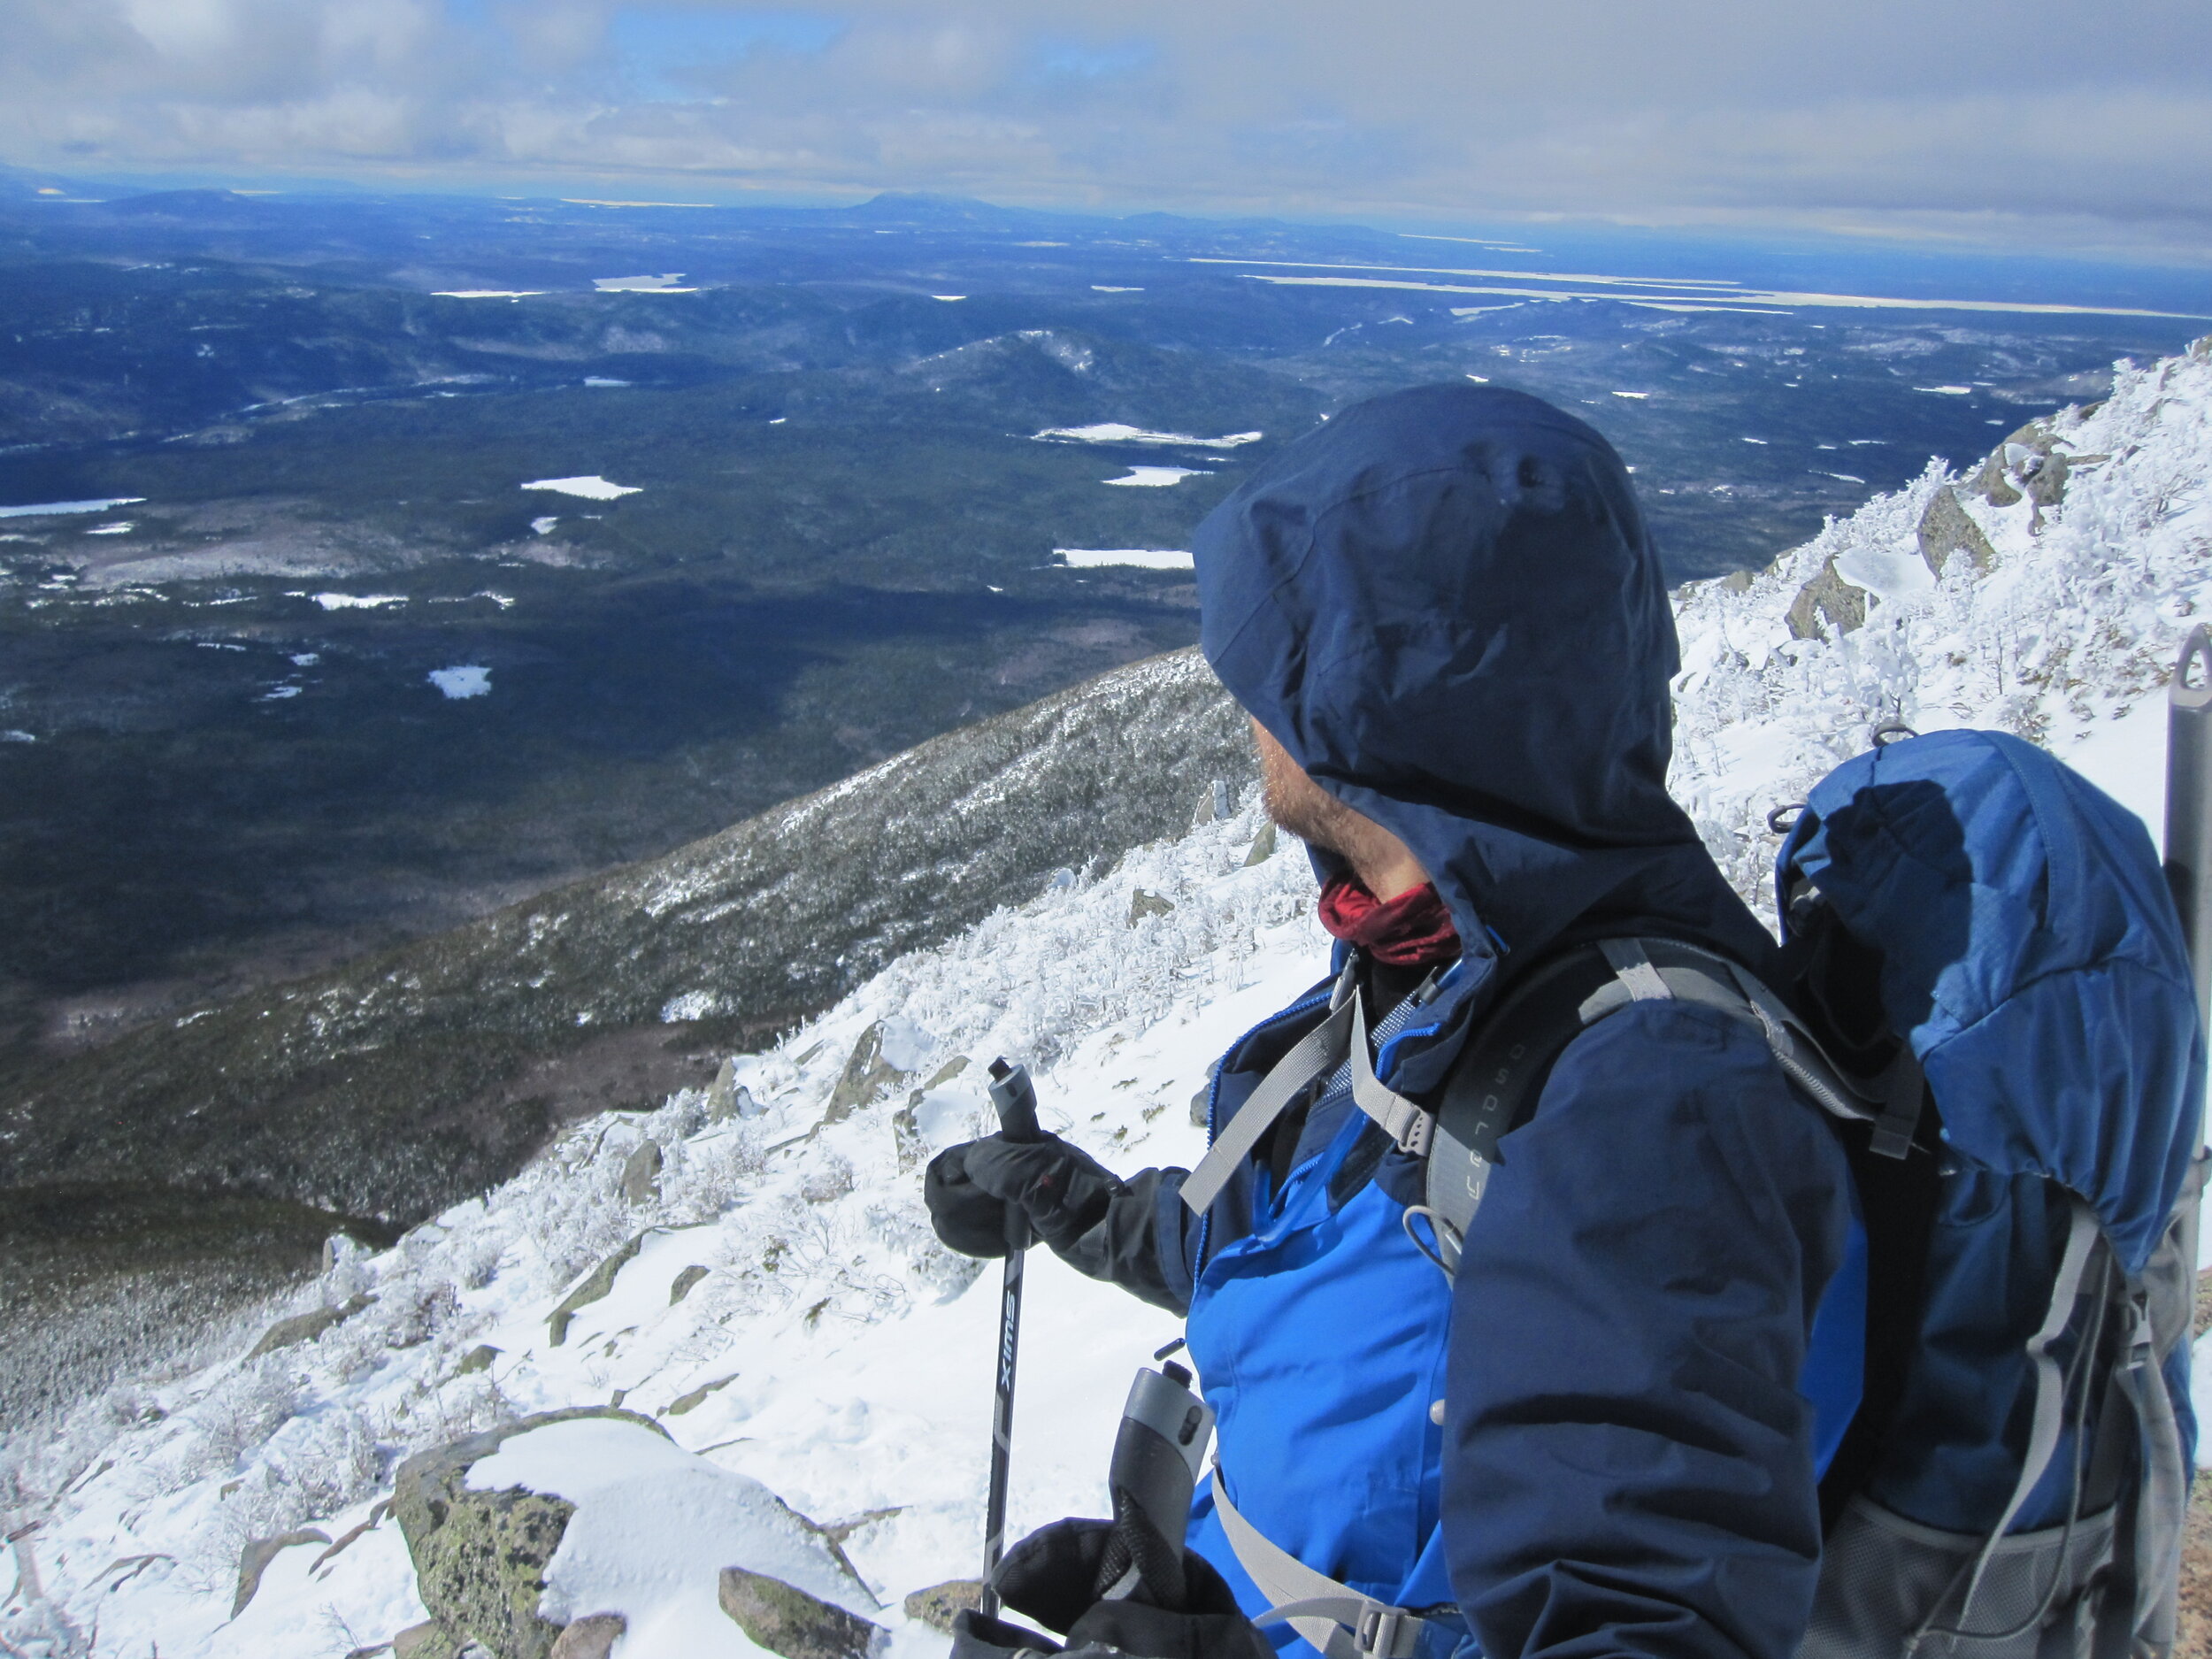
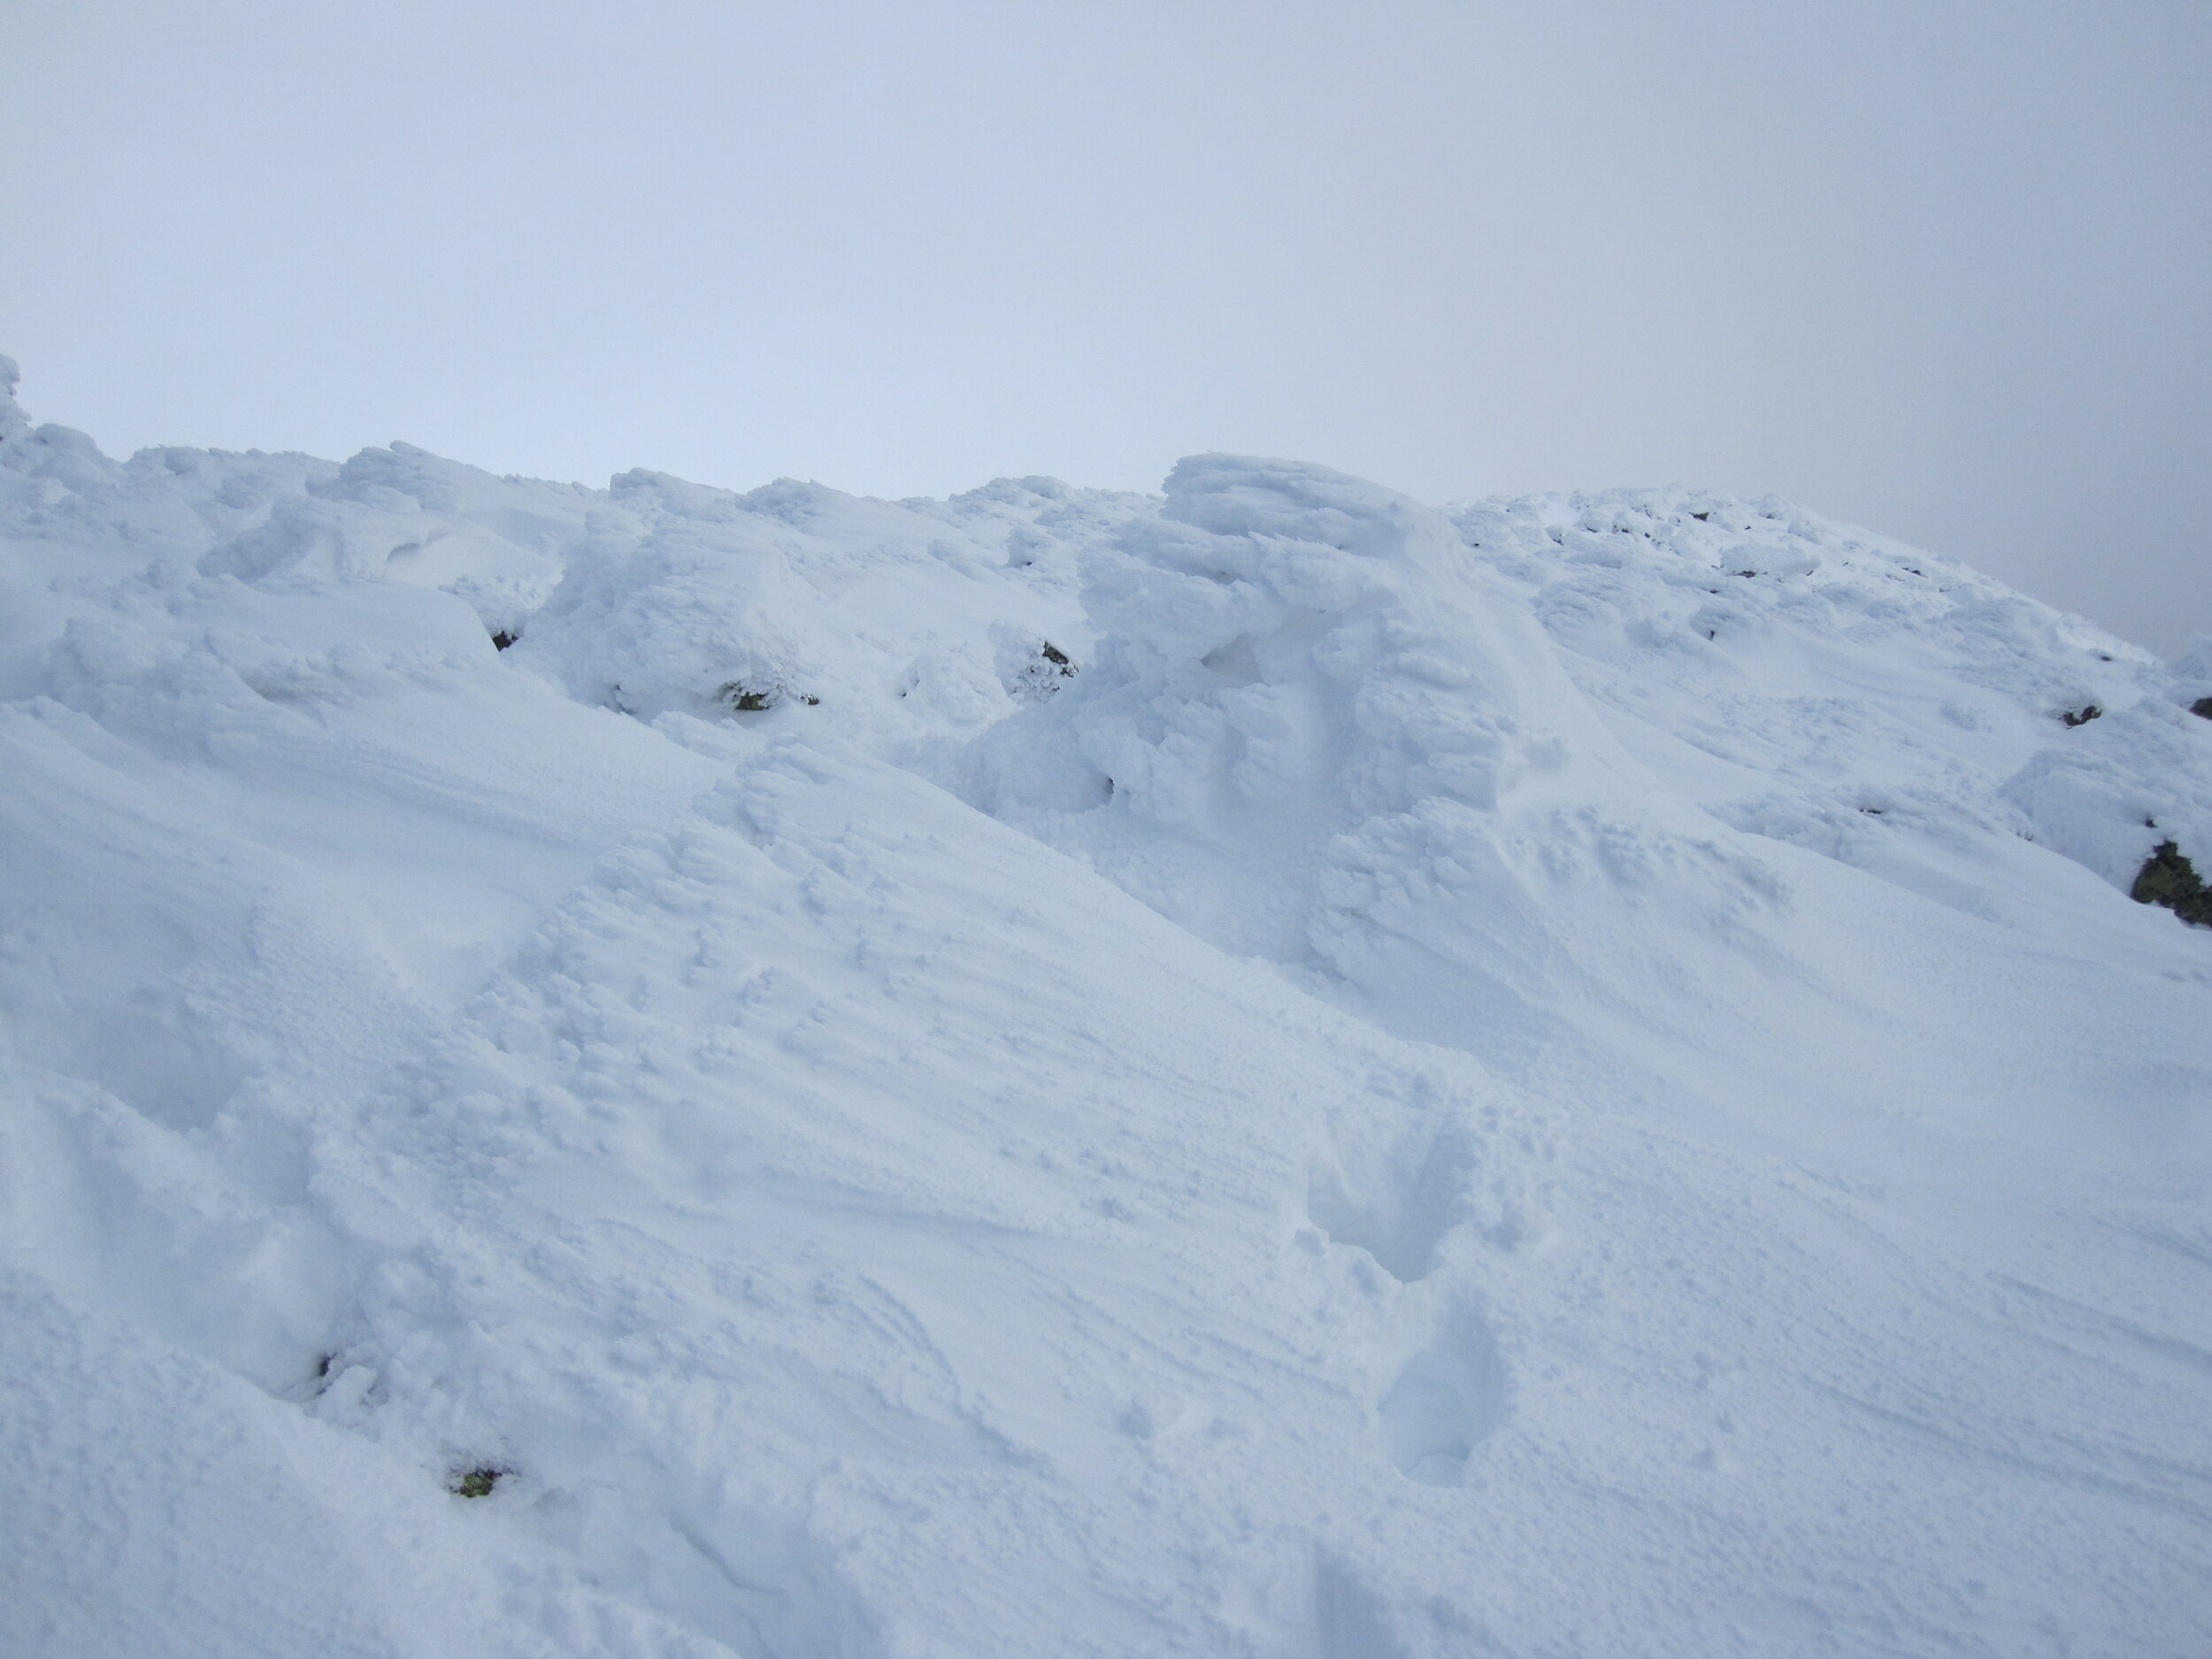
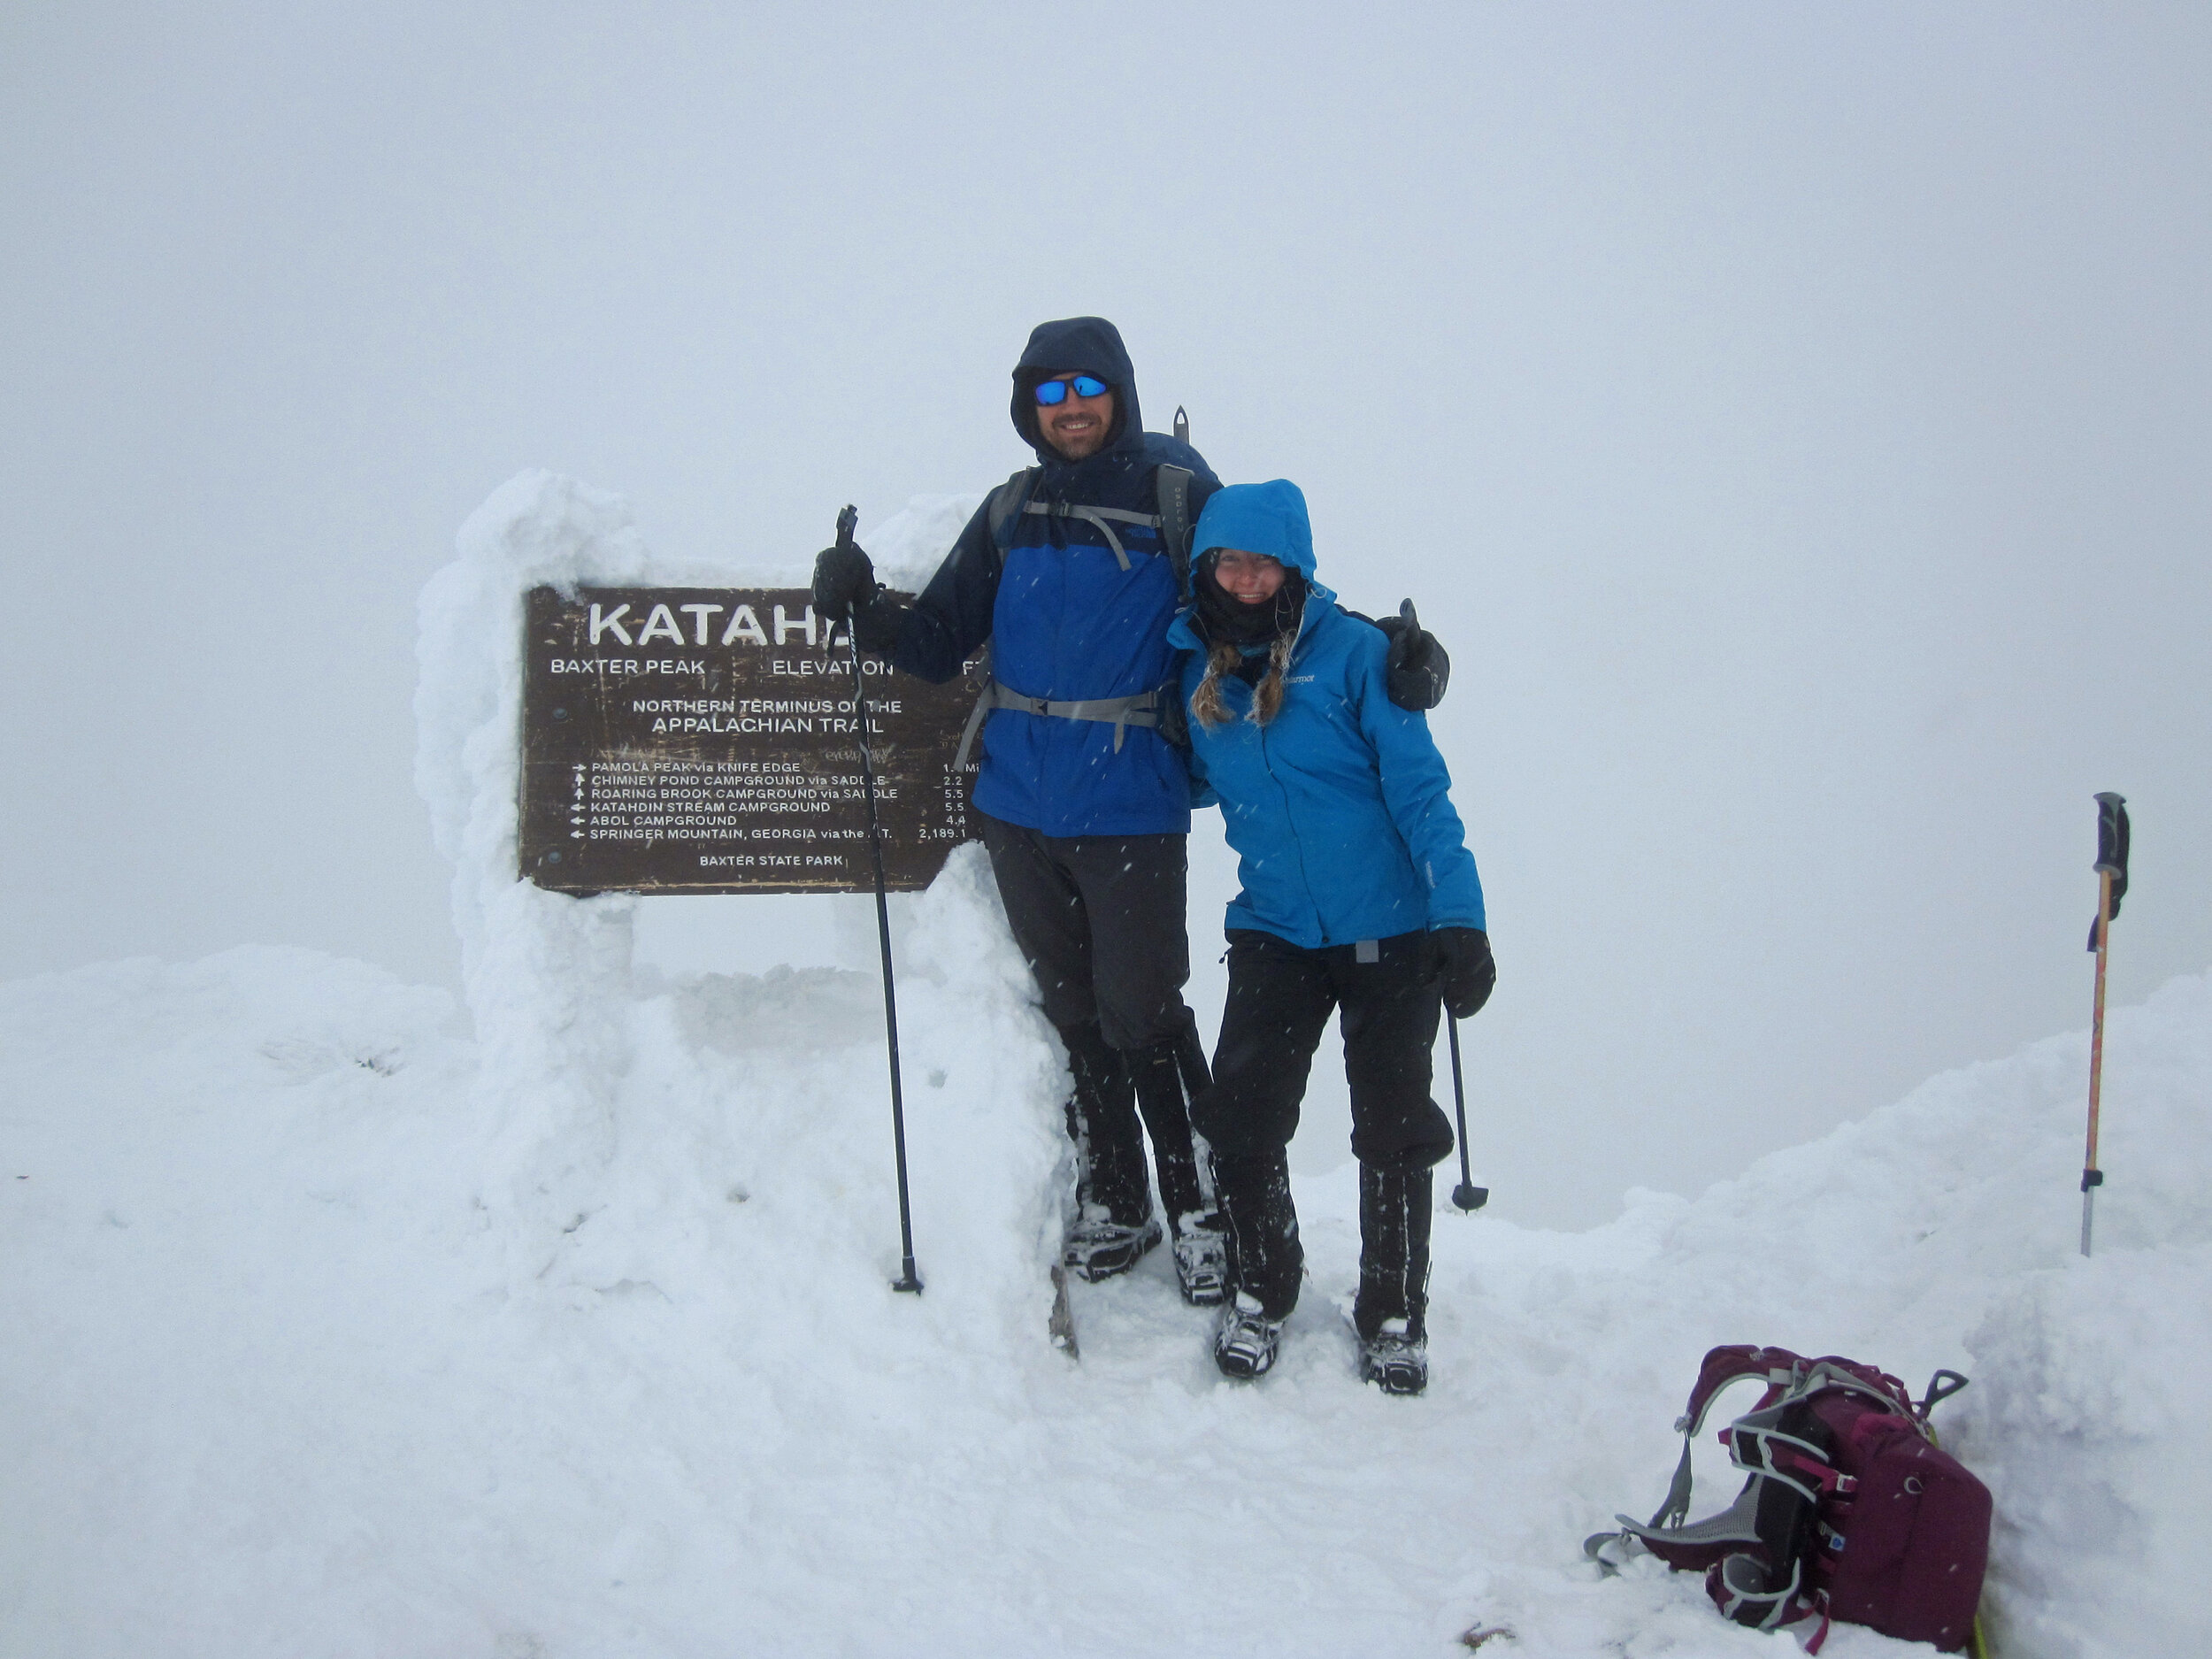
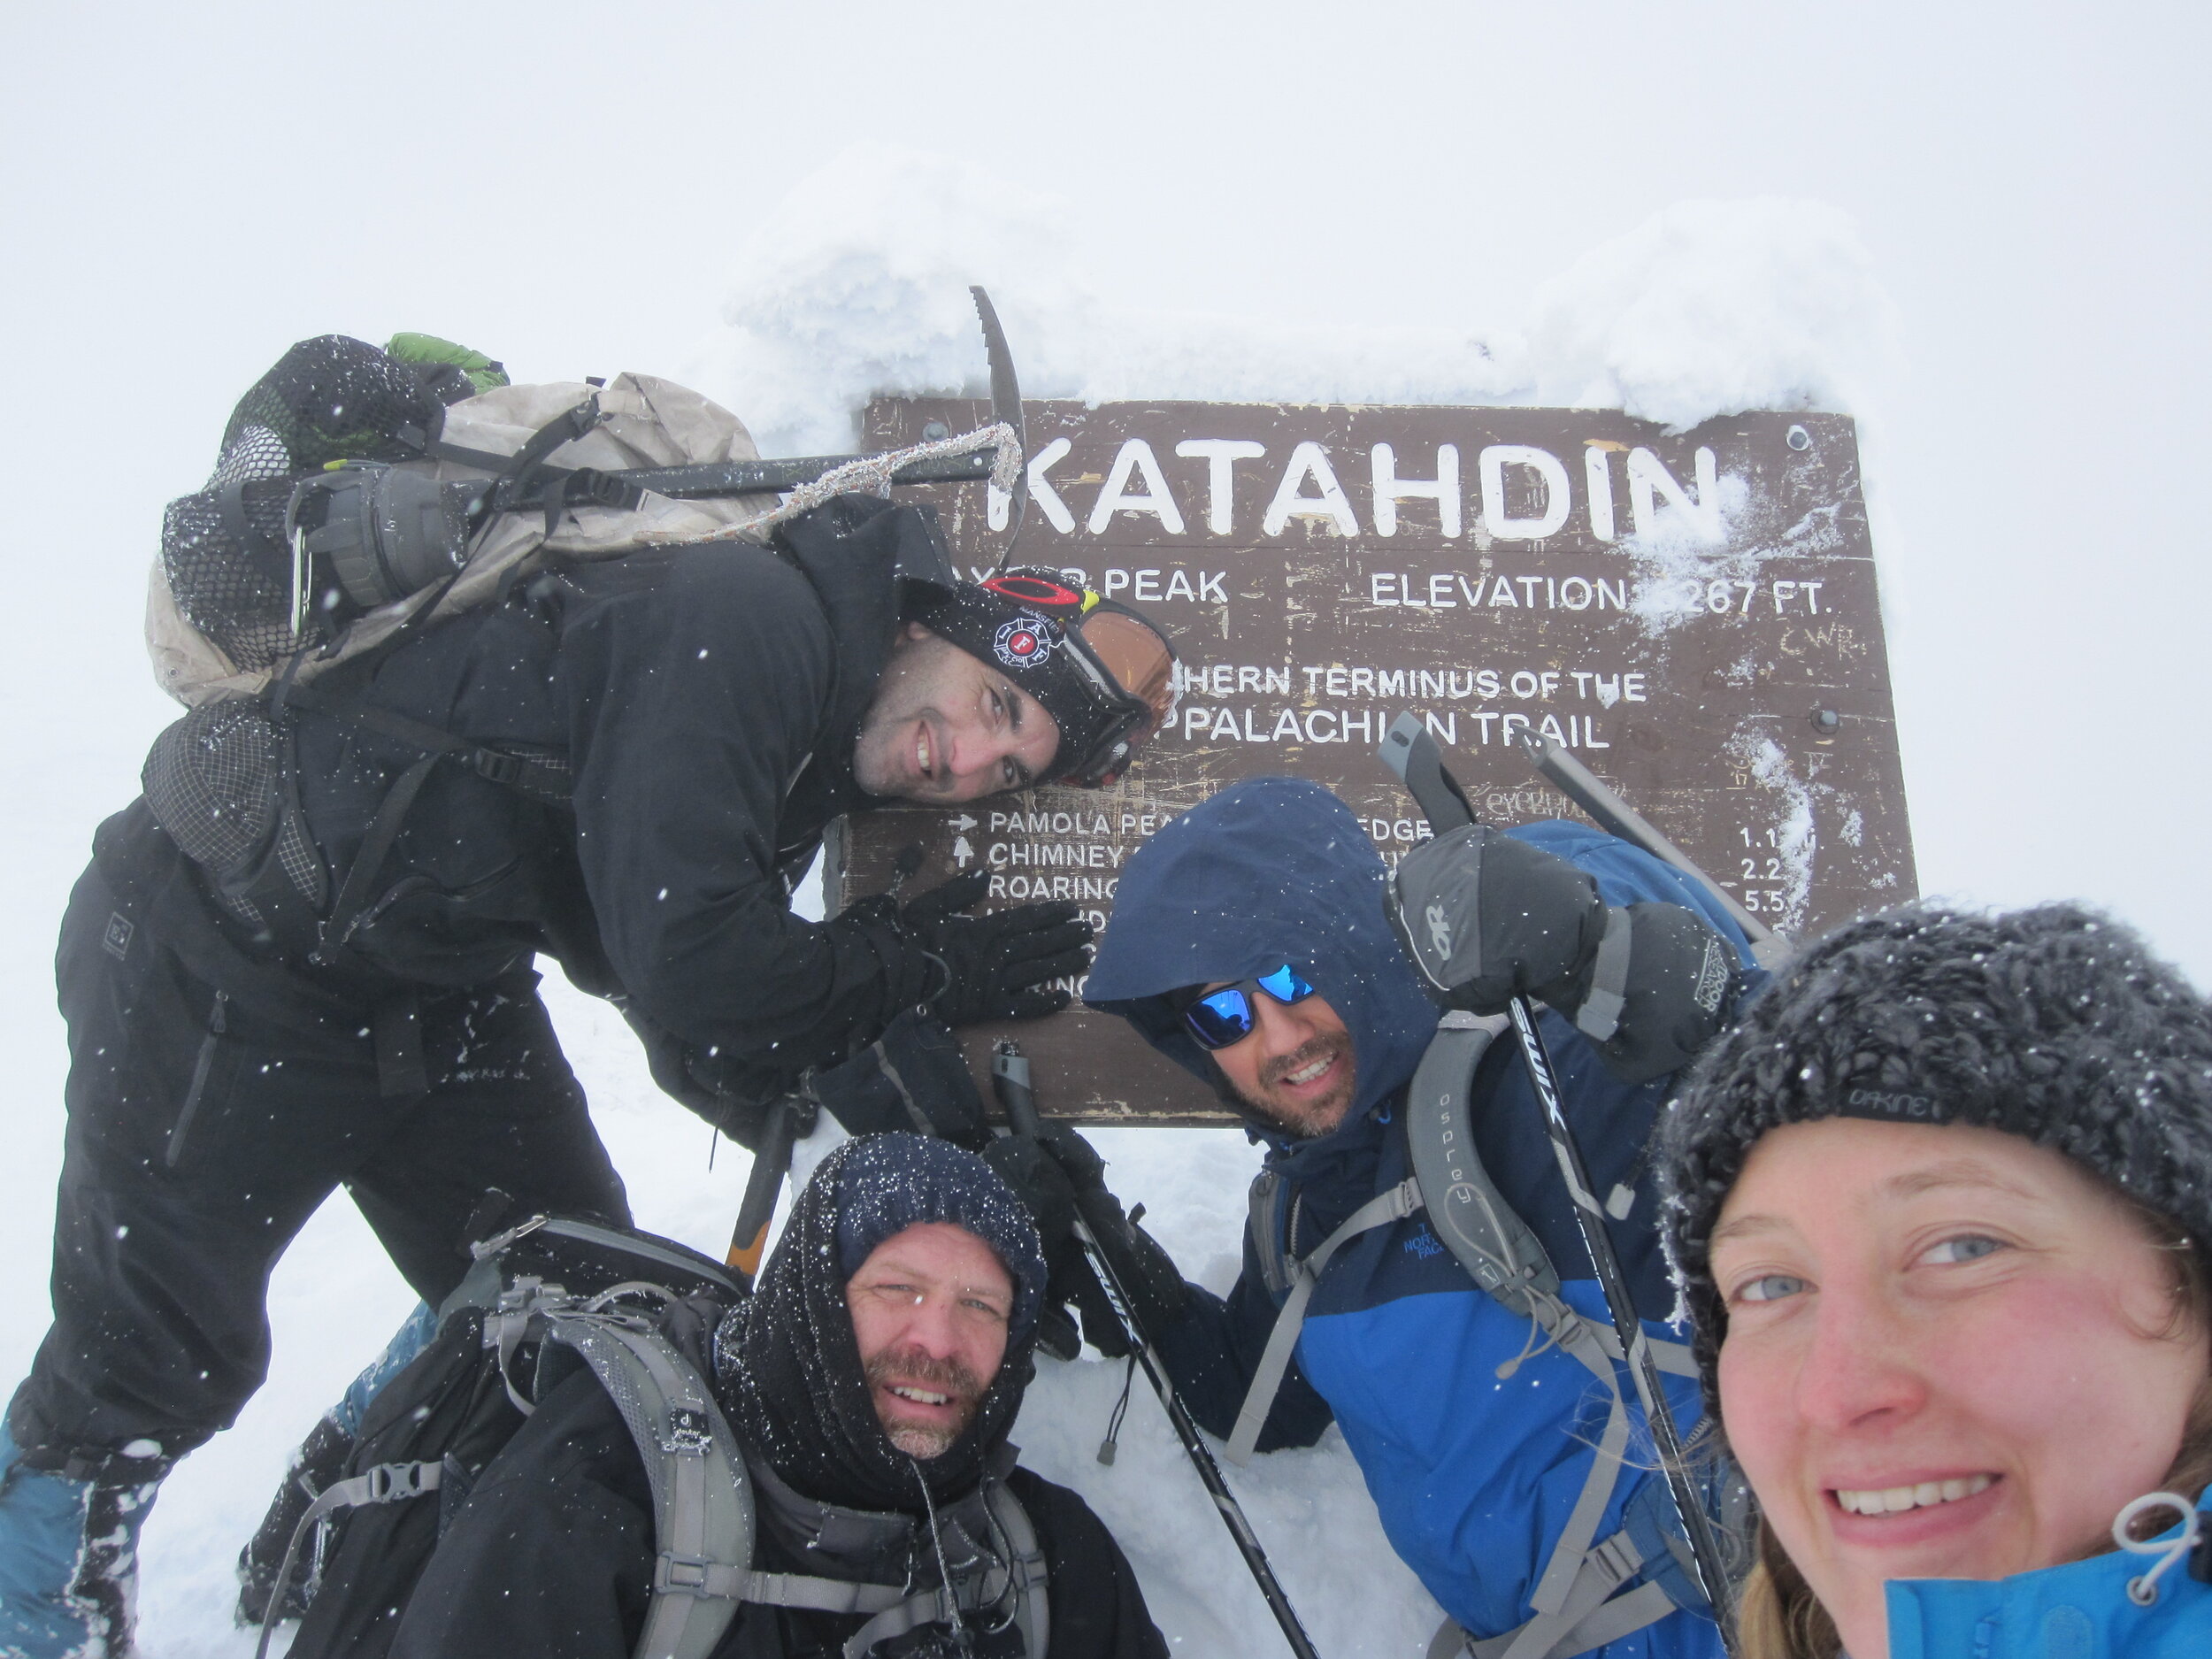
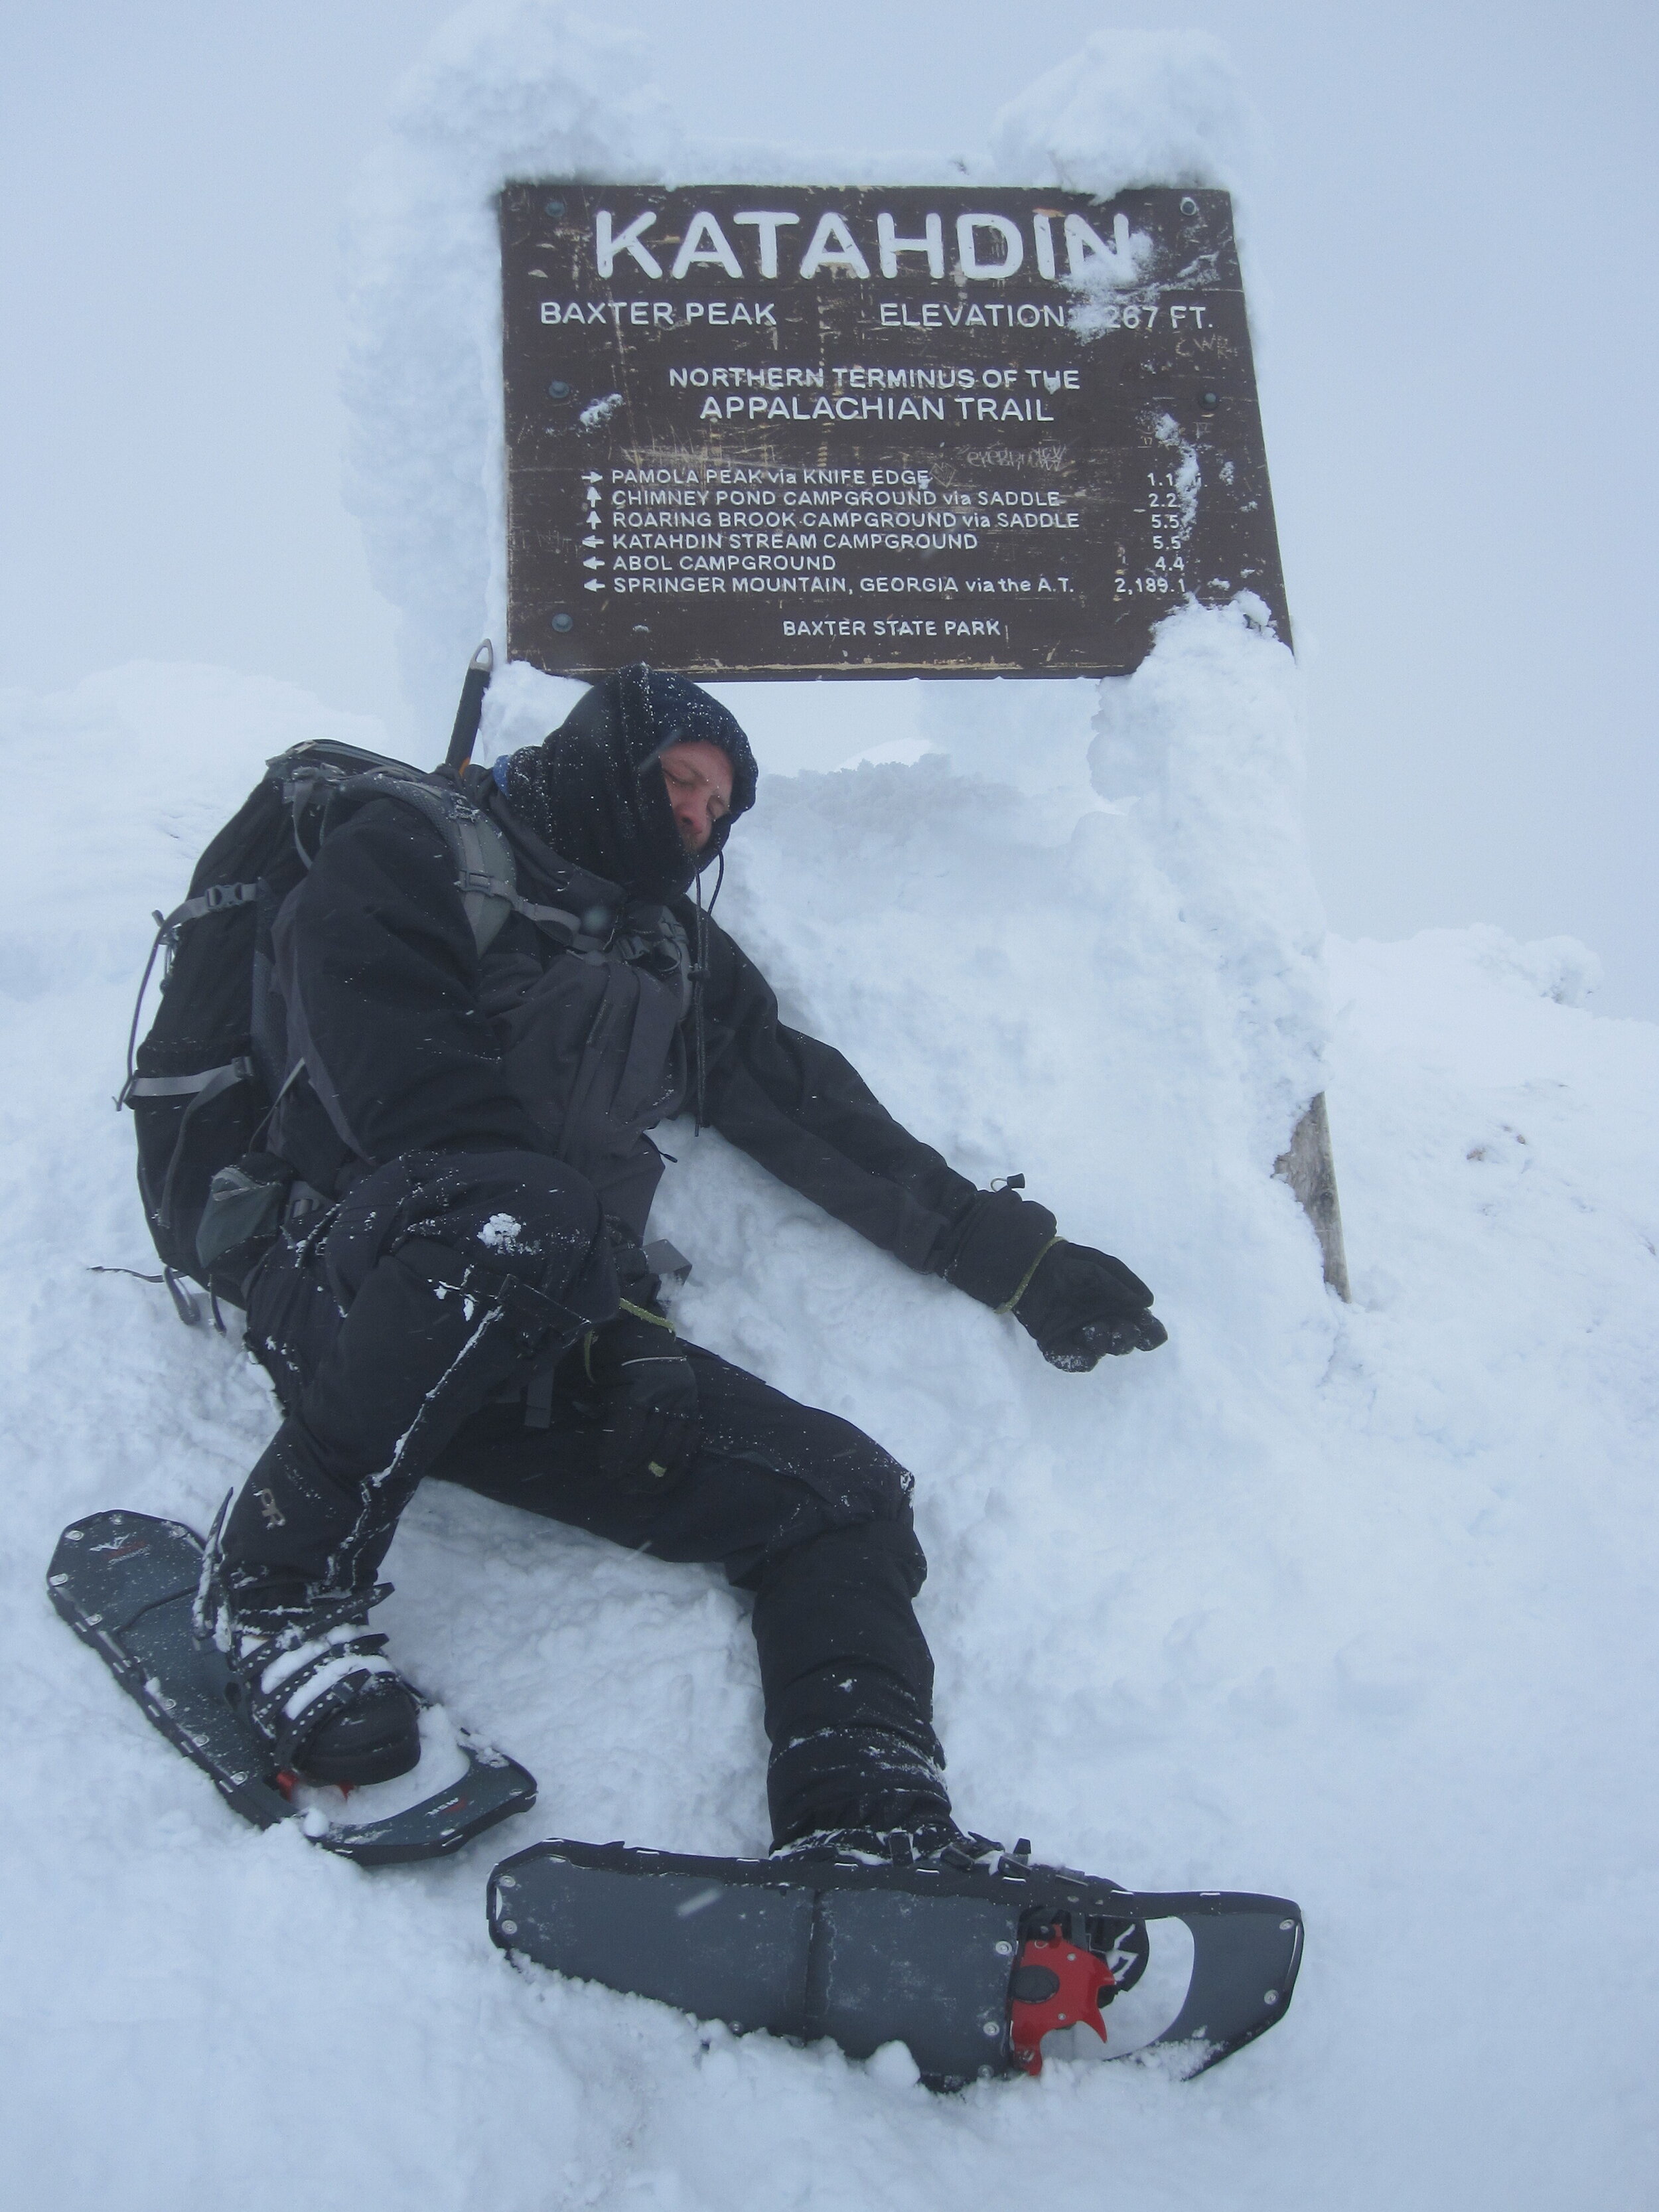
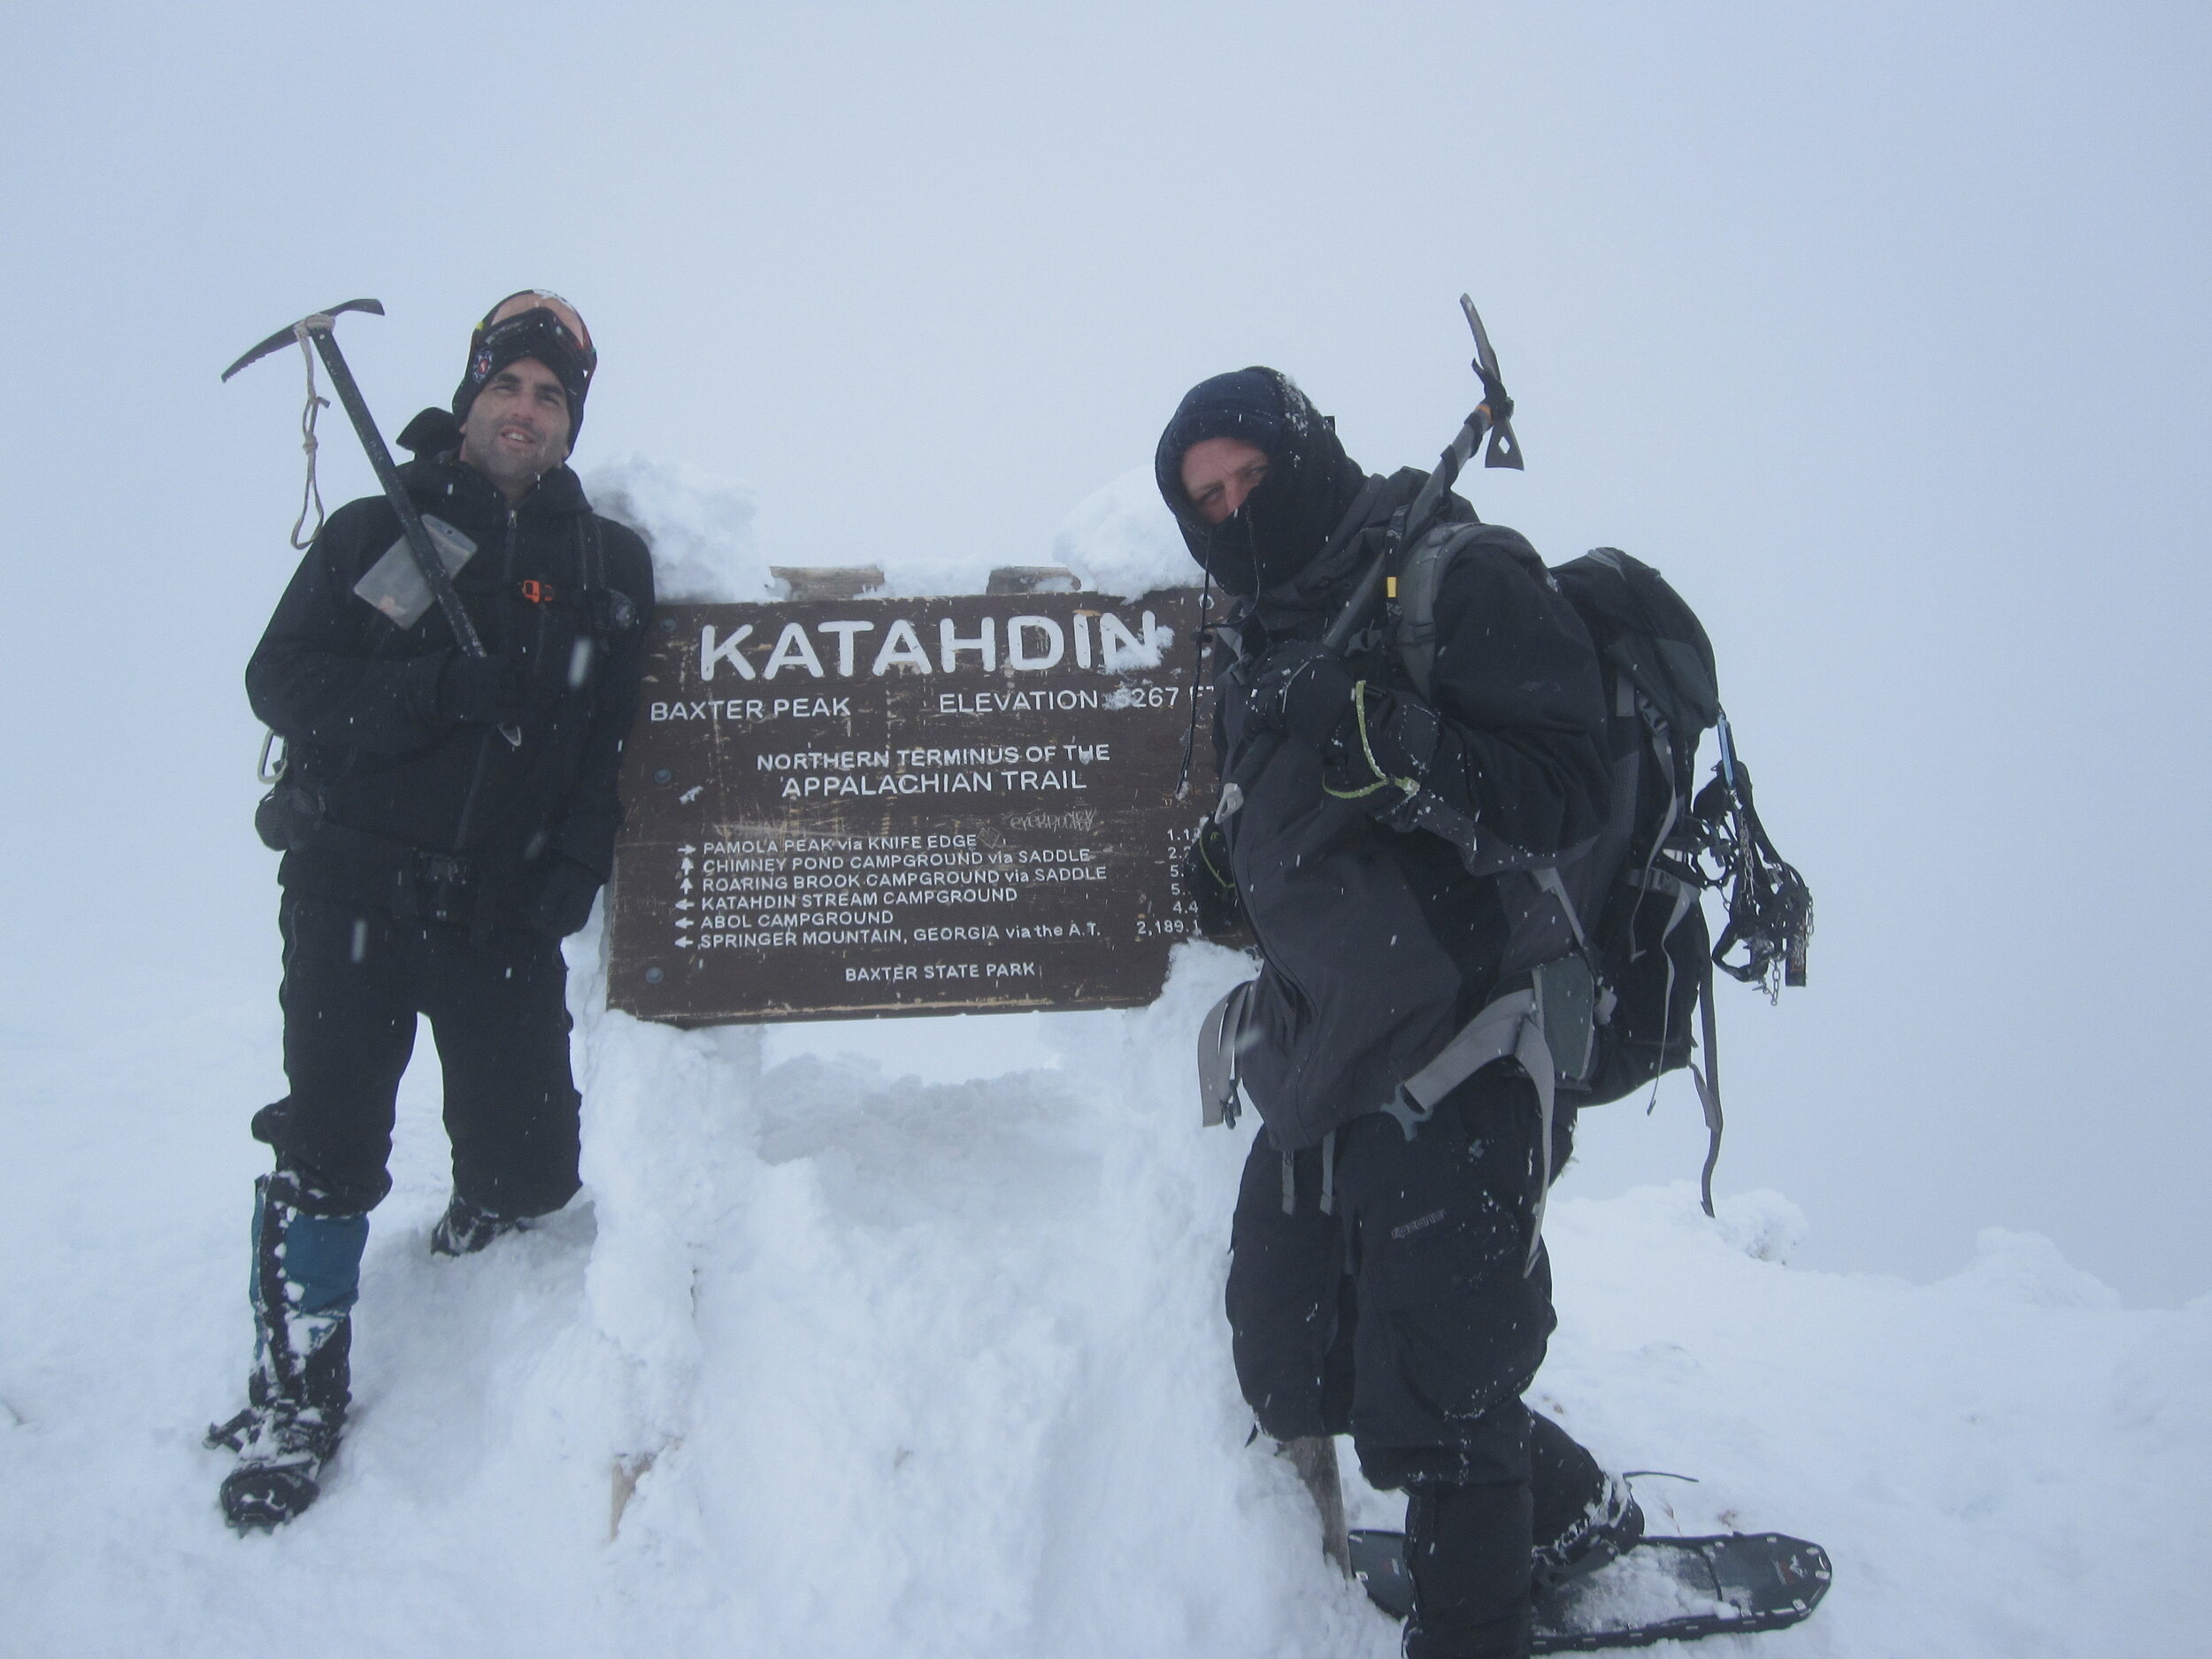
We had great weather up until the tablelands where we experienced white-out conditions. Dale’s excellent navigation got us to the summit, but it was a stark reminder that a compass, GPS, and map are extremely important since weather conditions can change at any moment. We could barely see our hands in front of our faces, so we made sure to keep close to one another to avoid getting separated. After enjoying the summit, we made our way back down to camp. Many people will ski out this day, but we chose to keep a more relaxed pace and stay the night again.


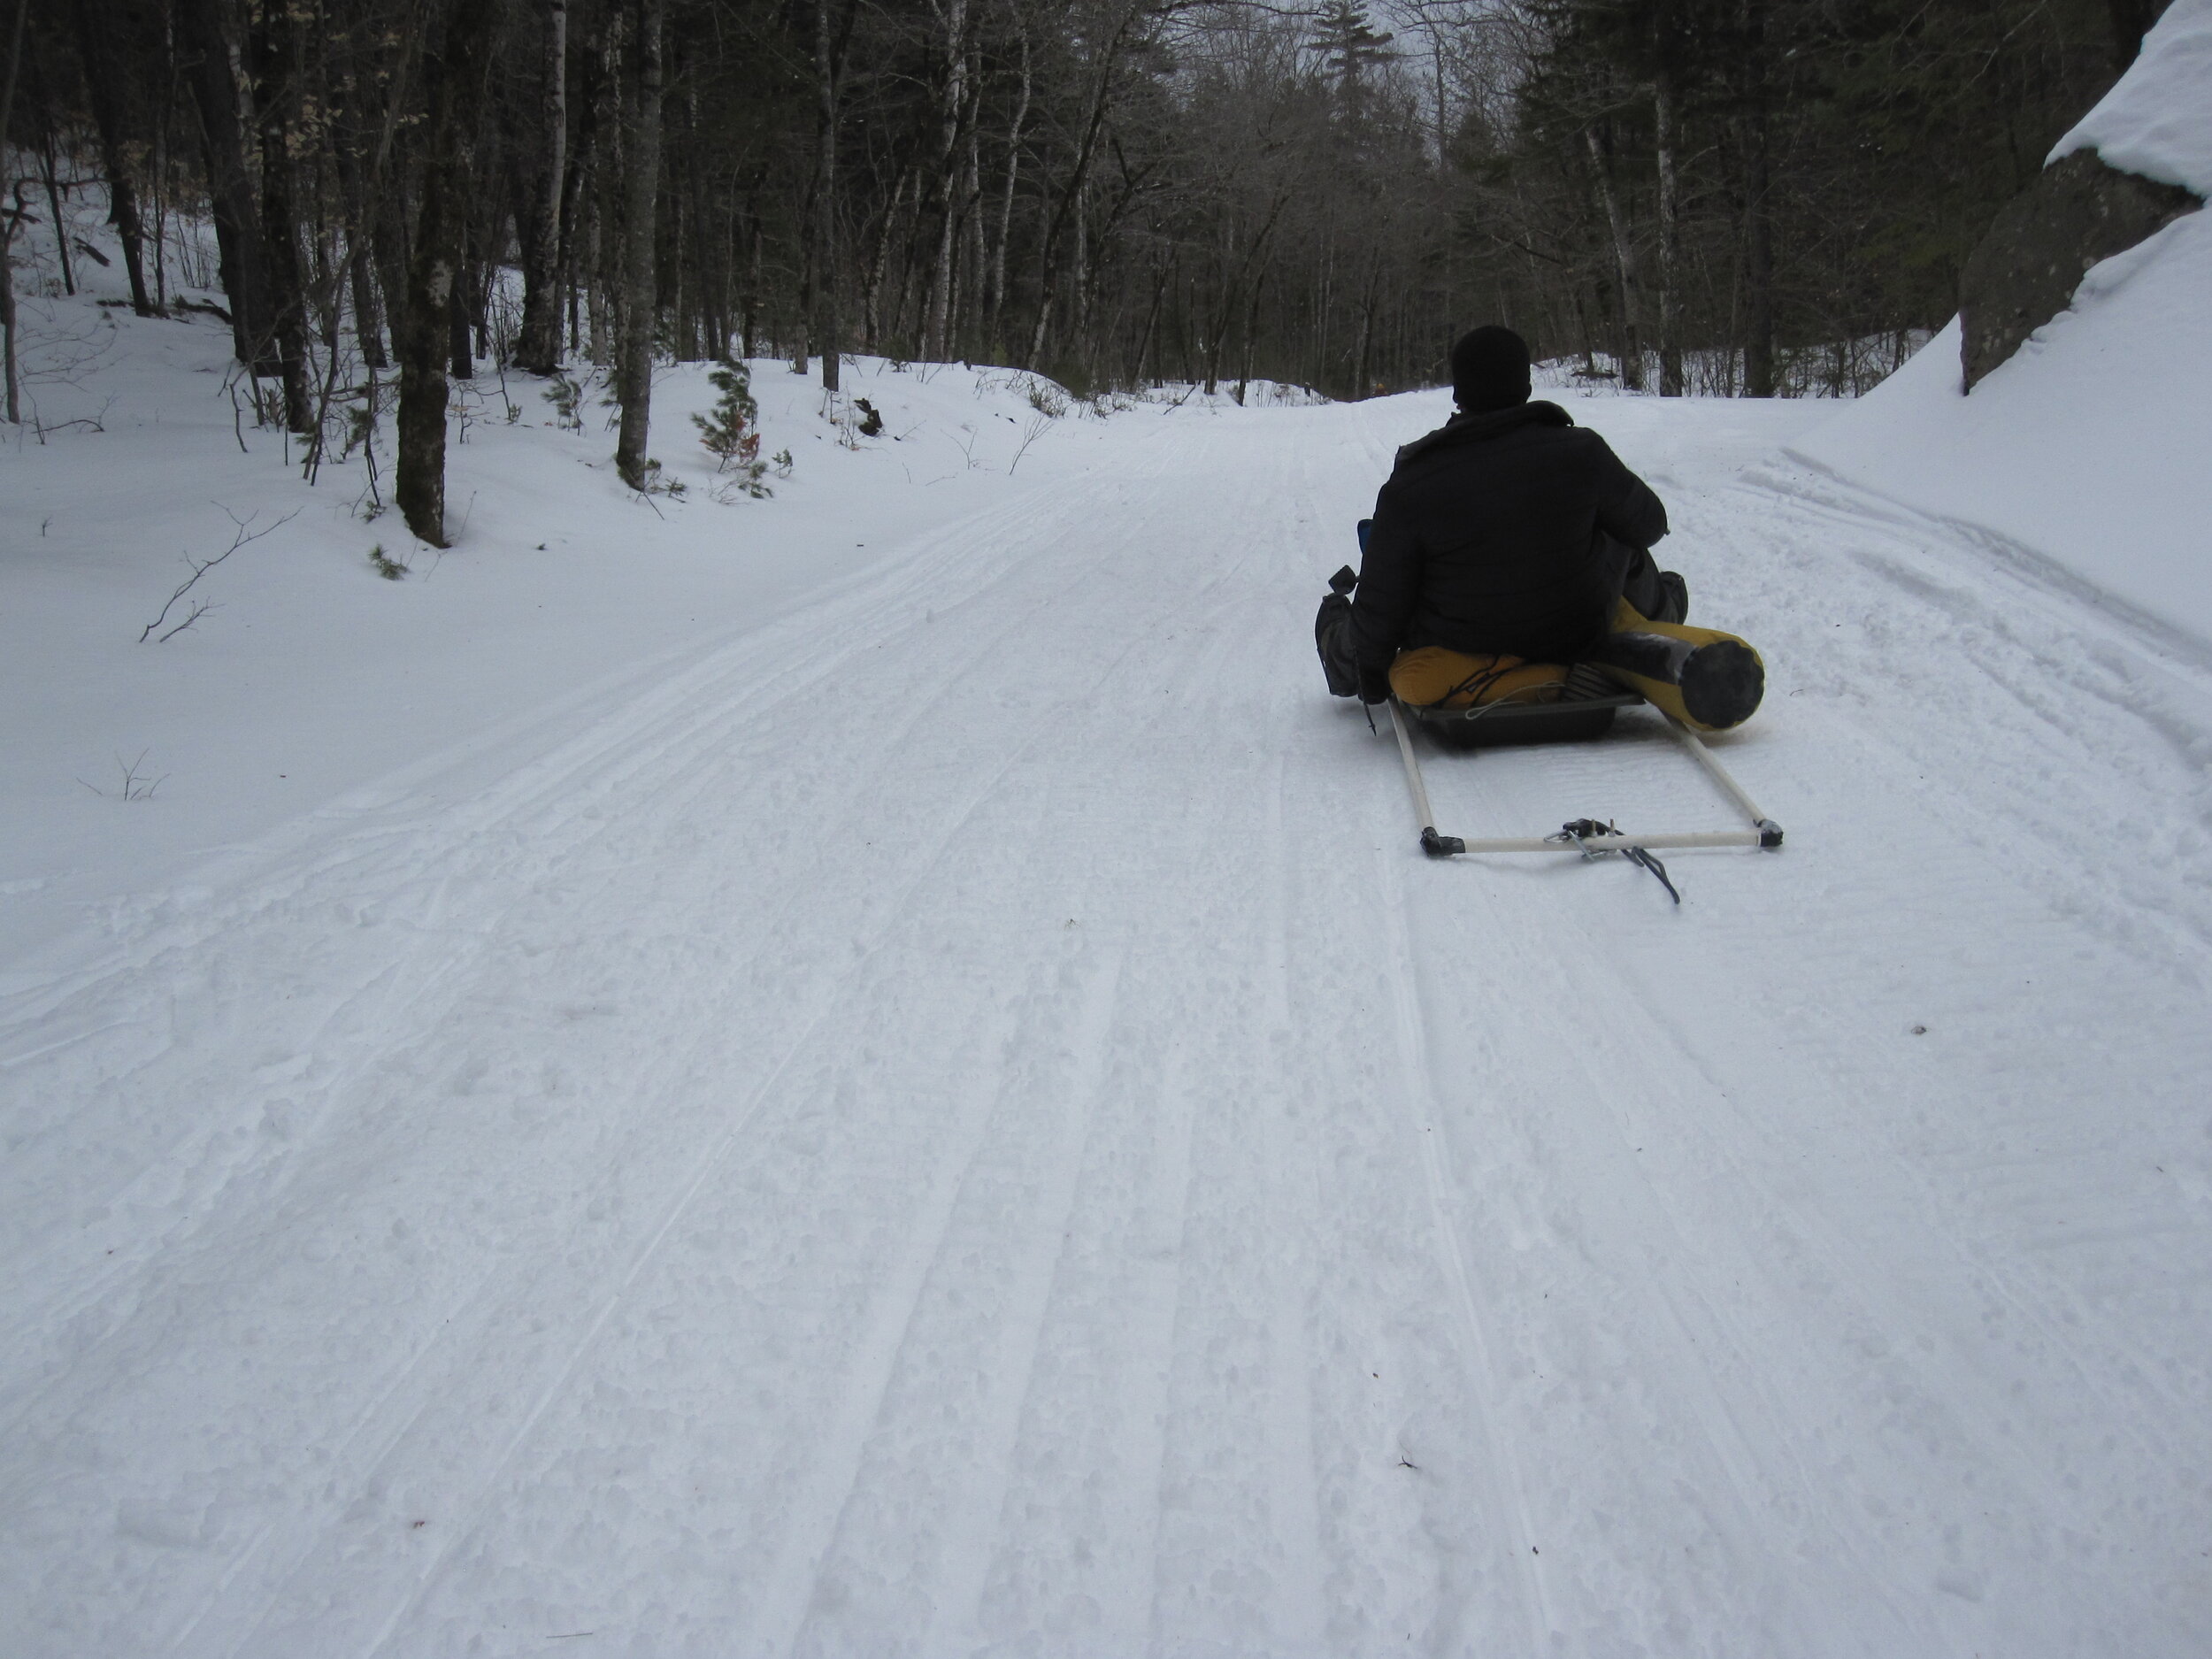
Day 3: Day 3 was an easy day which simply involved skiing back down the Tote Road to the car. We had fun riding the sled down some of the steeper hills, and it was great being able to enjoy a more relaxed pace. We got back to the car at a decent hour and then enjoyed some hot food in Millinocket to celebrate.

A note on lodging: If you have a long drive, I would highly recommend finding a place to stay the night before and the day you finish your climb. A cheap alternative to a hotel is to use AirBnb, and you can often find a nice private spot with a kitchen which makes things easier if you are on a budget. AirBnb is an online platform that allows you to search for sleeping accommodations all over the world that are hosted by people like you and me. You can choose anything from someone’s couch to your own private villa, and having a host allows you to become more immersed in the local culture (you often never see the host, but they are always available if you need them). Have you tried Airbnb? Sign up with my link here, and you will get up to $55 off your first trip.